Desserts · Part 3 of 3: Tips & recipe card
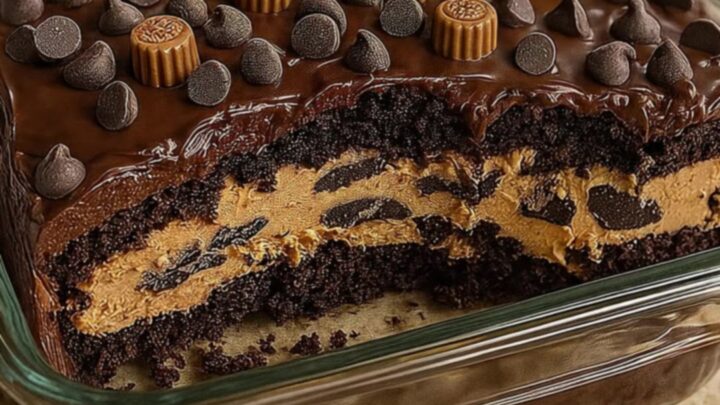
Reese’s Peanut Butter Earthquake Cake Tips, FAQ & printable recipe
- Prep
- Cook
- Total
- Serves
- 12
Tips for success
To achieve the cleanest slices, wipe the knife with a warm, damp cloth between each cut.
This prevents the sticky, gooey peanut butter swirl from dragging across the chocolate cake, ensuring that each piece looks professional and maintains its distinct layers when transferred to a serving plate.
If the top of the cake begins to brown too quickly before the center is set, loosely tent the baking dish with aluminum foil.
This protects the peanut butter cups from burning while allowing the heat to continue cooking the center of the cake, ensuring the final product is perfectly baked throughout without any burnt edges.
Variations
- Dark Chocolate Version: Substitute the standard chocolate cake mix with a dark chocolate or devil's food cake mix to intensify the cocoa flavor and provide a deeper contrast against the sweet peanut butter filling.
- Salted Peanut Butter: Sprinkle a pinch of flaky sea salt over the top of the cake immediately after removing it from the oven. The salt enhances the nuttiness of the peanut butter and balances the overall sugar content.
Storage and make-ahead
- Fridge
- Store in an airtight container in the refrigerator for up to 4 days.
- Freezer
- Wrap tightly in two layers of plastic wrap and one layer of foil for up to 2 months.
- Reheat
- Bring to room temperature before serving; individual slices can be warmed in the microwave for 15 seconds if a soft, gooey texture is preferred.
Cover the baking dish tightly with plastic wrap or transfer individual slices to an airtight container. Keep the cake in a cool, dry place if serving within the day, but move it to the refrigerator for longer storage to maintain the integrity of the cream cheese filling.
This cake is ideal for making ahead as the flavors tend to meld and deepen after a few hours. Bake it a day in advance and store it in the refrigerator. Before serving, allow the cake to come to room temperature for about thirty minutes to soften the textures for the best eating experience.
Serving ideas
Serve this cake at room temperature to highlight the contrast between the fudgy chocolate and the creamy peanut butter.
It pairs exceptionally well with a glass of cold milk or a cup of black coffee, which helps to cut through the richness of the dessert and cleanse the palate between bites.
For a more formal presentation, serve each slice with a small dollop of lightly sweetened whipped cream or a drizzle of chocolate sauce.
These additions provide a light finish to the intense flavors of the cake, making it a perfect centerpiece for a family dinner or a casual weekend get-together.
Frequently asked questions
Can this cake be made in a round pan?
Why is the center of the cake still soft?
Is it necessary to use a specific type of cake mix?
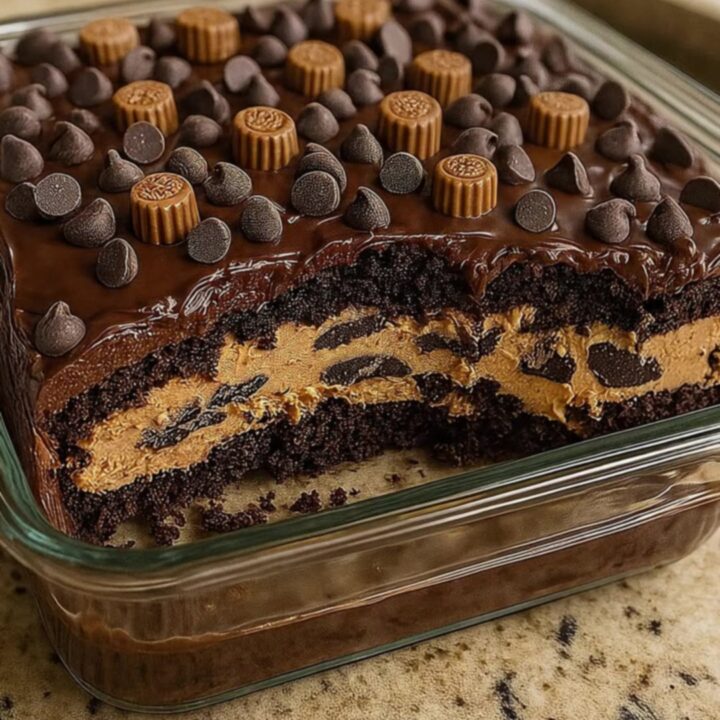
Reese's Peanut Butter Earthquake Cake
Ingredients
- 1 box chocolate cake mix, prepared according to package directions
- 1 cup mini peanut butter cups
Instructions
- Preheat the oven to 350°F (175°C). Prepare the chocolate cake mix in a large bowl according to the package instructions until smooth. Pour the batter into a greased 9x13-inch glass baking dish and spread it evenly to the edges.
- Dollop the peanut butter cheesecake mixture over the raw chocolate cake batter in the baking dish. Use a knife or spatula to gently swirl the mixture into the chocolate batter to create a marble effect.
- Sprinkle the mini peanut butter cups over the top of the cake. Place the dish in the oven and bake for 45 minutes. Remove from the oven and allow the cake to rest on a wire rack for 20 minutes before slicing to ensure clean servings.
Estimated nutrition per serving
- Calories
- 420
- Protein
- 6.5 g
- Carbohydrates
- 52 g
- Fat
- 21 g
Next recipe
Easy Creamy Strawberry Banana Pudding
See the recipe → →This recipe is based on a short cooking video and is published under the pen name Clara Weller. It was checked before publication, but errors can slip through. Nutrition, when shown, is an estimate. Read more in our editorial policy and on our food safety page.
More recipes to try
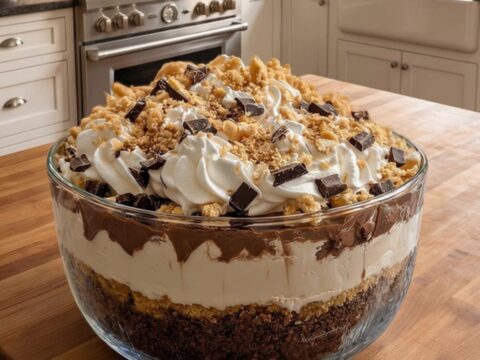
Decadent Baileys Chocolate Cheesecake Trifle
Total time: 2 h 40 min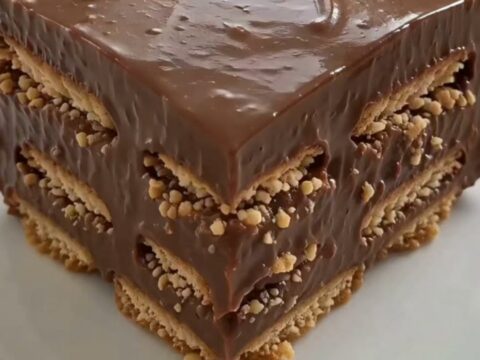
Classic Chocolate Icebox Cake for Easy Chilled Desserts
Total time: 4 h 15 min
Easy No-Bake Eclair Cake with Creamy Vanilla Layers
Total time: 4 h 20 min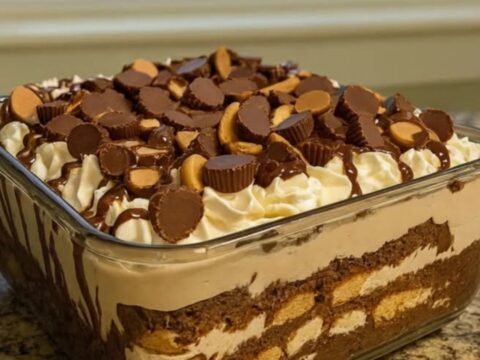
Decadent No-Bake Peanut Butter Cup Lush Dessert
Total time: 2 h 20 min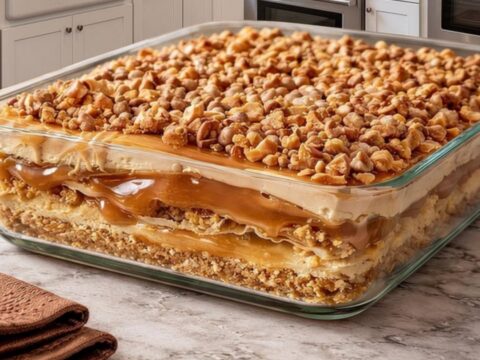
Peanut Butter Crunch Lasagna: A Decadent Layered Dessert
Total time: 1 h 20 min