Desserts · Part 1 of 3: Ingredients
Easy Creamy Strawberry Banana Pudding
- Prep
- Cook
- Total
- Serves
- 8
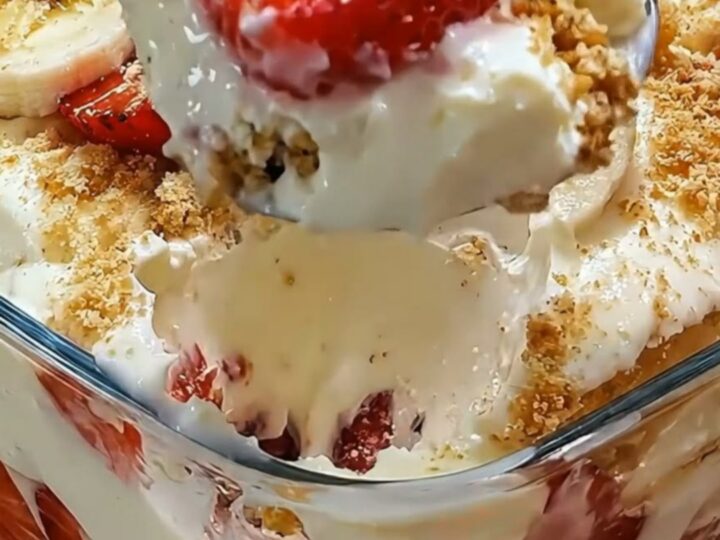
Discover the art of creating a perfect dessert with this easy-to-follow strawberry banana pudding guide. This classic treat combines fresh, vibrant fruit with smooth, creamy custard and a satisfying crunch, making it an ideal choice for any gathering or a simple weekend indulgence. Follow these steps to build a beautiful, layered dessert that brings a touch of sweetness to the table without requiring any time in the oven or complicated culinary techniques.
This strawberry banana pudding is a timeless dessert that relies on the quality of its components. By layering fresh bananas and strawberries with a rich vanilla custard and crisp wafers, you create a balanced flavor profile that appeals to many.
The process is straightforward, focusing on the assembly of layers to ensure each bite contains a bit of everything. Whether for a casual dinner party or a quiet evening at home, this recipe provides a reliable method to achieve consistent, delicious results every single time.
Ingredients
Filling
- 2 cups prepared vanilla pudding
Base and Layers
- 1 box vanilla wafers
Fruit
- 3 large bananas, sliced
- 1 lb fresh strawberries, sliced
Why this recipe works
The method of layering ingredients in a glass dish serves two primary purposes: aesthetic appeal and flavor distribution. By alternating the components, you ensure that every portion served contains a combination of the creamy pudding, the sweetness of the fruit, and the texture of the wafers.
This structural approach allows the moisture from the fruit and pudding to slightly soften the wafers, creating a cohesive dessert that is easy to scoop and serve while maintaining its distinctive layered look.
Furthermore, the chilling phase is essential for the success of this dish. During this time, the ingredients undergo a subtle transformation where the flavors meld together. The pudding absorbs hints of fruit essence, and the wafers reach an ideal consistency that is neither too crisp nor too soft.
This resting period is what separates a simple assembly of ingredients into a refined dessert, ensuring the final product is stable enough to hold its shape when lifted with a serving spoon onto a plate.
Notes and substitutions
When selecting ingredients, choose bananas that are firm but ripe to ensure they hold their shape during the layering process. The strawberries should be fresh and bright red, providing a tart contrast to the sweetness of the vanilla pudding. If using a store-bought pudding mix, ensure it is prepared according to the package instructions and fully chilled before you begin assembling the dish, as a warm pudding will cause the wafers to become soggy much faster than desired.
Regarding equipment, a clear glass baking dish is recommended to showcase the beautiful layers of the dessert. If you prefer individual servings, the same layering method can be applied to small glass bowls or jars.
Ensure the serving spoon used is large enough to capture all the layers in one movement, as this is key to the overall experience. Substitutions like using banana-flavored pudding or different types of crisp cookies are possible, provided they do not compromise the intended texture of the dessert.
- vanilla pudding: banana cream pudding or butterscotch pudding
- vanilla wafers: shortbread cookies or graham crackers
Equipment
- 9-inch glass baking dish
- sharp knife
- cutting board
- large serving spoon