Desserts · Part 3 of 3: Tips & recipe card
Red Velvet Molten Lava Cake with Cream Cheese Filling Tips, FAQ & printable recipe
- Prep
- Cook
- Total
- Serves
- 4
Tips for success
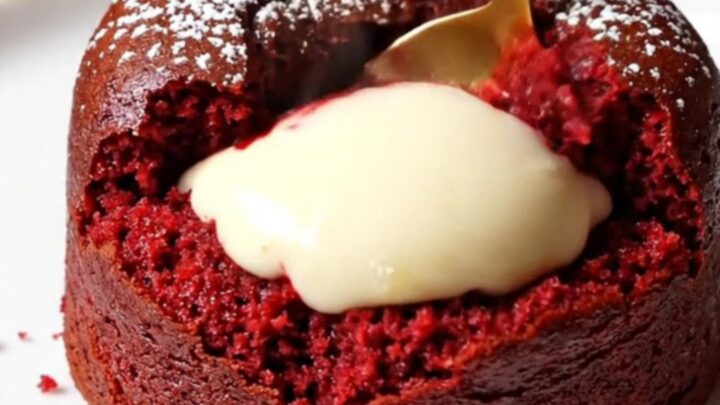
For the most reliable molten center, use a kitchen timer and check the cakes at 11 minutes. Every oven varies, so the first time you make these, watch closely. The cakes should be puffed but still slightly wobbly in the center.
If they look too firm, they’re overbaked. Also, let the ramekins cool for exactly 2 minutes before unmolding—too long and the cakes may stick, too short and they may fall apart.
To get clean, beautiful unmolding, run a thin knife around the edge of each ramekin before inverting. Use a plate that’s slightly larger than the ramekin. If any cake sticks, gently tap the bottom of the ramekin.
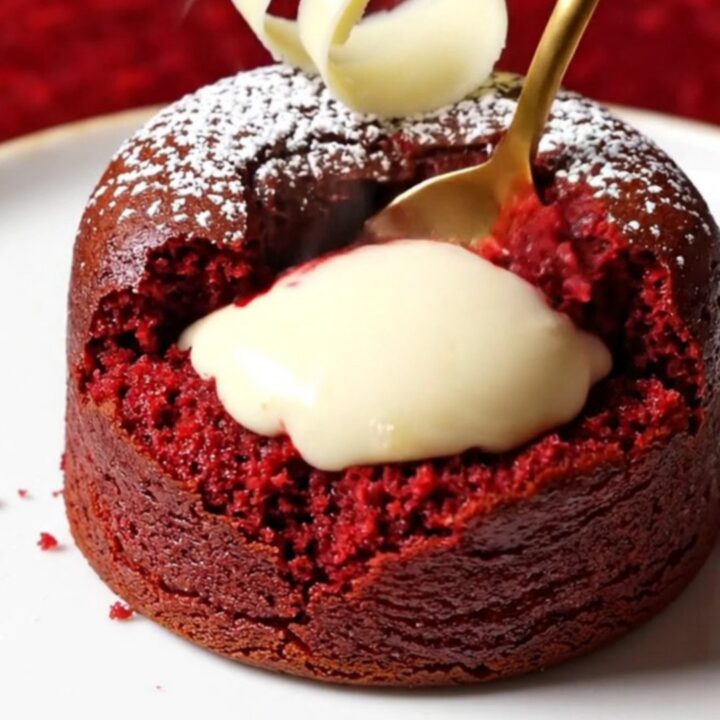
For a professional finish, dust with powdered sugar just before serving so it doesn’t melt into the cake. The white chocolate curls add a lovely texture and visual appeal.
Variations
- Dark Chocolate Lava: Omit the white chocolate and increase the dark chocolate to 6 oz. Add an extra tablespoon of cocoa powder for a more intense chocolate flavor. The cream cheese filling can be flavored with a pinch of espresso powder for depth.
- Peanut Butter Swirl: Replace the cream cheese filling with a mixture of 4 oz cream cheese, 2 tbsp peanut butter, and 3 tbsp confectioners' sugar. Swirl into the batter for a marbled effect before baking.
- Mint Chocolate: Add 1/2 teaspoon peppermint extract to the batter and use a few drops of green food coloring for a festive twist. The cream cheese filling can be left plain or tinted with a drop of green.
- Gluten-Free: Substitute the all-purpose flour (if used) with a gluten-free flour blend. Ensure the cocoa powder is certified gluten-free. This recipe naturally contains no wheat if you omit the flour, but check all labels.
Storage and make-ahead
- Fridge
- Store leftover cakes in an airtight container in the refrigerator for up to 2 days. Reheat in the microwave for 15-20 seconds or until warm.
- Freezer
- Unbaked filled ramekins can be frozen for up to 1 month. Bake from frozen, adding 2-3 minutes to the baking time.
- Reheat
- Reheat individual cakes in the microwave for 15-20 seconds or in a 350°F (175°C) oven for 5-7 minutes until warmed through and the center is molten again.
Store any leftover cakes in an airtight container in the refrigerator for up to 2 days. To reheat, microwave each cake for 15-20 seconds until warm and the center is molten again. Alternatively, reheat in a 350°F (175°C) oven for 5-7 minutes. Note that the texture may be slightly different after refrigeration, but the flavor remains delicious.
You can prepare the cream cheese filling up to 2 days ahead and keep it refrigerated in the piping bag. The batter can be made a few hours ahead and kept covered in the refrigerator.
When ready to bake, fill the ramekins and bake as directed, adding an extra minute or two if the batter is cold. The cakes are best baked fresh, but the components can be prepared in advance.
Serving ideas
Serve the lava cakes warm, straight from the oven, for the best molten effect. Place each cake on a dessert plate and dust generously with confectioners’ sugar.
Add a few white chocolate curls on top or on the side for extra elegance. A scoop of vanilla ice cream or a dollop of whipped cream would pair beautifully, though the recipe is complete as is.
For a dinner party, you can prepare the ramekins ahead of time and bake them while guests are eating. The dramatic first cut is sure to impress. If you prefer a more rustic presentation, serve the cakes directly in the ramekins, with a spoon. This is a dessert that’s all about indulgence, so don’t hold back on the garnishes.
Frequently asked questions
Can this red velvet lava cake be made ahead of time?
What if the cakes don't unmold cleanly?
Can the red velvet extract be substituted?
Why did the center of your cake become too firm?
Can these lava cakes be frozen?
Red Velvet Molten Lava Cake with Cream Cheese Filling
Ingredients
- 4 tbsp unsalted butter, melted, plus more for greasing
- 3 oz white chocolate, chopped
- 3 oz dark chocolate (60-70% cacao), chopped
- 2 large eggs
- 1/2 cup granulated sugar
- 2 tbsp unsweetened cocoa powder
- 1 tsp red velvet extract (or 1 tbsp red food coloring)
- 4 oz cream cheese, softened
- 1/4 cup confectioners' sugar
- 1/2 tsp vanilla extract
- Confectioners' sugar, for dusting, to taste
- White chocolate curls, for garnish, to taste
Instructions
- In a small bowl, beat the softened cream cheese, confectioners' sugar, and vanilla extract until smooth and creamy. Transfer the mixture to a piping bag or a zip-top bag with a corner snipped off. Set aside.
- In a microwave-safe bowl or a small saucepan, combine the white chocolate, dark chocolate, and melted butter. Heat in 20-second bursts or over low heat, stirring frequently, until completely melted and smooth. Let cool slightly.
- In a large bowl, whisk the eggs and granulated sugar until pale and slightly thickened. Gradually pour in the melted chocolate mixture, whisking constantly. Sift in the cocoa powder and add the red velvet extract, then whisk until the batter is smooth and no streaks remain.
- Generously butter the insides of four 6-ounce ramekins. Place them on a baking sheet for easy handling.
- Divide the red velvet batter evenly among the prepared ramekins, filling each about halfway. Pipe a generous dollop of the cream cheese filling into the center of each, then top with the remaining batter to cover the filling completely.
- Preheat the oven to 425°F (220°C). Bake the ramekins for 12 minutes, until the tops are puffed and set but the centers still look slightly moist and glossy.
- Let the cakes cool in the ramekins for 2 minutes. Then, carefully run a knife around the edges and invert each cake onto a serving plate. The cakes should unmold easily.
- Dust the tops generously with confectioners' sugar and sprinkle with white chocolate curls. Serve immediately while the centers are still warm and flowing.
Estimated nutrition per serving
- Calories
- 520
- Protein
- 8 g
- Carbohydrates
- 45 g
- Fat
- 36 g
Next recipe
Ultra-Gooey Cast-Iron Skillet Chocolate Chip Cookie
See the recipe → →This recipe is based on a short cooking video and is published under the pen name Clara Weller. It was checked before publication, but errors can slip through. Nutrition, when shown, is an estimate. Read more in our editorial policy and on our food safety page.
More recipes to try
Ten-Minute Cast-Iron S'mores Dip
Total time: 10 min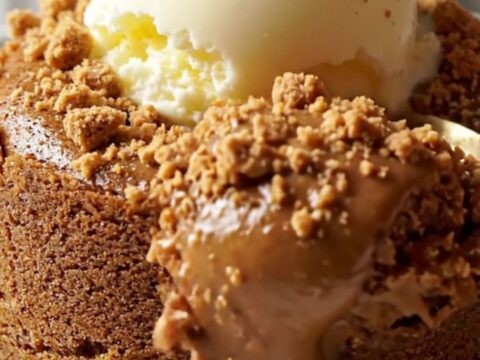
Warm Spiced Biscoff Cookie Butter Lava Cake
Total time: 31 min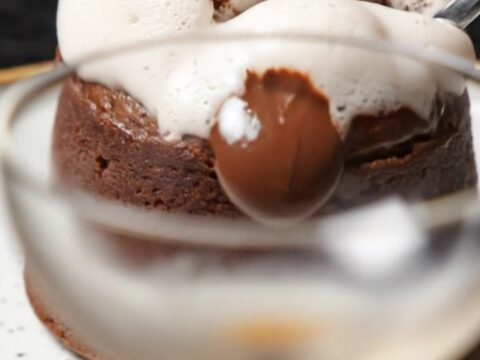
Espresso Martini Molten Lava Cake
Total time: 28 min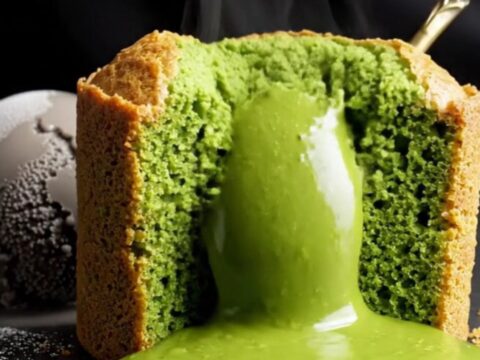
Emerald Matcha Molten Lava Cakes
Total time: 25 min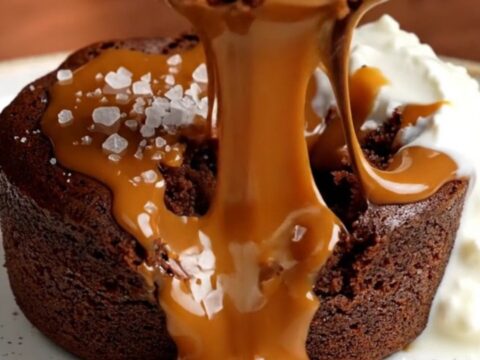
Salted Caramel Molten Chocolate Cakes
Total time: 17 min