Desserts · Part 1 of 3: Ingredients
Red Velvet Molten Lava Cake with Cream Cheese Filling
- Prep
- Cook
- Total
- Serves
- 4
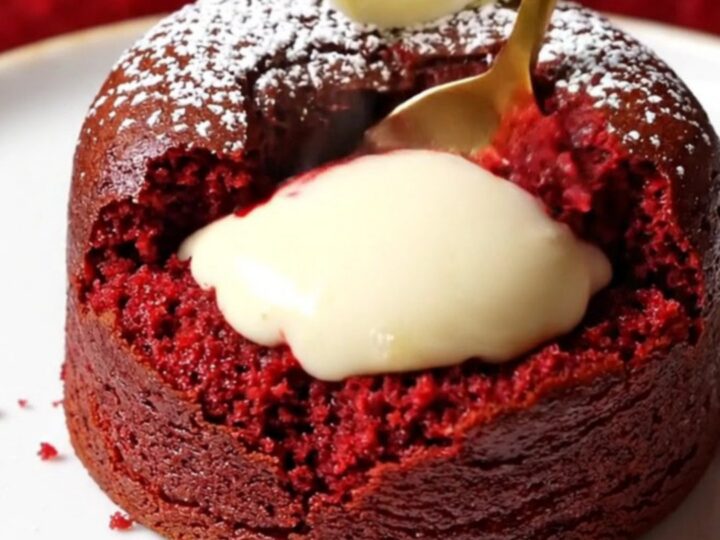
There’s something magical about cutting into a warm cake and watching a river of molten chocolate and tangy cream cheese spill out. This red velvet molten lava cake delivers that drama in just 12 minutes of baking.
The deep crimson crumb is tender and moist, while the center stays gloriously gooey. It’s the kind of dessert that feels fancy enough for a dinner party but simple enough for a weeknight craving.
This red velvet molten lava cake is a showstopper that comes together in under half an hour. The batter is a quick whisk of melted chocolates, eggs, sugar, and cocoa, with red velvet extract giving it that iconic hue. A sweetened cream cheese filling is piped into the center, creating a molten core that flows out when you cut into the cake.
Baked at a high temperature for a short time, the exterior sets into a delicate crust while the inside stays lusciously soft. Serve it warm, dusted with confectioners’ sugar and topped with white chocolate curls, for a dessert that’s as beautiful as it is delicious.
Ingredients
- 4 tbsp unsalted butter, melted, plus more for greasing
- 3 oz white chocolate, chopped
- 3 oz dark chocolate (60-70% cacao), chopped
- 2 large eggs
- 1/2 cup granulated sugar
- 2 tbsp unsweetened cocoa powder
- 1 tsp red velvet extract (or 1 tbsp red food coloring)
Cream Cheese Filling
- 4 oz cream cheese, softened
- 1/4 cup confectioners' sugar
- 1/2 tsp vanilla extract
For Serving
- Confectioners' sugar, for dusting, to taste
- White chocolate curls, for garnish, to taste
Why this recipe works
The high baking temperature, 425°F (220°C), is the key to achieving the perfect molten center. The heat quickly sets the outer edges of the cake while the center remains soft and flowing.
This technique is the same used for classic chocolate lava cakes—it’s all about timing and heat. The result is a cake that looks perfectly baked on the outside but hides a luscious, creamy core that spills out dramatically when you break into it.
The cream cheese filling provides a tangy contrast to the sweet red velvet batter. The richness of the cream cheese balances the deep cocoa flavor, creating a more complex dessert. The filling is sweetened with confectioners’ sugar and flavored with vanilla, making it smooth and pipeable.
When baked, it stays soft and molten, so each bite delivers a dual texture: tender cake and creamy, tangy filling. This combination is what sets this lava cake apart from the classic chocolate version.
Notes and substitutions
For the best flavor, use high-quality white and dark chocolate. The white chocolate adds sweetness and creaminess, while the dark chocolate provides depth. Red velvet extract is available in baking sections; if you can’t find it, use red food coloring plus a splash of vinegar to mimic the tang. The cream cheese should be full-fat and softened for a smooth filling.
Ramekins are essential for individual cakes; 6-ounce sizes work perfectly. If you don’t have ramekins, you can use a muffin tin, but adjust the baking time accordingly. The cakes are best served immediately after baking, as the molten center sets as they cool. Prepare the cream cheese filling ahead of time to streamline the process.
- red velvet extract: Use 1 tablespoon red food coloring plus 1 teaspoon white vinegar to mimic the classic buttermilk tang and color.
- white chocolate: Replace with an equal amount of additional dark chocolate for a more intense cocoa flavor.
- cream cheese: Mascarpone cheese works well and yields a slightly sweeter, silkier filling.
- unsalted butter: Salted butter can be used; just reduce the added salt in the recipe by half.
Equipment
- 4 (6-ounce) ramekins
- Mixing bowls
- Whisk
- Piping bag or zip-top bag
- Baking sheet
- Small saucepan or microwave
Up next · Part 2 of 3
8 steps · 12 min of cooking · what to look for at each stage
Step-by-step instructions (Part 2)