Desserts · Part 1 of 3: Ingredients
Ultra-Gooey Cast-Iron Skillet Chocolate Chip Cookie
- Prep
- Cook
- Total
- Serves
- 4
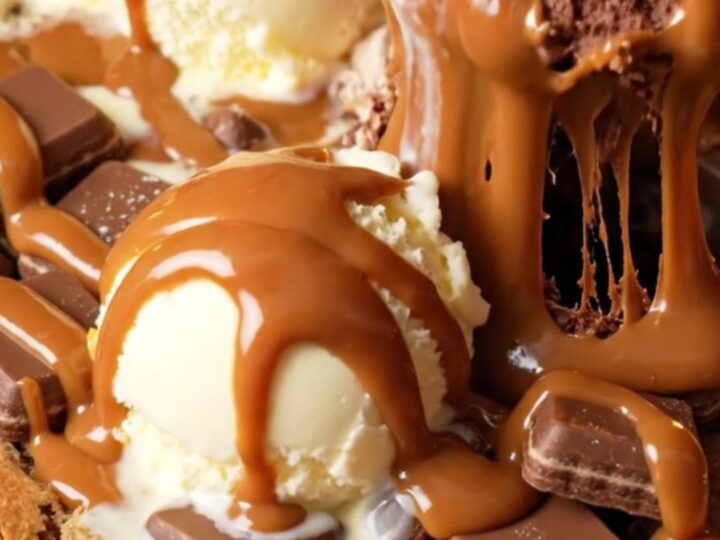
Discover the ultimate dessert indulgence with this one-pan skillet chocolate chip cookie. Combining the deep, nutty notes of browned butter with the richness of dark chocolate, this recipe transforms basic pantry staples into a sophisticated treat.
It is designed to be baked and served directly in a cast-iron skillet, creating a perfect contrast between crisp, caramelized edges and a molten, gooey center that melts in your mouth with every single bite.
Nothing beats the comfort of a warm, freshly baked cookie, and this skillet version takes that experience to the next level. By browning the butter first, you unlock layers of flavor that standard recipes simply cannot match.
The skillet method ensures an even, golden bake while keeping the center delightfully soft and decadent. Whether you are hosting a movie night or simply craving a sweet escape, this recipe provides a reliable and impressive dessert that comes together with minimal effort and cleanup time.
Ingredients
Cookie Dough
- 1/2 cup unsalted butter
- 1/2 cup brown sugar
- 1 large egg
- 1 tsp vanilla extract
- 1 cup all-purpose flour
- 1 cup dark chocolate wafers
Topping
- 2 scoops vanilla bean ice cream
- 1/4 cup hot fudge sauce
Why this recipe works
The cast-iron skillet is the secret to this recipe's success. Its superior heat retention ensures the edges become perfectly crispy and caramelized while the center remains soft and molten. Because the dough is mixed and baked in the same vessel, the residual heat from the skillet helps to keep the cookie warm and gooey for an extended period, making it the ideal centerpiece for sharing.
Browning the butter is a transformative technique that adds a depth of flavor reminiscent of toffee. By cooking the butter until the milk solids toast, you introduce a complex, nutty profile that balances the sweetness of the brown sugar. This simple step elevates the humble chocolate chip cookie into a gourmet-style dessert, ensuring that every bite is rich, aromatic, and deeply satisfying for anyone who enjoys classic, high-quality sweets.
Notes and substitutions
For the best results, use high-quality dark chocolate wafers or roughly chopped chocolate bars. Unlike standard semi-sweet chips, these offer a more intense cocoa flavor and a better melt-in-your-mouth texture.
If using chopped chocolate, ensure the pieces are varied in size to create pools of molten chocolate throughout the cookie. Always measure your flour by spooning it into the measuring cup and leveling it off to avoid a dry or cakey texture.
An 8-inch cast-iron skillet is the essential tool for this recipe. If your skillet is slightly larger, the cookie will be thinner and bake faster; if it is smaller, it will be thicker and require a few additional minutes.
Ensure your butter has cooled slightly after browning so that the egg does not cook prematurely when added. This careful temperature management is crucial for achieving the perfect dough consistency before it hits the oven for the final bake.
- dark chocolate wafers: semi-sweet chocolate chips or chopped chocolate bars work perfectly as a direct replacement.
- brown sugar: light or dark brown sugar can be used interchangeably depending on preference for molasses flavor.
Equipment
- 8-inch cast-iron skillet
- mixing spoon
- measuring cups
- measuring spoons
Up next · Part 2 of 3
3 steps · 15 min of cooking · what to look for at each stage
Step-by-step instructions (Part 2)