Desserts · Part 1 of 3: Ingredients
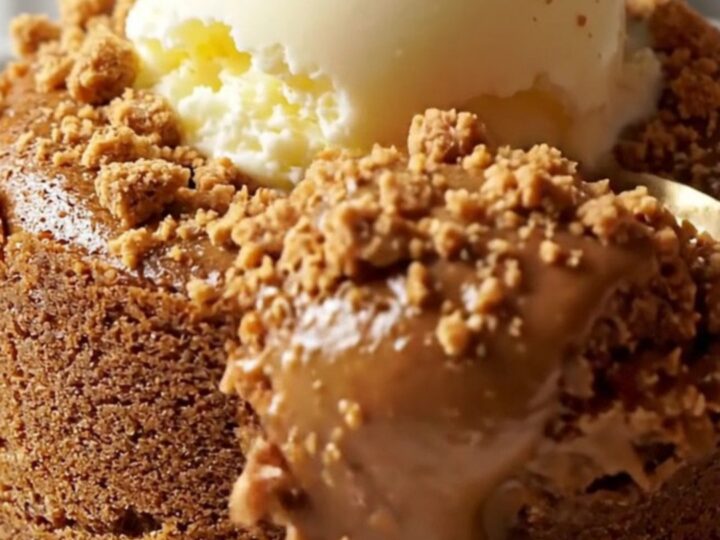
Warm Spiced Biscoff Cookie Butter Lava Cake
- Prep
- Cook
- Total
- Serves
- 4
Indulge in a dessert that marries the comfort of spiced cookies with the sheer luxury of a molten center. This warm Biscoff cookie butter lava cake is designed for those moments when only something truly decadent will do.
With a crisp, crumb-lined exterior and a liquid gold core, this recipe delivers restaurant-quality indulgence directly from your oven. It is simple, fast, and guaranteed to become a favorite in any home kitchen where sweet, spiced flavors are cherished.
The magic of this lava cake lies in the contrast between the firm, spiced cake edges and the warm, flowing Biscoff center. By using crushed cookies to line the ramekins, you add an extra layer of texture that enhances the overall experience.
The preparation is straightforward, requiring only basic whisking techniques to achieve a professional result. Whether you are hosting a dinner party or simply seeking a special evening treat, this lava cake provides a sophisticated finish that is both comforting and impressive.
Ingredients
Cake Batter
- 1 cup Biscoff cookie butter
- 4 tbsp unsalted butter
- 2 large eggs
- 2 large egg yolks
- 1/4 cup brown sugar
- 1/2 tsp ground cinnamon
- 1/4 cup all-purpose flour
Topping
- crushed Biscoff cookies for serving
- vanilla gelato for serving
Why this recipe works
The method of melting the cookie butter with butter creates a stable base that holds the structure of the cake while keeping the center fluid. By whisking the eggs and yolks thoroughly, you introduce enough air to create a delicate crumb that contrasts beautifully with the dense, molten filling. The addition of flour is kept to a minimum to ensure the cake remains light and the center stays liquid.
Using cookie crumbs to coat the ramekins serves a dual purpose: it prevents the cake from sticking and adds a delightful crunch that complements the soft cake.
The high-temperature, short-duration bake is essential for setting the outer shell of the cake quickly while leaving the interior undercooked, which is the defining characteristic of a classic lava cake. This precision ensures that every bite offers the perfect balance of texture and temperature.
Notes and substitutions
The choice of cookie butter is important for the flavor profile; ensure you use a high-quality smooth spread for the best consistency. If you cannot find Biscoff, any speculoos-style cookie butter will work well.
For the best results, use large eggs that are at room temperature, as this helps them mix more evenly with the melted fats. If you prefer a more intense spice profile, you can add a pinch of nutmeg or ground ginger to the batter along with the cinnamon.
When it comes to equipment, standard 4-ounce ceramic ramekins are ideal for this recipe. If you use larger ramekins, you will need to adjust the baking time accordingly. Ensure your oven is fully preheated before placing the cakes inside, as this initial blast of heat is crucial for the rise and texture. Always use a sturdy baking sheet to transport the ramekins, which makes it easier to move them in and out of the oven without spilling the batter.
- Biscoff cookie butter: Any smooth speculoos cookie butter spread
- brown sugar: granulated sugar or coconut sugar
Equipment
- 4 ramekins
- whisk
- mixing bowl
- baking sheet
- saucepan
Up next · Part 2 of 3
3 steps · 11 min of cooking · what to look for at each stage
Step-by-step instructions (Part 2)