Desserts · Part 3 of 3: Tips & recipe card
No-Bake Pineapple Cream Cheesecake with a Crisp Cookie Crust Tips, FAQ & printable recipe
- Prep
- Cook
- Total
- Serves
- 10
Tips for success
Drain the pineapple as seriously as anything else in the recipe. Press it gently in a fine sieve for 20 minutes at minimum, or spread it on paper towels and blot the top; for the firmest filling, drain it overnight in a covered container in the refrigerator.
Temperature discipline matters just as much: cream cheese at true room temperature beats smooth in two minutes, while cold cream cheese fights the mixer and leaves lumps. Chill the bowl and beaters for the cream before whipping — a ten-minute stay in the freezer makes the cream thicken faster and hold stiff peaks with far less risk of overwhipping.
A few small habits make the finished pie look professionally cut. Press the crust with the flat bottom of a measuring cup or a drinking glass rather than fingers, which compacts it evenly and keeps the edge tidy. When slicing, run a sharp knife under hot water and wipe it dry between cuts; warm steel glides through the chilled filling instead of dragging through it.
Spread the filling all the way to the edge of the crust so every slice shows the full cross-section. Finally, keep the pie in the refrigerator until the moment it is served — cold filling slices cleanly, and the crust stays crisp longest straight from the fridge.
Variations
- Mango Version: Replace the crushed pineapple with an equal amount of well-drained crushed mango, pressed dry in a sieve the same way. The folding method and chilling time stay identical, and the filling sets just as firmly with a sweeter, more floral fruit flavor.
- Berry Swirl: After spreading the filling into the crust, drop small spoonfuls of thick strawberry or raspberry preserves over the top and drag a knife through them in loose swirls. Chill as directed; the swirl sets into the filling and looks striking on every slice.
- Individual Servings: Press the crust into the bottoms of small glasses or jars, spoon the filling over, and chill for about 4 hours. No slicing is needed, the portions are neat, and the same quantities fill roughly a dozen small jars.
- Extra-Lemon: Double the lemon juice and add a teaspoon of finely grated lemon zest to the cream cheese base. The filling tastes brighter and more tangy, and the zest heightens the pineapple without changing the texture or the chilling time at all.
Storage and make-ahead
- Fridge
- Keeps up to 4 days covered in the refrigerator; the crust softens slightly but the filling stays creamy and fully set.
- Freezer
- Freezes well up to 1 month wrapped tightly in plastic and foil; thaw overnight in the refrigerator before slicing.
- Reheat
- No reheating needed — this cheesecake is served cold, straight from the refrigerator, for the cleanest slices and crispest crust.
Cover the pie dish tightly with plastic wrap or transfer leftover slices to an airtight container and refrigerate for up to 4 days. The crust softens slightly as it sits, which many people enjoy, but the filling stays creamy and fully set the whole time. A little clear juice around the pineapple after a couple of days is normal; blot it with a paper towel before serving. Do not leave the cheesecake at room temperature for more than 2 hours; return it to the refrigerator promptly after serving.
This is an ideal make-ahead dessert. The crust can be pressed into the dish, wrapped tightly and refrigerated up to 2 days ahead, or frozen for a month. The drained pineapple can sit in a covered container in the refrigerator overnight. The whole pie is arguably better made a day in advance: an overnight chill sets the filling edge to edge and gives the cleanest slices, so plan to finish it the day before serving. Keep the surface untouched until serving time so it stays smooth. On the day itself, the only task is slicing and plating.
Serving ideas
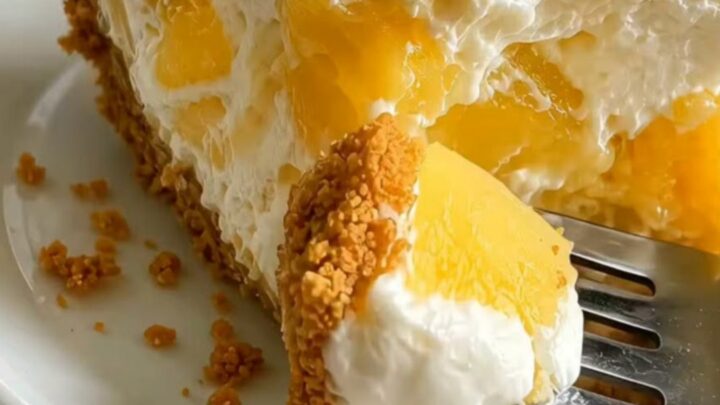
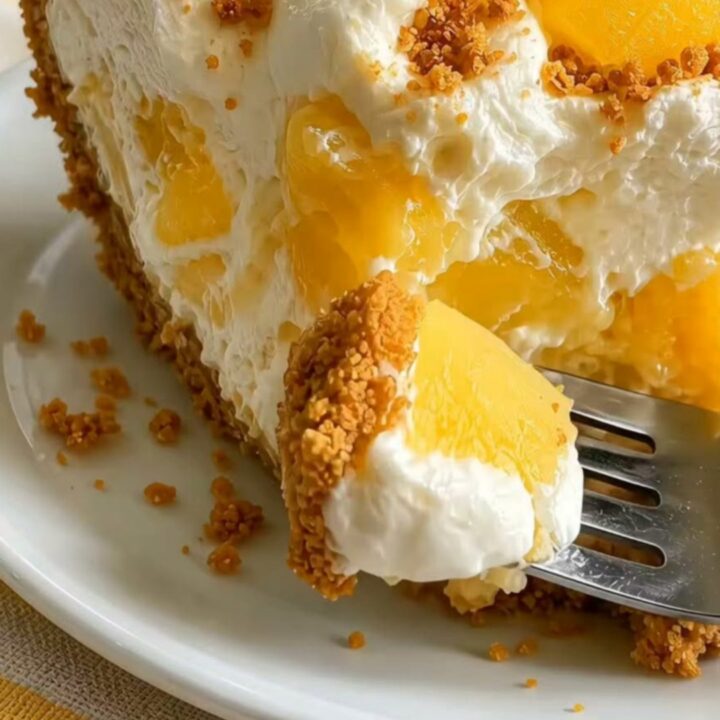
Serve the cheesecake cold, straight from the refrigerator, one thick slice at a time lifted out with a pie server. The pie is complete as it is — crisp crust, creamy filling and juicy pineapple need nothing extra, and this is exactly how it is best presented: a generous slice on a plain white plate, eaten with a fork.
For neater portions, dip the knife in hot water and wipe it dry between cuts, and give each slice a minute on the plate so it loses its deep chill slightly and the pineapple flavor comes forward. Small portions work well after a rich meal; a slim slice satisfies.
For a gathering, cut the pie into ten wedges and set them on a chilled platter, or bring the whole dish to the table and slice in front of guests — the clean cross-section is part of the appeal. Cold drinks suit it best: iced tea, cold brew or sparkling lemonade echo the pineapple's brightness.
If serving alongside coffee, offer it black so its bitterness contrasts the creamy sweetness. Whatever the setting, return any uneaten pie to the refrigerator within two hours so the filling stays firm and food-safe for the next round of slices.
Frequently asked questions
Can this cheesecake be made ahead?
Why did the filling turn out grainy?
Can this be frozen?
How well should the pineapple be drained?
Can a springform pan be used instead of a pie dish?
No-Bake Pineapple Cream Cheesecake with a Crisp Cookie Crust
Ingredients
- 1 1/2 cups graham cracker crumbs (about 12 full sheets)
- 6 tbsp unsalted butter, melted
- 1/4 cup granulated sugar
- 16 oz full-fat brick-style cream cheese, softened
- 3/4 cup confectioners' sugar
- 1 tsp vanilla extract
- 1 tbsp fresh lemon juice
- 1 cup cold heavy cream
- 1 1/2 cups crushed pineapple, very well drained
Instructions
- Stir the graham cracker crumbs, granulated sugar and melted butter together in a medium bowl until every crumb is evenly moistened and the mixture looks like wet sand. Pinch a small amount between two fingers; it should clump and hold its shape rather than crumble apart.
- Tip the crumb mixture into a 9-inch pie dish and press it firmly across the bottom and partway up the sides, using the flat bottom of a measuring cup. Work from the center outward so the crust is an even thickness, then place the dish in the freezer for 15 minutes while the filling is started.
- Beat the softened cream cheese, confectioners' sugar, vanilla and lemon juice in a large bowl with an electric mixer on medium speed for about 2 minutes, scraping the bowl once halfway through. Stop when the mixture is completely smooth and glossy, with no visible lumps of cream cheese anywhere.
- In a separate chilled bowl, whip the cold heavy cream on medium-high speed until it holds stiff, stable peaks, about 2 to 3 minutes. Watch closely near the end; the cream should look thick and satiny, never grainy, and the peaks should stand straight up when the beaters lift.
- Fold the whipped cream into the cream cheese base in two additions, using a spatula and a gentle turn-and-fold motion. Stop as soon as no white streaks remain. Add the drained crushed pineapple and fold just until the fruit is evenly distributed through the fluffy filling.
- Spoon the filling into the chilled crust and spread it to the edges with an offset spatula or the back of a spoon, smoothing the top in broad strokes. Give the dish a gentle tap on the counter to settle the filling and release any air pockets trapped during folding.
- Cover the pie dish without touching the surface and refrigerate for at least 6 hours, preferably overnight, until the filling is fully set and firm to a light touch in the center. Keep it level in the refrigerator so the top chills flat and even.
- Slice with a sharp knife run under hot water and wiped dry between cuts, lifting each piece out with a pie server. Serve the cheesecake straight from the refrigerator, one thick slice at a time, so the crust stays crisp and the filling stays cold and creamy.
Estimated nutrition per serving
- Calories
- 434
- Protein
- 5 g
- Carbohydrates
- 36 g
- Fat
- 30 g
Next recipe
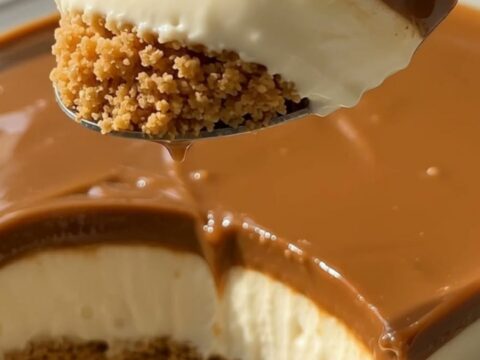
Creamy Caramel Cheesecake with Graham Crust
See the recipe → →This recipe is based on a short cooking video and is published under the pen name Clara Weller. It was checked before publication, but errors can slip through. Nutrition, when shown, is an estimate. Read more in our editorial policy and on our food safety page.
More recipes to try
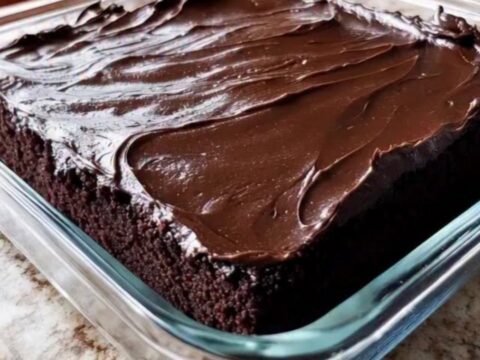
Chocolate Wacky Cake: One-Pan, Egg-Free and Ready in an Hour
Total time: 1 h 5 min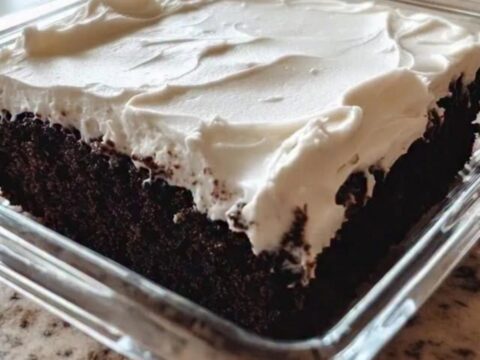
Wacky Cake with Creamy Vanilla Frosting (One Bowl, No Eggs)
Total time: 1 h 50 min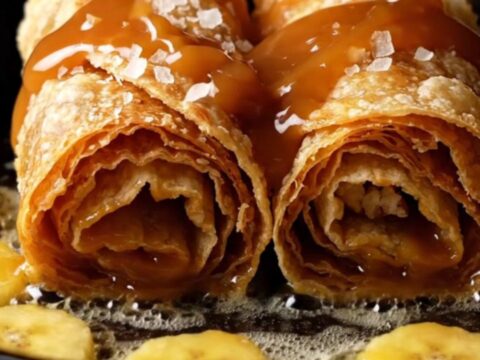
Crispy Dulce de Leche Banana Foster Roll-ups in 30 Minutes
Total time: 30 min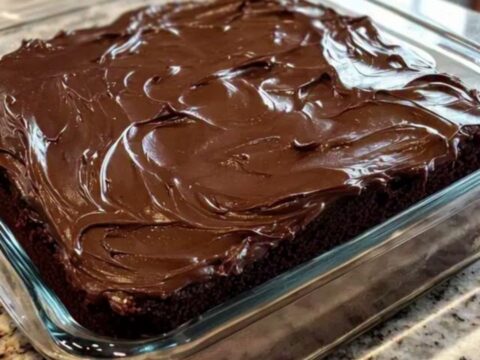
Chocolate Wacky Cake — One-Pan, No Eggs, Ready in an Hour
Total time: 1 h 35 min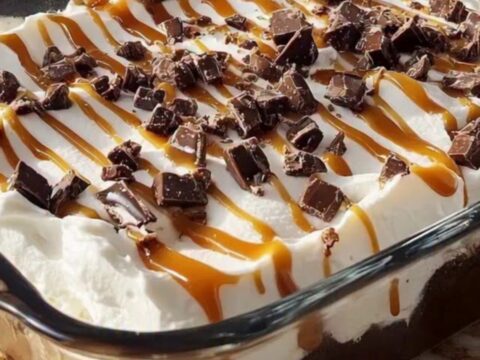
Better Than Sex Cake with Caramel and Toffee in One Dish
Total time: 1 h 15 min