Desserts · Part 3 of 3: Tips & recipe card
Easy Red Velvet Gooey Butter Cake with White Chocolate Chips Tips, FAQ & printable recipe
- Prep
- Cook
- Total
- Serves
- 12
Tips for success
Temperature is the recipe's quiet requirement. A chilled dough cracks as it is pressed, so give it thirty minutes on the counter; a cold filling tears the soft base as it spreads, so let it loosen briefly and stir it completely smooth before it goes on.
Work the filling gently to the corners with an offset spatula rather than dragging it hard across the base. Scrape the filling bowl well, since a dense pocket at the bottom spreads unevenly and bakes into a thin, overcooked streak. Level chips matter too — an even scattering melts into even pockets, while a pile stays firm in the middle.
For the cleanest squares, chill the fully cooled cake for 30 minutes before cutting, use a long thin knife, and wipe the blade between slices. If the chips brown faster than the filling bakes, tent the dish with foil for the last ten minutes.
Leftover squares taste best within a few degrees of room temperature, so take them out of the refrigerator about twenty minutes before serving to let the filling regain its creaminess. A quick microwave warm-up of fifteen to twenty seconds revives that fresh-from-the-oven softness on the second day, and the chips turn molten at the edges.
Variations
- Peppermint Crunch: Swap the white chocolate chips for white chocolate peppermint chips in December, or add half a teaspoon of peppermint extract to the filling. Crushed peppermint candies scattered with the chips add color and a cool snap.
- Extra Cocoa Base: Stir two tablespoons of unsweetened cocoa powder into the base dough, or use a chocolate cake dough instead, for a darker, deeper base that stands up well to the sweet, tangy cream cheese filling.
- Salted White Chocolate: Sprinkle a quarter teaspoon of flaky sea salt over the chips just before baking. The salt sharpens the white chocolate and balances the sweet filling, especially for anyone who finds the classic version very sweet.
- Cherry Swirl: Dot a third cup of cherry preserves over the filling and swirl with a knife before adding the chips; the fruit pairs naturally with red velvet and adds a glossy ribbon through each slice.
Storage and make-ahead
- Fridge
- Cover and refrigerate for up to 4 days; the filling keeps its creamy texture. Cool no more than 2 hours before refrigerating.
- Freezer
- Freeze cut squares wrapped tightly in plastic and in a freezer bag for up to 2 months; thaw overnight in the refrigerator.
- Reheat
- Microwave individual squares for 15-20 seconds, or warm the covered dish in a 300°F (150°C) oven for about 10 minutes.
Keep the cake covered in the refrigerator, where the cream cheese filling keeps well for up to four days; let squares sit at room temperature for about twenty minutes before serving so the filling regains its creamy texture. After baking, cool the cake no more than two hours before it goes into the refrigerator.
To freeze, cut the cooled cake into squares, wrap each one tightly in plastic and slip them into a freezer bag, pressing out the air; they keep up to two months. Thaw wrapped squares overnight in the refrigerator, then bring to room temperature. The base stays chewy and the filling keeps its texture through freezing — the chips soften slightly but taste the same.
This cake is a natural make-ahead dessert. Bake it the day before serving, cool it completely, cover the dish and refrigerate overnight; the filling sets even creamier after a night of chilling, and the flavor deepens. Cut into squares just before serving, or up to a day ahead if they go into an airtight container.
Assembled but unbaked, the cake holds, covered, in the refrigerator for up to a day; add ten minutes to the bake time. If the filling is made at home, it keeps covered in the refrigerator for a day and needs only a brief stir before it pours smoothly over the base.
Serving ideas
Serve the cake at room temperature, cut into twelve squares, when the filling is at its creamiest and the base stays pleasantly chewy. Plain is the classic way — the tangy filling and white chocolate need nothing else — though a small pour of cold whole milk or a cup of coffee alongside suits it perfectly. For a dinner party, add a spoonful of lightly sweetened whipped cream or a few fresh raspberries, whose tartness plays off the sweet filling; a light dusting of confectioners' sugar also looks handsome against the red base.
Because the squares hold their shape well, this travels beautifully: bring the whole cake in its dish, or arrange squares on a platter for a buffet. For a warmer dessert, microwave individual squares for fifteen to twenty seconds — the filling turns extra creamy and the chips go molten at the edges. At a holiday table, pair it with vanilla ice cream; the cold against the gooey center is the combination people remember.
Frequently asked questions
Can this be made ahead?
Why is the filling gooey in the middle while the edges set?
Can a homemade red velvet dough be used instead of store-bought?
How is gooey butter cake different from cheesecake?
Can this be frozen?
Easy Red Velvet Gooey Butter Cake with White Chocolate Chips
Ingredients
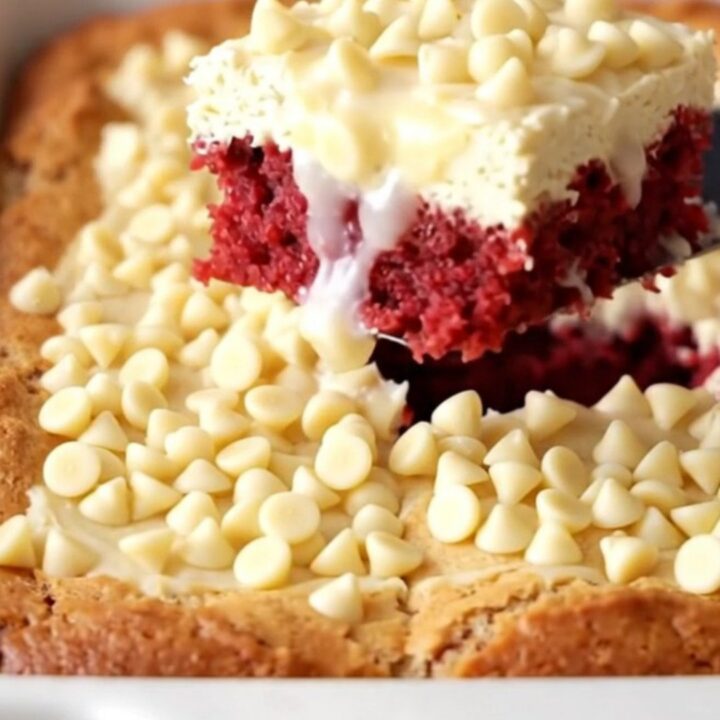
- 1 lb red velvet cake dough, store-bought or made ahead
- Cream cheese filling, to taste (store-bought or made ahead)
- 3/4 cup white chocolate chips
Instructions
- Heat the oven to 350°F (175°C) with a rack in the center, and grease a 9x13-inch baking dish or line it with parchment, leaving an overhang on the two long sides so the finished cake lifts out cleanly for neat, even squares.
- Press the red velvet cake dough into an even, flat layer across the bottom of the prepared dish, patting it into the corners with your fingertips or the bottom of a measuring cup so the base bakes uniformly from edge to edge.
- Stir the cream cheese filling in its bowl until completely smooth and spoonable, about 1 minute, scraping the bottom so no dense pocket hides there; a filling straight from the refrigerator spreads far more evenly after a brief rest at room temperature.
- Pour the filling over the pressed base and let it flow toward the edges, then guide it gently with an offset spatula so it reaches every corner in one even layer, taking care not to disturb the red dough underneath as you work.
- Scatter the white chocolate chips evenly over the filling, letting them sit on the surface where the oven's direct heat will soften them into creamy pockets; spread them with your fingertips so no spot piles up or stays bare.
- Bake for 35 to 40 minutes, until the edges are pale golden and gently puffed and the top of the filling looks dry and set; the center should still look creamy, and that contrast is exactly what a gooey butter cake should show.
- Cool the cake completely in the dish on a wire rack, about 2 hours, so the gooey layer settles from billowy to dense and creamy; do not judge the texture warm, because the middle firms to its signature sliceable state only when fully cooled.
- Lift the cooled cake out by the parchment overhang, or cut it straight in the dish, slicing into 12 even squares with a long thin knife; wipe the blade between cuts for the cleanest edges, and serve the squares at room temperature.
Estimated nutrition per serving
- Calories
- 430
- Protein
- 6 g
- Carbohydrates
- 56 g
- Fat
- 22 g
- Sugar
- 44 g
Next recipe
No-Bake Pineapple Cream Cheesecake with a Crisp Cookie Crust
See the recipe → →This recipe is based on a short cooking video and is published under the pen name Clara Weller. It was checked before publication, but errors can slip through. Nutrition, when shown, is an estimate. Read more in our editorial policy and on our food safety page.
More recipes to try
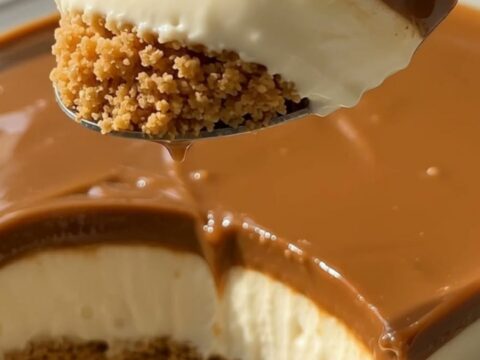
Creamy Caramel Cheesecake with Graham Crust
Total time: 5 h 30 min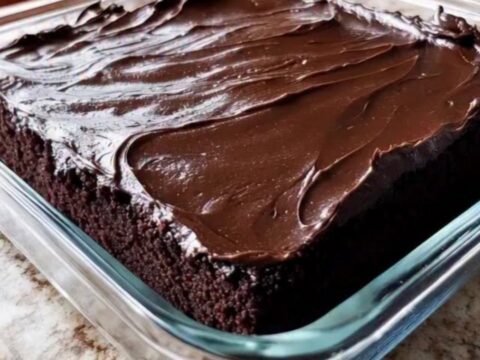
Chocolate Wacky Cake: One-Pan, Egg-Free and Ready in an Hour
Total time: 1 h 5 min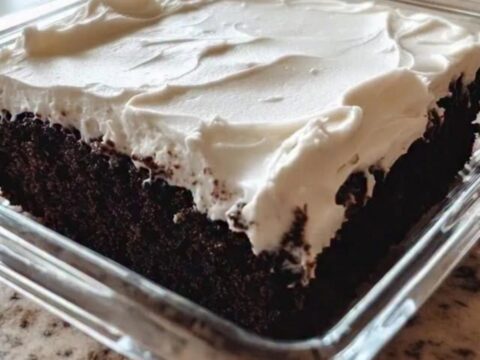
Wacky Cake with Creamy Vanilla Frosting (One Bowl, No Eggs)
Total time: 1 h 50 min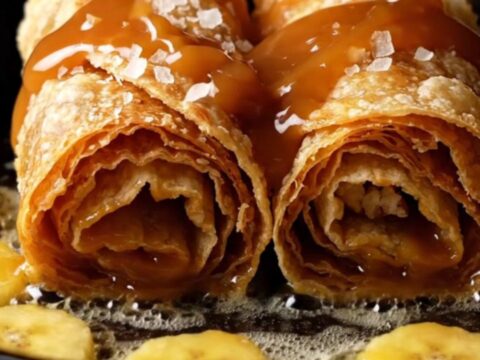
Crispy Dulce de Leche Banana Foster Roll-ups in 30 Minutes
Total time: 30 min
Chocolate Wacky Cake — One-Pan, No Eggs, Ready in an Hour
Total time: 1 h 35 min