Desserts · Part 3 of 3: Tips & recipe card
Creamy No-Bake Chocolate Biscuit Icebox Cake Tips, FAQ & printable recipe
- Prep
- Cook
- Total
- Serves
- 8
Tips for success
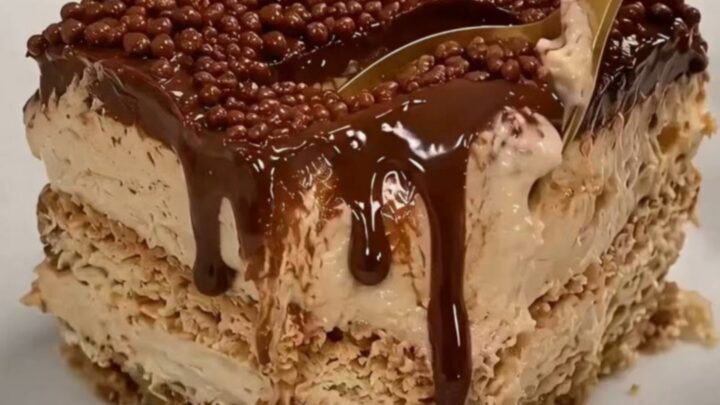
For cleaner slices, dip your knife in hot water and wipe it dry between each cut. This technique melts the ganache slightly as it passes through, preventing the layers from dragging or tearing, which ensures a professional presentation every time you serve the dessert to guests or family members.
If you prefer a more intense chocolate flavor, consider adding a pinch of espresso powder to the ganache before layering.
This addition does not change the texture but enhances the richness of the cocoa, providing a deeper profile that complements the sweetness of the biscuits and the crunchy texture of the chocolate pearls on top.
Variations
- Mocha Biscuit Cake: Stir one teaspoon of instant espresso powder into the chocolate ganache before spreading. This adds a sophisticated coffee undertone that pairs beautifully with the chocolate and softens the overall sweetness of the dessert.
- White Chocolate Raspberry: Substitute the chocolate ganache with a white chocolate ganache and sprinkle fresh raspberries between each layer. The tartness of the berries cuts through the sweetness of the white chocolate, offering a vibrant and refreshing twist.
Storage and make-ahead
- Fridge
- Keep refrigerated in an airtight container for up to 3 days.
- Freezer
- Not recommended, as the texture of the biscuits will become mushy upon thawing.
- Reheat
- Do not reheat; serve chilled directly from the refrigerator.
Store the cake covered with plastic wrap or in an airtight container to prevent it from absorbing other flavors from the refrigerator.
It is best enjoyed within three days of preparation for optimal texture, as the biscuits will continue to soften over time and may eventually lose their distinct layered identity if left for too long.
This recipe is ideal for making ahead, as it requires a minimum of four hours to set. Preparing it the day before ensures the best possible texture and flavor development. The cake remains stable in the refrigerator for up to 48 hours, making it a stress-free option for planned events or weekend hosting.
Serving ideas
Serve the cake directly from the refrigerator to ensure it remains firm and easy to slice. Using a small dessert spoon or a cake server helps maintain the integrity of the layers when transferring slices to individual plates.
The contrast between the chilled, creamy texture and the crunchy topping is best appreciated when the cake is cold.
Pair each slice with a dollop of unsweetened whipped cream or a few fresh berries to balance the richness of the chocolate.
These additions provide a light, acidic contrast that cleanses the palate between bites, making each portion feel like a complete and thoughtful dessert experience for anyone enjoying it.
Frequently asked questions
Can this be made with gluten-free biscuits?
Why does the cake fall apart when sliced?
Can this be frozen for later?
Creamy No-Bake Chocolate Biscuit Icebox Cake
Ingredients
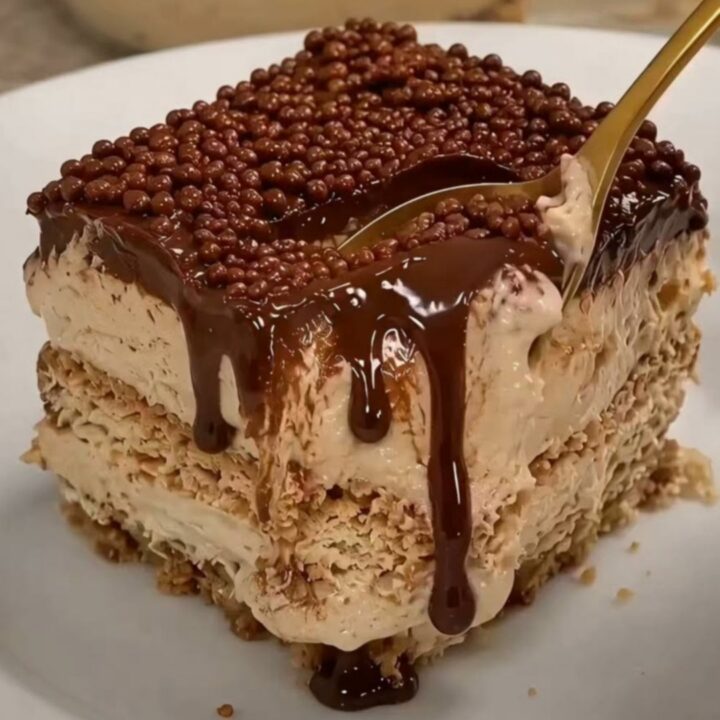
- 1 package tea biscuits
- 2 cups chocolate ganache, prepared
- 1/2 cup crunchy chocolate pearls
Instructions
- Arrange a single layer of tea biscuits at the bottom of an 8-inch square glass dish, breaking them to fit snugly if necessary to ensure even coverage.
- Spread a thin, even layer of chocolate ganache over the biscuits using an offset spatula. Repeat the process of alternating biscuit layers and ganache until the ingredients are used, finishing with a smooth ganache top.
- Sprinkle the crunchy chocolate pearls over the top of the cake. Place the dish in the refrigerator to set for at least four hours before slicing and serving.
Estimated nutrition per serving
- Calories
- 380
- Protein
- 4.5 g
- Carbohydrates
- 42 g
- Fat
- 22 g
- Fiber
- 2.5 g
- Sugar
- 28 g
- Sodium
- 180 mg
Next recipe
Rich Oreo Earthquake Cake with Gooey Marshmallow
See the recipe → →This recipe is based on a short cooking video and is published under the pen name Clara Weller. It was checked before publication, but errors can slip through. Nutrition, when shown, is an estimate. Read more in our editorial policy and on our food safety page.
More recipes to try
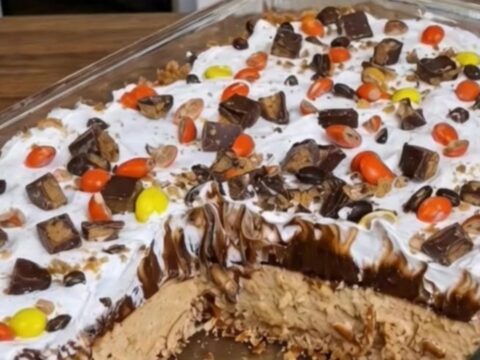
Easy Peanut Butter Chocolate Layer Dessert
Total time: 2 h 20 min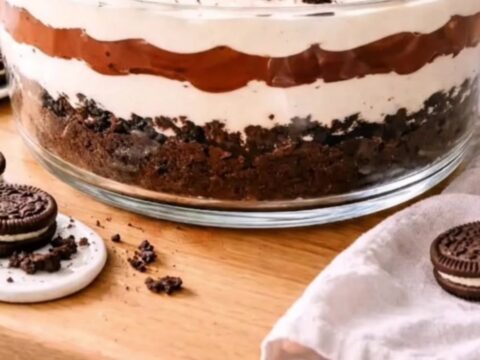
Decadent Oreo Chocolate Cream Trifle for Easy Entertaining
Total time: 1 h 15 min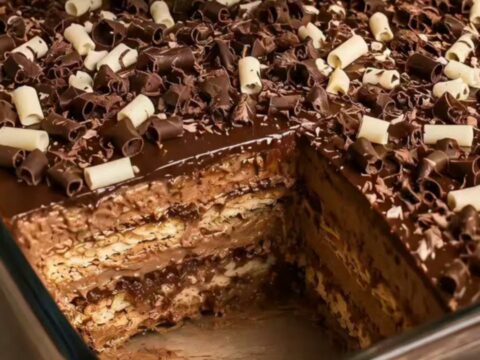
Creamy Chocolate Pavê with Glossy Ganache
Total time: 4 h 40 min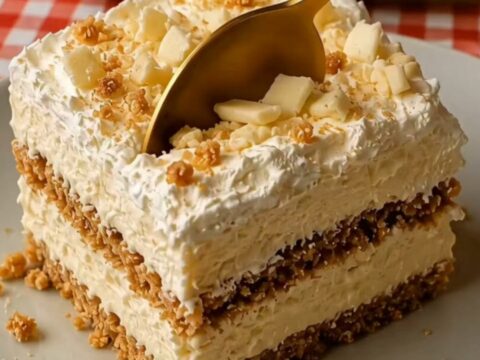
Creamy No-Bake White Chocolate Biscuit Cake
Total time: 2 h 20 min
Creamy Strawberry Banana Pudding Dessert
Total time: 45 min