Desserts · Part 1 of 3: Ingredients
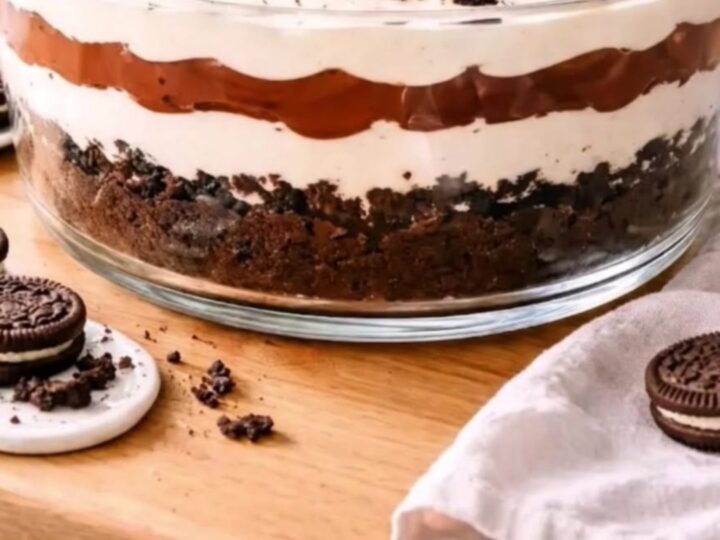
Decadent Oreo Chocolate Cream Trifle for Easy Entertaining
- Prep
- Cook
- Total
- Serves
- 8
Discover the secret to a dessert that looks like it came from a professional kitchen but takes mere minutes to prepare. This Oreo chocolate cream trifle is a masterclass in texture, combining velvety pudding, cloud-like whipped cream, and the iconic crunch of dark cocoa sandwich cookies.
It is the ultimate solution for busy hosts who want to impress guests without spending hours at the stove. With its beautiful visual layers, this show-stopping centerpiece is ready to delight anyone with a sweet tooth.
A trifle is the quintessential no-bake dessert that relies on the harmony of its components. By stacking distinct layers of creamy chocolate, light whipped cream, and chocolate cookies, you create a sophisticated treat that offers a different experience in every bite.
This recipe focuses on simple assembly, ensuring that the integrity of each layer remains intact. Perfect for celebrations or casual weekend dinners, this trifle is as delicious as it is visually appealing, making it a reliable addition to any home cook's collection of easy, crowd-pleasing dessert recipes.
Ingredients
Layers
- 24 cookies chocolate sandwich cookies, divided
- 2 cups prepared chocolate pudding
- 2 cups whipped cream
Why this recipe works
The method of layering ingredients in a glass bowl works because it showcases the contrasting colors and textures of the components. By alternating between the dense, silky chocolate pudding and the airy, light whipped cream, you create a balanced mouthfeel. The cookie crumbs act as a structural foundation that absorbs just enough moisture from the cream to become tender while maintaining a slight bite, which prevents the dessert from feeling one-dimensional.
This layering technique also ensures that every single scoop delivers a perfect ratio of all three elements. Because the ingredients are not mixed together beforehand, the distinct flavors remain vibrant and clear. The chilling time is crucial as it allows the cookie layers to soften slightly, which integrates the chocolate cookie flavor into the cream layers, resulting in a cohesive dessert that feels luxurious and well-composed rather than just a collection of ingredients.
Notes and substitutions
For the best results, use high-quality chocolate pudding, whether it is homemade or a premium store-bought variety. The intensity of the chocolate in the pudding will define the overall profile of the trifle.
When it comes to the whipped cream, ensuring it is properly whipped to stiff peaks is essential for maintaining the structure of the layers. Avoid using canned whipped cream, as it lacks the stability required for a layered dessert and will deflate quickly when covered by the weight of the pudding.
The trifle bowl is the most important piece of equipment for this dish. A tall, straight-sided glass bowl is ideal because it allows for clear visibility of the layers, which is the hallmark of a classic trifle.
If a traditional trifle bowl is unavailable, any deep glass vessel or individual serving glasses will work perfectly. Ensure that your cookies are crushed to a uniform size to avoid large gaps in the layers, which can cause the pudding and cream to slide unexpectedly.
- chocolate sandwich cookies: chocolate graham crackers or chocolate wafer cookies
- whipped cream: stabilized whipped topping
Equipment
- large glass trifle bowl
- serving spoon
- dessert spoon