Desserts · Part 1 of 3: Ingredients
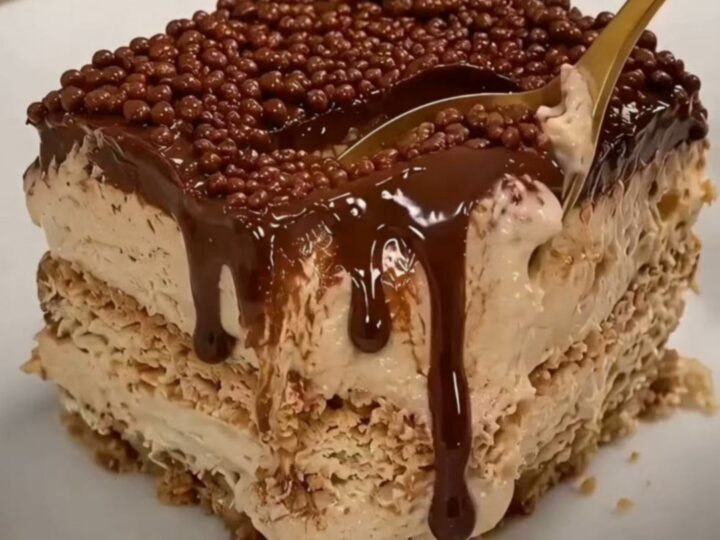
Creamy No-Bake Chocolate Biscuit Icebox Cake
- Prep
- Cook
- Total
- Serves
- 8
Discover the secret to a decadent dessert that requires zero baking and minimal effort. This no-bake chocolate biscuit icebox cake transforms simple pantry staples into a sophisticated, layered masterpiece.
Perfect for busy hosts or those craving a quick sweet fix, this recipe yields a luxurious texture that delights every palate. With a perfect balance of crunchy biscuits and velvety smooth chocolate, it stands out as a reliable go-to for any gathering, ensuring you impress without spending hours in the kitchen.
The beauty of an icebox cake lies in its simplicity and the magical transformation that occurs as it chills. By stacking crisp biscuits with rich chocolate ganache, the moisture from the filling slowly seeps into the biscuits, softening them into delicate, cake-like layers.
This process creates a harmonious texture that feels both light and incredibly satisfying. Whether preparing for a family weekend treat or a last-minute dinner party, this dessert offers a consistently impressive result that relies on patience in the refrigerator rather than active time at the stove.
Ingredients
Base
- 1 package tea biscuits
Filling
- 2 cups chocolate ganache, prepared
Topping
- 1/2 cup crunchy chocolate pearls
Why this recipe works
The method of layering biscuits with a moist filling relies on the science of hydration. As the cake rests in the refrigerator, the biscuits absorb moisture from the chocolate ganache, which effectively transforms their crisp structure into a tender, cake-like consistency. This creates a cohesive, sliceable dessert that features distinct, beautiful layers while maintaining a uniform texture throughout the final product.
Using a glass dish allows for easy monitoring of the layering process, ensuring that each biscuit layer is evenly coated. The refrigeration period is essential, as it allows the fats in the chocolate ganache to firm up, providing the necessary structural integrity for clean, sharp slices.
This cooling phase is the primary cooking mechanism, turning individual components into a unified, decadent treat that holds its shape perfectly when served cold.
Notes and substitutions
Choosing the right biscuits is crucial for the final texture. Traditional tea biscuits are preferred for their neutral flavor and ability to soften effectively, but digestive biscuits or graham crackers are excellent alternatives that provide a slightly deeper, toasted flavor profile.
The key is to ensure the biscuits are thin enough to absorb the ganache quickly, ensuring a consistent texture throughout the cake without any dry or hard spots.
For the filling, a high-quality chocolate ganache is recommended for the best flavor, though a homemade chocolate mousse or even a store-bought chocolate spread can be substituted if time is limited. Always ensure the ganache is at room temperature before spreading to avoid breaking the biscuits during the assembly process. Keep the equipment simple, focusing on a clean offset spatula to achieve perfectly smooth layers that look professional.
- tea biscuits: graham crackers or digestive biscuits
- chocolate ganache: a mixture of chocolate pudding and whipped cream
Equipment
- 8-inch square glass dish
- Offset spatula
- Mixing bowl
- Serving plate
Up next · Part 2 of 3
3 steps · 10 min of cooking · what to look for at each stage
Step-by-step instructions (Part 2)