Desserts · Part 1 of 3: Ingredients
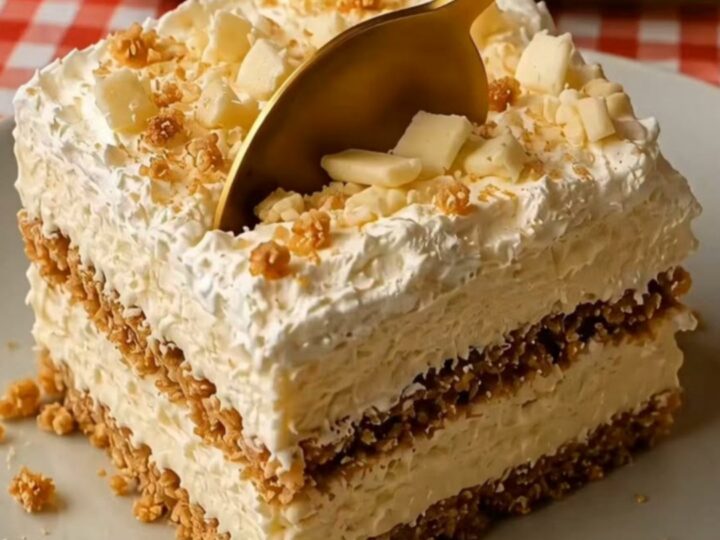
Creamy No-Bake White Chocolate Biscuit Cake
- Prep
- Cook
- Total
- Serves
- 8
Elevate your dessert game with this luxurious no-bake white chocolate biscuit cake. This recipe combines the satisfying crunch of biscuits with a rich, silky white chocolate cream that melts in your mouth. It is an effortless way to create a sophisticated treat that looks like it came from a professional bakery, all without turning on the oven or dealing with complex baking techniques. Perfect for busy hosts or anyone needing a quick, reliable dessert solution.
The magic of this dessert lies in its simplicity and the beautiful contrast between textures. By layering crisp biscuits with a whipped white chocolate ganache-style cream, you create a structure that sets perfectly in the fridge.
This no-bake method is ideal for warmer days or when you want to minimize kitchen time while still serving something truly impressive. The result is a balanced, creamy square that offers a delightful bite every single time, making it a staple for any home cook.
Ingredients
Layers
- 10 oz tea biscuits, store-bought or made ahead
Cream Filling
- 12 oz white chocolate, melted
- 2 cups heavy cream, whipped
Garnish
- 1/4 cup white chocolate flakes
Why this recipe works
The combination of whipped heavy cream and melted white chocolate creates a stable, mousse-like filling that thickens significantly as it chills. By using the biscuits as a structural base, the cake develops distinct layers that allow for clean slicing and a beautiful presentation when lifted from the dish. This method relies on the natural setting properties of fats in chocolate and cream, ensuring the dessert maintains its shape without the need for gelatin or other stabilizers.
Layering the components allows the moisture from the cream to slightly soften the biscuits over time, creating a texture similar to a classic icebox cake. This process ensures that every bite provides both a creamy sensation and a subtle crunch.
The assembly is straightforward, making it an excellent project for those who want to prepare dessert in advance. The chilling phase is crucial, as it allows the fats to solidify, ensuring the cake is easy to serve and holds its integrity on the plate.
Notes and substitutions
When selecting biscuits, choose a variety that is relatively dry and crisp, such as standard tea biscuits or graham crackers, as these will absorb just enough moisture to soften without becoming mushy.
If you prefer a more intense chocolate flavor, you can use dark chocolate instead of white, though the texture will be slightly firmer due to the difference in cocoa butter content. Ensure the chocolate is melted slowly and allowed to cool to room temperature before incorporating it into the whipped cream to maintain the light, airy structure.
For the best results, use a glass or ceramic square dish which allows you to see the beautiful layers during assembly. If you find the cream is too soft after whipping, ensure the mixing bowl and beaters are chilled before starting.
The white chocolate flakes can be replaced with shaved chocolate or even a dusting of cocoa powder if preferred. Always use high-quality white chocolate with real cocoa butter for the best flavor profile, as cheaper alternatives may contain vegetable fats that interfere with the desired creamy texture.
- tea biscuits: graham crackers or digestive biscuits
- heavy cream: whipped topping if preferred for a lighter texture
Equipment
- 8-inch square glass dish
- Electric mixer
- Mixing bowl
- Spatula
- Chef's knife