Desserts · Part 3 of 3: Tips & recipe card
Condensed Milk Cheesecake with Buttery Biscuit Crust Tips, FAQ & printable recipe
- Prep
- Cook
- Total
- Serves
- 10
Tips for success
Wipe the knife with a damp cloth between cuts and dip the blade in hot water for the cleanest slices — cheesecake drags crumbs and smears filling otherwise. Bring the cream cheese to a true room temperature by cutting the block into cubes; cubes soften in forty minutes while a whole block can take two hours.
If the top of the cake browns faster than expected, lay a loose sheet of foil over the pan for the last fifteen minutes rather than lowering the temperature mid-bake.
For the deepest biscuit flavor, toast the reserved topping crumbs dry in a skillet for two minutes before tossing them with butter.
Keep the mixer speed low from the moment the first egg goes in, and scrape the bowl twice during the whole filling — most texture problems trace back to a pocket of unbeaten cream cheese at the bottom. Chill the serving plates briefly in summer; a cold plate keeps every slice firm while it is being carried.
Variations
- Chocolate marble: Melt 2 oz of dark chocolate, stir a third of the plain filling into it, then dollop spoonfuls of both batters over the crust and swirl with a knife before adding the crumb topping. Bake as directed; the swirl bakes in with no extra time needed.
- Lemon condensed milk cheesecake: Add 1 tbsp of lemon zest and 2 tbsp of fresh lemon juice to the filling with the vanilla. The juice slightly firms the set and the zest lifts the dairy sweetness, which pairs especially well with a shortbread-based crust and topping.
- Cinnamon biscuit version: Stir 1/2 tsp of ground cinnamon into the crust crumbs and another 1/4 tsp into the crumb topping. The warm spice turns the base into something close to a snickerdoodle crust and makes the dessert feel right at home on an autumn table.
- Salted caramel drizzle: Warm 1/4 cup of store-bought caramel sauce until pourable, stir in a generous pinch of flaky salt, and drizzle it over each plated slice just before serving. Keep it on the plate rather than the whole cake so the topping stays crisp in storage.
Storage and make-ahead
- Fridge
- Cover and refrigerate up to 5 days; keep cut faces wrapped so the filling stays creamy and the topping stays firm.
- Freezer
- Freeze individual slices, well wrapped, up to 2 months; thaw overnight in the refrigerator before serving.
- Reheat
- Do not reheat; serve the cheesecake cold from the refrigerator for the cleanest slices and the best texture.
Cooling cheesecake must not sit out for more than two hours; after the rack cooling, cover the pan and refrigerate it promptly. Keep the cake in the springform ring or cover the cut faces with plastic wrap so the surface does not dry out or absorb fridge odors. Stored this way, the cheesecake keeps its texture and flavor for up to five days, and the crumb topping stays pleasantly firm rather than turning soggy.
This is an ideal make-ahead dessert. Bake it the day before serving: the overnight chill actually improves the slice, giving the filling time to firm fully and the flavors to settle. The crust can also be baked a day ahead and left covered at room temperature, with the filling mixed and baked the next morning. The crumb topping should always be added just before the bake, not stored on the crust, so it keeps its texture.
Serving ideas
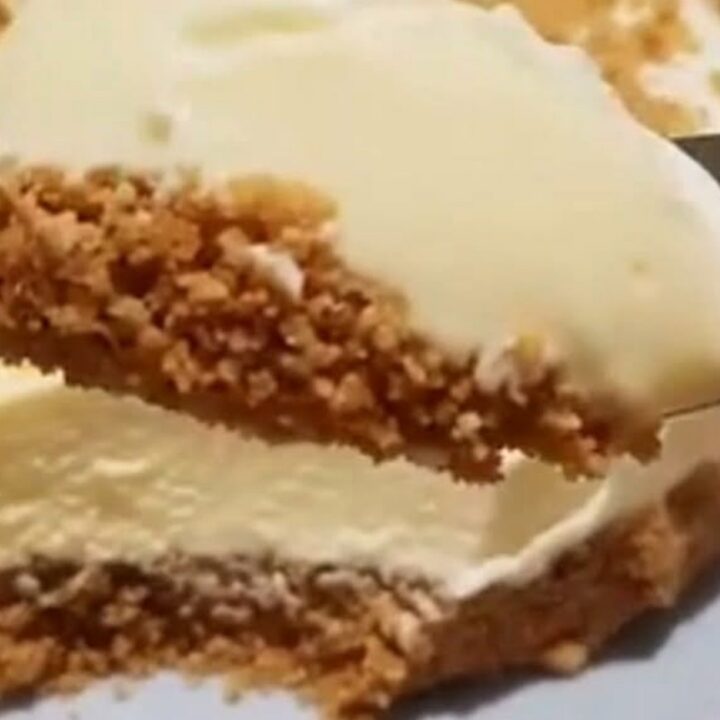
Serve the cheesecake cold, straight from the refrigerator, lifting each slice with a pie server onto a plain plate so the crumb topping and the layered cross-section stay visible. A thin-bladed knife dipped in hot water and wiped between cuts gives the sharpest edges.
The video shows the slice served on its own, and that is genuinely the best presentation — the crumb topping and biscuit base carry plenty of texture and flavor without any garnish.
If a little extra is wanted, keep it in the same flavor family: a spoonful of lightly whipped cream, a few whole biscuit crumbs scattered on the plate, or a drizzle of sweetened condensed milk warmed for ten seconds in the microwave.
Coffee is the natural drink alongside — the bitterness of an espresso or a cup of black tea balances the sweet, rich filling. Cut the cake into ten generous slices, or twelve smaller ones for a larger table.
Frequently asked questions
Why does the recipe use condensed milk instead of sugar?
Does this cheesecake really need no water bath?
How is it known when the center is fully cooked?
Can this be made ahead for a dinner party?
What biscuits work best for the crust and topping?
Condensed Milk Cheesecake with Buttery Biscuit Crust
Ingredients
- 1 1/2 cups graham cracker crumbs (about 12 full sheets, crushed)
- 5 tbsp unsalted butter, melted
- 2 tbsp granulated sugar
- 16 oz cream cheese, softened to room temperature
- 14 oz can sweetened condensed milk
- 2 large eggs, at room temperature
- 1 tsp vanilla extract
- 1/2 cup biscuit crumbs, coarsely crushed for the topping
- 2 tbsp unsalted butter, melted
Instructions
- Heat the oven to 350°F (175°C). Lightly grease the bottom of a 9-inch springform pan, then press a round of parchment paper into the base. This keeps the biscuit crust from sticking and makes it easy to lift the finished cheesecake off the plate cleanly for serving.
- Pulse the graham crackers in a food processor until they resemble coarse sand, or seal them in a zip-top bag and crush with a rolling pin. Measure out 1 1/2 cups for the crust and set 1/2 cup of coarser crumbs aside for the crumb topping so it stays visibly textured.
- Stir the 1 1/2 cups of fine crumbs with the sugar and the 5 tbsp of melted butter until every particle looks damp. Tip the mixture into the pan and press it firmly and evenly across the base with the bottom of a measuring cup, going right into the edges so the crust holds together when sliced.
- Bake the crust for 10 minutes, then set it on a cooling rack while the filling is mixed. Pre-baking toasts the butter and crumbs, so the base stays crisp instead of turning soggy under the filling during the long bake to come.
- Beat the softened cream cheese in a large bowl with an electric mixer on medium speed for about 2 minutes, scraping the bowl once, until it is completely smooth and glossy. Starting with a lump-free base is the single most reliable way to get a velvety filling with no streaks.
- Pour in the sweetened condensed milk and the vanilla extract and beat on medium-low for about 1 minute, scraping the bowl once, until the mixture is thick, pale and uniform. The condensed milk provides both the sweetness and much of the creamy body, so no extra sugar goes into the filling.
- Add the eggs one at a time, mixing on low just until each one disappears before adding the next. Mixing on low speed and stopping as soon as the batter is smooth keeps excess air out of the filling, which helps prevent the top from cracking during the bake.
- Pour the filling over the warm crust and smooth the surface with a spatula. Toss the reserved 1/2 cup coarse crumbs with the 2 tbsp melted butter and sprinkle them evenly over the top, pressing very lightly so they cling to the filling without sinking.
- Lower the oven to 325°F (163°C) and bake for 45 to 50 minutes. The cheesecake is done when the edges are set and puffed slightly but the center still trembles gently as one piece when the pan is nudged — an internal temperature of 160°F (71°C) in the middle confirms the eggs are fully cooked through.
- Turn the oven off, crack the door open and leave the cheesecake inside for 20 minutes. Then cool on a rack for another 40 minutes, cover and refrigerate at least 4 hours, ideally overnight. This gradual cooling keeps the filling dense and creamy and helps the crumb topping stay intact.
- Unclip the springform ring, lift the cheesecake onto a serving plate and cut slices with a knife wiped clean between cuts. Lift each piece with a pie server onto a plate — the filling should hold a clean edge and look thick and velvety, exactly as a well-chilled condensed milk cheesecake should.
Estimated nutrition per serving
- Calories
- 430
- Protein
- 9 g
- Carbohydrates
- 38 g
- Fat
- 26 g
Next recipe

Traditional Turkish Revani Semolina Cake with Lemon Syrup
See the recipe → →This recipe is based on a short cooking video and is published under the pen name Clara Weller. It was checked before publication, but errors can slip through. Nutrition, when shown, is an estimate. Read more in our editorial policy and on our food safety page.
More recipes to try
Japanese Soufflé Cheesecake, Cloud-Airy in 90 Minutes
Total time: 4 h 30 min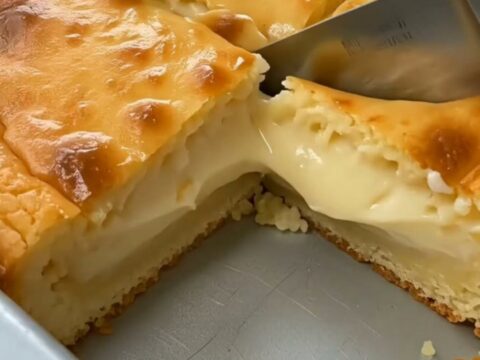
Creamy Baked Cornmeal Custard Cake with a Golden Crust
Total time: 1 h 20 min
Mexican Hot Chocolate Lava Cakes in Crispy Tortilla Cups
Total time: 31 min
Crispy Nutella Strawberry Quesadilla Ready in 10 Minutes
Total time: 14 min
Easy Red Velvet Gooey Butter Cake with White Chocolate Chips
Total time: 3 h