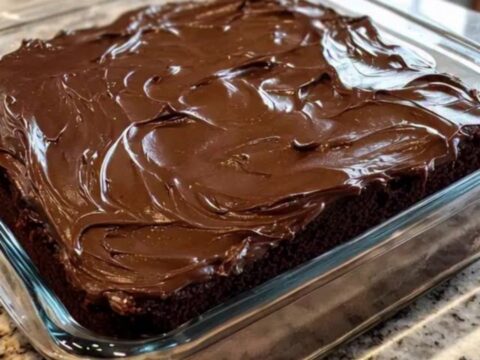
Desserts · Part 3 of 3: Tips & recipe card
Wacky Cake — Fudgy One-Pan Chocolate Cake, No Eggs Needed Tips, FAQ & printable recipe
- Prep
- Cook
- Total
- Serves
- 9
Tips for success
Sift the confectioners' sugar if it has been sitting in the pantry a while, because lumps beaten into buttercream do not dissolve and will show as gritty specks.
When measuring the flour, spoon it into the cup and level it with a knife rather than scooping, since a packed cup adds up to 20 percent more flour and makes this tender cake dense. For the deepest chocolate flavor, warm the water slightly before adding it — it dissolves the cocoa more completely and intensifies the color of the batter.
The three-well method is charming, but the order matters more than the presentation: the vinegar and baking soda must not meet until the water arrives. If the schedule is tight, the wells can be skipped and everything stirred together at once — the cake will still rise, just slightly less dramatically.
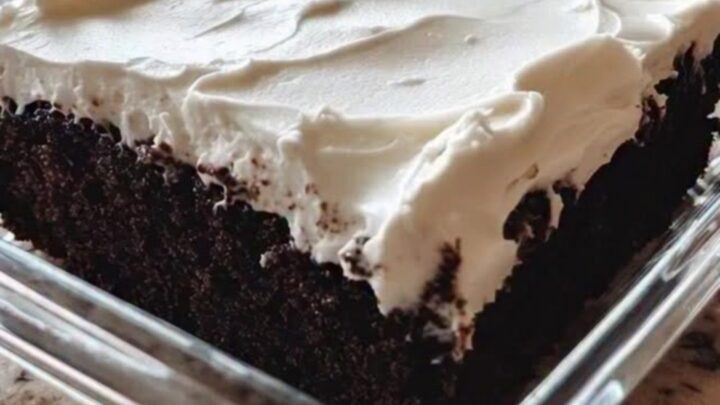
For extra-sharp slices, refrigerate the frosted cake for 15 minutes before cutting, then serve the squares at room temperature so the buttercream turns creamy again and the crumb regains its full fudgy softness.
Variations
- Mocha wacky cake: Dissolve 2 teaspoons of instant espresso powder in the water before adding it. The coffee deepens the chocolate without tasting of coffee, and pairs especially well with the vanilla buttercream.
- Cinnamon snack cake: Whisk 1 teaspoon of ground cinnamon into the dry base and dust the cooled, unfrosted cake with confectioners' sugar instead of buttercream for a simpler, snacking-style version.
- Peppermint chocolate: Replace the vanilla extract with 1/2 teaspoon of peppermint extract in the batter, and add the same to the buttercream for a cool, minty finish on the chocolate squares.
- Extra fudgy squares: Reduce the water to 3/4 cup and extend the bake by 5 minutes for a denser, fudgier crumb that sits somewhere between cake and brownie, still perfectly moist.
Storage and make-ahead
- Fridge
- Covered in the refrigerator for up to 5 days; the buttercream firms up, so let a slice sit 15 minutes at room temperature before serving.
- Freezer
- Freeze unfrosted squares wrapped tightly for up to 3 months; thaw overnight in the refrigerator and frost cold.
- Reheat
- Warm an unfrosted square 10 to 15 seconds in the microwave for a just-baked feel; frosted slices are best at room temperature.
Keep the frosted cake covered at room temperature for up to 2 days, or in the refrigerator for up to 5. Chill any leftovers within 2 hours of serving. The buttercream firms in the refrigerator, so let a slice rest at room temperature for 15 minutes before serving to restore its creamy texture. Unfrosted squares keep even longer and stay remarkably moist thanks to the oil in the crumb.
Bake the cake up to 2 days ahead, cool it completely, cover the dish tightly and hold it at room temperature; frost on serving day for the cleanest finish. The buttercream can be made up to a week ahead and refrigerated in an airtight container — let it soften for 30 minutes, then re-beat for 2 minutes until glossy and spreadable again before using.
Serving ideas
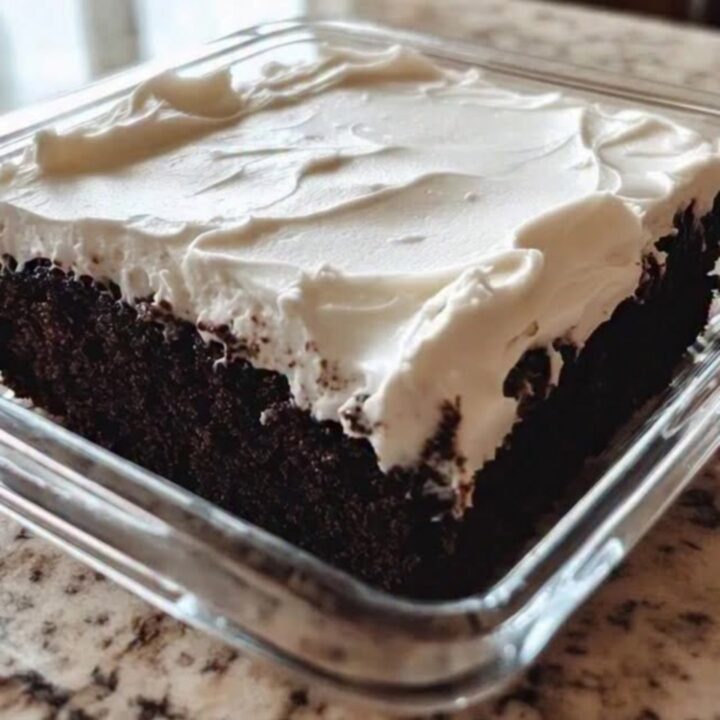
Serve the squares straight from the glass dish for a casual, homey presentation, or lift the whole cake out by the parchment tabs and plate the nine squares individually with the frosting swirls facing up.
A fork cuts through the tender crumb easily; there is no need for a serrated knife at the table. The contrast of the white buttercream against the dark chocolate makes the squares striking on any plate, and the fudgy interior holds its shape in every bite.
This cake pairs well with cold milk, hot coffee or a scoop of vanilla ice cream for a more elaborate dessert. For gatherings, cut the squares slightly smaller — twelve pieces instead of nine — since the buttercream makes each one rich.
The cake travels well in its covered dish, which makes it a reliable choice for potlucks, school events and any occasion where a frosted chocolate cake needs to arrive intact and slice cleanly on site.
Frequently asked questions
Why is it called wacky cake?
Can the cake be made without the vinegar?
Can a different pan size be used?
Why did the buttercream turn out grainy?
Can this cake be made without dairy?
Wacky Cake — Fudgy One-Pan Chocolate Cake, No Eggs Needed
Ingredients
- 1 1/2 cups all-purpose flour
- 1 cup granulated sugar
- 1/4 cup unsweetened cocoa powder
- 1 tsp baking soda
- 1/2 tsp kosher salt
- 1 cup water, room temperature
- 1/3 cup vegetable oil
- 1 tbsp white vinegar
- 1 tsp vanilla extract
- 1/2 cup unsalted butter, softened to room temperature
- 2 cups confectioners' sugar, sifted if lumpy
- 2 tbsp whole milk
Instructions
- Heat the oven to 350°F (175°C) and grease an 8x8-inch glass or metal baking dish, then line the bottom with parchment so the squares lift out cleanly later. Keep the dish near the mixing area, since the batter will be mixed directly in it. A properly prepared pan matters here, because the batter is pourable and the finished cake is very tender.
- In the baking dish itself, whisk the flour, granulated sugar, cocoa powder, baking soda and kosher salt until the color is even and no streaks of cocoa or pockets of flour remain. Mixing directly in the dish keeps this a true one-pan recipe. Take a full minute here: even distribution of the baking soda now is what produces an even, well-risen crumb later.
- With the back of a spoon, press three shallow wells into the dry mix, spaced apart. Pour the vegetable oil into one well, the white vinegar into the second and the vanilla extract into the third. Keeping the vinegar separate from the baking soda until the water goes in preserves its fizz for the oven instead of spending it on the counter.
- Pour the water over everything and stir with a spoon or small whisk until the batter is smooth and glossy, about thirty seconds, reaching all the way into the corners of the dish. A few small lumps are fine; over-stirring is not. The baking soda and vinegar will bubble lightly as they meet, and that fizz is the lift the cake will bake on.
- Tap the dish gently on the counter to level the surface and release any large air pockets, then bake on the center rack for 30 to 35 minutes. Rotate the dish once, halfway through, if the oven runs hot at the back. Resist opening the door during the first 25 minutes, since the rising batter is still fragile while the leavening does its work.
- Set the dish on a wire rack and let the cake cool completely, at least one hour, before any frosting goes near it. A warm cake melts buttercream into a slick. The resting time also lets the crumb set, so the squares slice into clean, fudgy portions instead of crumbling at the edges when the knife comes down.
- Beat the softened butter with an electric mixer on medium speed for 2 to 3 minutes, until it turns pale and noticeably fluffy, scraping the bowl once halfway through. This long first beat is what gives the finished buttercream its white, airy look, so do not rush it, and do not shortcut the butter softening with melted butter, which changes the texture.
- Add the confectioners' sugar one cup at a time, beating on low until each addition is fully absorbed before the next goes in. Pour in the milk, add a pinch of salt if desired, then beat on medium for 2 minutes, until the buttercream is light, glossy and spreadable. Stop and scrape the bowl once so no pocket of sugar hides at the bottom.
- Spread the buttercream over the cooled cake with an offset spatula, sweeping it into soft swirls that reach every corner. Slice into nine squares with a sharp knife or metal spatula, wiping the blade between cuts for clean edges. Serve straight from the dish, or lift the whole cake out with the parchment tabs and plate the squares individually.
Estimated nutrition per serving
- Calories
- 435
- Protein
- 3 g
- Carbohydrates
- 66 g
- Fat
- 18 g
- Sugar
- 46 g
- Sodium
- 240 mg
Next recipe
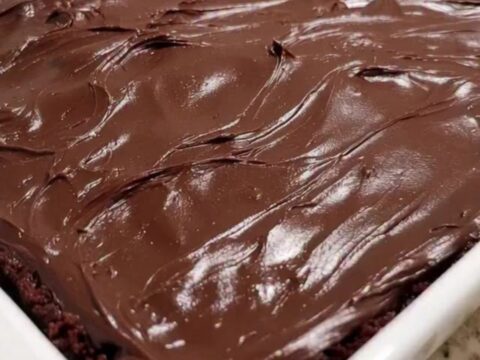
Chocolate Sauerkraut Cake with Glossy Fudge Frosting
See the recipe → →This recipe is based on a short cooking video and is published under the pen name Clara Weller. It was checked before publication, but errors can slip through. Nutrition, when shown, is an estimate. Read more in our editorial policy and on our food safety page.
More recipes to try
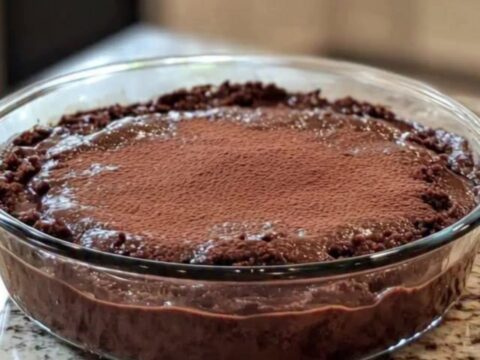
Hot Chocolate Pudding Cake with Molten Fudge Sauce in One Dish
Total time: 1 h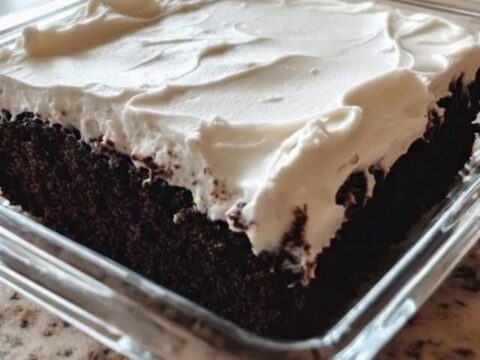
Crazy Wacky Cake with Fluffy White Frosting, One Bowl
Total time: 1 h 55 min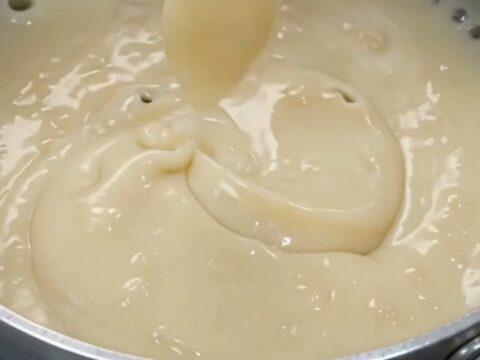
Creamy Coconut Pudding — One Saucepan, Twenty Minutes
Total time: 20 min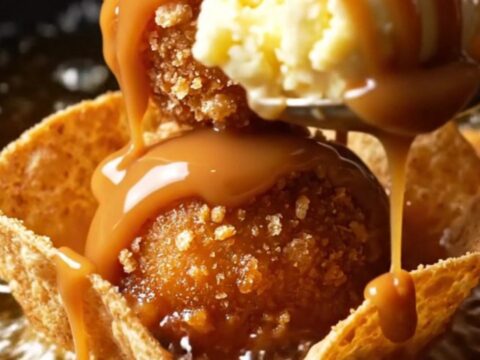
Churro-Crusted Fried Ice Cream in Edible Tortilla Bowls
Total time: 1 h 20 min
Churro Cheesecake Tortilla Flautas: Crispy, Oozy, 20 Minutes
Total time: 35 min