Desserts · Part 3 of 3: Tips & recipe card
Sugar-Free 2-Ingredient Chocolate Mousse in 20 Minutes Tips, FAQ & printable recipe
- Prep
- Cook
- Total
- Serves
- 4
Tips for success
Whipping aquafaba rewards patience. Beat on medium-high rather than the top speed, and expect the full five to seven minutes; the foam transforms from thin and frothy to marshmallow-like, and stopping early is the single most common reason a first attempt turns dense.
If the foam stalls, add a pinch of cream of tartar or a squeeze of lemon to stabilize it, though with chickpea aquafaba this is rarely needed.
Treat temperature as the whole game. Chocolate at body temperature folds in like silk; chocolate ten degrees warmer collapses the foam in seconds. When in doubt, wait another two minutes and test on the wrist.
And resist tasting the mousse straight after folding — it tastes flat and loose before the chill, and the two hours in the refrigerator is where the flavor and structure come together.
Variations
- Mocha Mousse: Dissolve 1 teaspoon of instant espresso powder in the aquafaba before whipping. The coffee deepens the chocolate flavor without making the mousse taste of coffee, and the finished glasses read as an elegant mocha dessert.
- Orange Chocolate: Stir 1/2 teaspoon of finely grated orange zest into the melted chocolate as it cools. The citrus oils perfume the whole batch, and a thin twist of zest on each glass makes the pairing look deliberate.
- Salted Top: Finish each chilled glass with two or three flakes of sea salt just before serving. The salt sharpens the cocoa flavor and makes the sugar-free profile taste intentional rather than like something is missing.
- Berry Glasses: Spoon a layer of mashed raspberries or strawberries into the bottom of each glass before adding the mousse. The fruit adds color through the clear glass and a bright, tart first spoonful against the rich chocolate.
Storage and make-ahead
- Fridge
- Covered, up to 2 days; texture is best within the first 24 hours.
- Freezer
- Not recommended; thawing collapses the whipped structure into a dense texture.
Keep the mousse covered in the refrigerator, where it holds its texture well for up to two days. Press a piece of parchment lightly onto the surface, or cover each glass with a small lid, to keep it from absorbing fridge odors and drying at the edges.
The structure is at its best on day one and softens gradually after that, though it remains perfectly spoonable and tasty through day two.
This is an ideal make-ahead dessert because the chilling is the recipe, not an afterthought. Make it the night before serving and the texture will be at its peak when guests arrive.
The full batch can be prepared up to 48 hours in advance with no loss of quality. For a longer lead time, whip and fold in the morning of the same day; anything beyond two days and the foam slowly loses its loft, so plan the schedule around that window.
Serving ideas
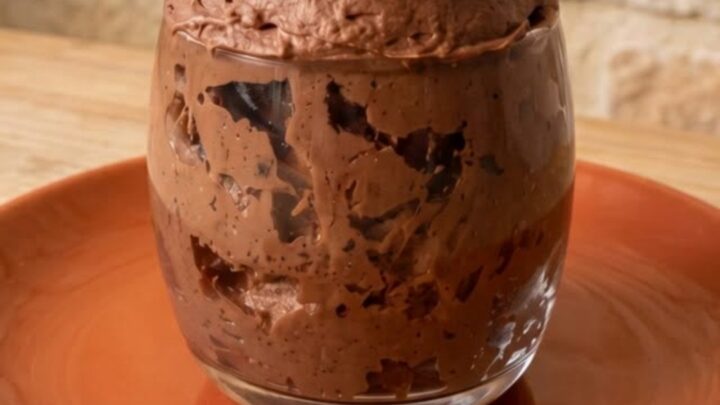
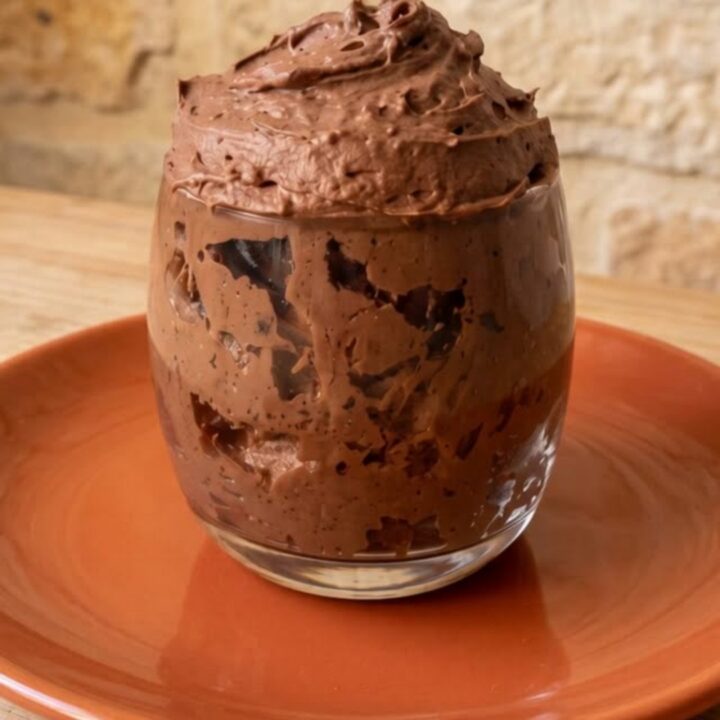
Serve the mousse cold, straight from the refrigerator, in the same clear glasses it set in — the thick, swirled surface is part of the appeal. A dessert spoon is the right tool, since a regular spoon is too wide for the small glasses and flattens the first scoop. Pull the glasses out one or two minutes before serving so the texture relaxes just enough to feel creamy rather than firm.
Because the chocolate is unsweetened, pairings that add a touch of contrast work beautifully: a few fresh raspberries alongside the glass, a light dusting of cocoa powder on top, or a single flake of sea salt on each serving. Keep additions minimal — the whole point is the clean, deep chocolate flavor and the dramatic airy texture, which need nothing more than a cold spoon.
Frequently asked questions
What exactly is aquafaba, and where does it come from?
Does the mousse taste like chickpeas?
Why did the mousse turn out dense instead of fluffy?
Can this mousse be made without a hand mixer?
How far ahead can this be prepared for a dinner party?
Sugar-Free 2-Ingredient Chocolate Mousse in 20 Minutes
Ingredients
- 1/2 cup aquafaba (chickpea liquid, from one 15-ounce can), cold
- 3.5 oz dairy-free dark chocolate (sugar-free), finely chopped
Instructions
- Open the can of chickpeas and drain the liquid into a small bowl, reserving the chickpeas for another use. Measure out 1/2 cup of aquafaba and place it in the refrigerator for 10 to 15 minutes. Cold aquafaba whips faster and holds its peaks far better than liquid straight from the can, so this short chill pays off.
- Finely chop the chocolate on a dry cutting board, aiming for pieces no bigger than a pea. Small, even pieces melt at the same rate, which prevents scorching and leaves no stray lumps in the finished mousse. Transfer the chopped chocolate to a heatproof glass bowl and set it beside the stove, ready to melt.
- Bring an inch of water to a bare simmer in a small saucepan and set the bowl of chocolate on top, making sure the bowl bottom does not touch the water. Stir slowly with a dry rubber spatula until the chocolate is almost fully smooth, then pull it off the heat and let the residual warmth finish the last bits.
- Set the melted chocolate aside on the counter and let it cool for 5 to 8 minutes, stirring once or twice. It should feel barely warm, close to body temperature, before it meets the whipped aquafaba. Hot chocolate collapses the whipped foam instantly, so this pause is the difference between a fluffy mousse and a dense puddle.
- Pour the cold aquafaba into a clean, dry mixing bowl and beat with a hand mixer on medium-high speed. After about 2 minutes it turns frothy and pale; keep going 3 to 5 minutes more until it holds stiff, glossy peaks that stand straight up when the beaters lift out. Stop as soon as the peaks are firm rather than chasing extra volume.
- Add one third of the cooled chocolate to the whipped aquafaba and fold with the rubber spatula, cutting down through the middle, sweeping along the bottom and turning the mixture over itself. Fold in the second third, then the last, working patiently until no streaks remain and the color is an even deep brown.
- Lift the spatula and watch how the mousse behaves. It should fall in thick ribbons that pile on themselves and hold a soft ridge for a few seconds. If it looks grainy or noticeably dense, the chocolate was probably still warm; fold quickly and move straight to the glasses so the mixture does not lose more air.
- Spoon the mousse into four small serving glasses, using the spatula to scrape the bowl clean. Divide it evenly and smooth the tops with the back of a spoon, or leave a deliberate swirl for texture. Avoid tapping the glasses on the counter, which pushes precious air out of the mixture you just worked to build.
- Place the filled glasses in the refrigerator and let the mousse chill for at least 2 hours, uncovered for the first 20 minutes so condensation does not drip onto the surface, then loosely covered. During chilling the chocolate firms up and the foam sets into a thick, spoonable texture that holds a clean scoop.
- Take the glasses from the refrigerator a minute or two before serving so the texture relaxes slightly. Scoop straight through the top with a dessert spoon to show off the thick, airy interior, and serve immediately. The mousse is at its best within the first two days, while the whipped structure is still at its peak.
Estimated nutrition per serving
- Calories
- 125
- Protein
- 2 g
- Carbohydrates
- 8 g
- Fat
- 10 g
- Fiber
- 2 g
- Sugar
- 0 g
Next recipe
Chocolate Wacky Cake — Ultra-Fudgy, No Eggs Needed
See the recipe → →This recipe is based on a short cooking video and is published under the pen name Clara Weller. It was checked before publication, but errors can slip through. Nutrition, when shown, is an estimate. Read more in our editorial policy and on our food safety page.
More recipes to try
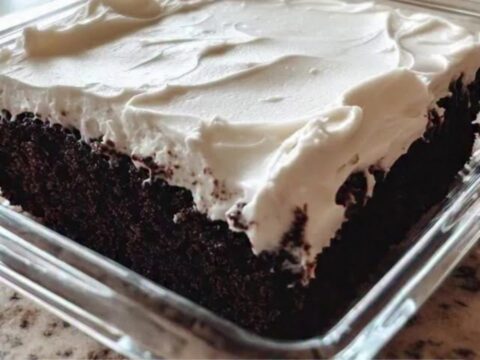
Wacky Chocolate Cake in One Dish, No Eggs or Butter Needed
Total time: 1 h 50 min
Crispy Guava and Cream Cheese Tortilla Pastelitos
Total time: 27 min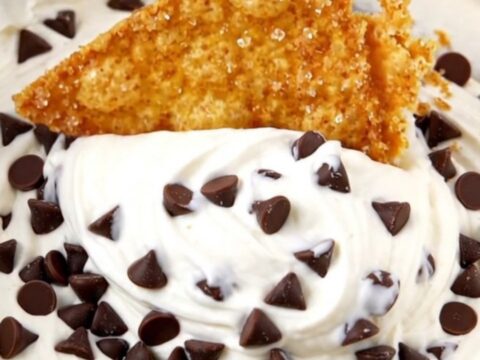
Air Fryer Cinnamon Sugar Tortilla Chips with Cannoli Dip
Total time: 15 min
Condensed Milk Cheesecake with Buttery Biscuit Crust
Total time: 5 h 20 min
Traditional Turkish Revani Semolina Cake with Lemon Syrup
Total time: 1 h