Desserts · Part 3 of 3: Tips & recipe card
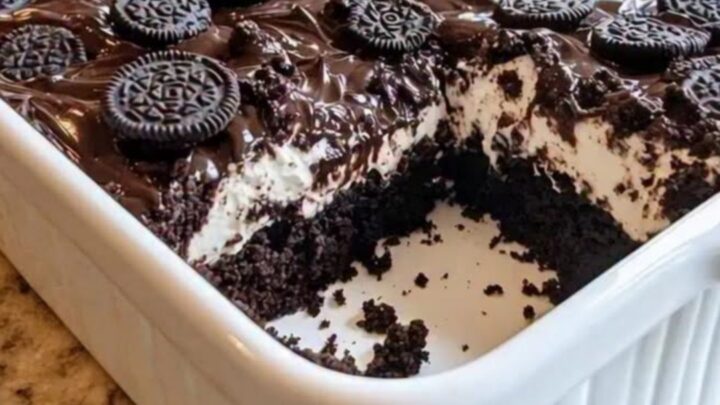
Rich Oreo Earthquake Cake with Gooey Marshmallow Tips, FAQ & printable recipe
- Prep
- Cook
- Total
- Serves
- 8
Tips for success
If you prefer a more intense chocolate flavor, use a dark chocolate cake mix.
The bitterness of the dark cocoa pairs exceptionally well with the sweetness of the marshmallow cream, creating a sophisticated balance that is perfect for those who enjoy a richer, less sugary dessert experience after dinner.
For an extra touch of texture, lightly toast the crushed Oreos in a dry pan for one minute before sprinkling them over the cake.
This enhances their flavor and ensures they stay crisp even after the glaze has been applied, providing a satisfying crunch that contrasts beautifully with the soft, gooey cake.
Variations
- Peanut Butter Twist: Add dollops of creamy peanut butter along with the marshmallow cream before baking. The combination of chocolate, marshmallow, and peanut butter creates a classic flavor profile that is always a crowd-pleaser.
- Mint Chocolate: Use a mint-flavored chocolate cake mix or add a drop of peppermint extract to the batter. Top with crushed mint-filled cookies for a refreshing finish that cuts through the sweetness.
Storage and make-ahead
- Fridge
- Keep in an airtight container for up to 5 days.
- Freezer
- Wrap individual slices tightly in plastic wrap and store in a freezer-safe bag for up to 1 month.
- Reheat
- Warm slices in the microwave for 20 seconds or in a 300°F oven until heated through.
Store any leftovers in an airtight container at room temperature for up to two days. If the room is particularly warm, it is safer to store the cake in the refrigerator to prevent the marshmallow layer from spoiling.
Always ensure the cake has cooled completely before covering to prevent condensation.
This cake can be baked a day in advance without the glaze and topping. Simply store the cooled cake covered at room temperature. When ready to serve, gently reheat individual slices or the whole dish in a low-temperature oven before adding the fresh glaze and cookie crumbs for the best presentation.
Serving ideas
Serve this cake warm to fully appreciate the gooey texture of the marshmallow and the molten quality of the chocolate glaze. A small scoop of vanilla bean ice cream on the side can add a cooling element that perfectly complements the rich, warm flavors of the chocolate and toasted cookie crumbs.
When slicing the cake, use a warm, wet knife to achieve clean edges, especially through the marshmallow layers.
This makes the presentation much more professional and ensures that each serving looks just as good as it tastes. Present the slices on clean plates to highlight the distinct layers of the dessert.
Frequently asked questions
Can this cake be made with a different type of cookie?
How can the cake be prevented from becoming too dry?
Is it possible to use homemade frosting instead of glaze?
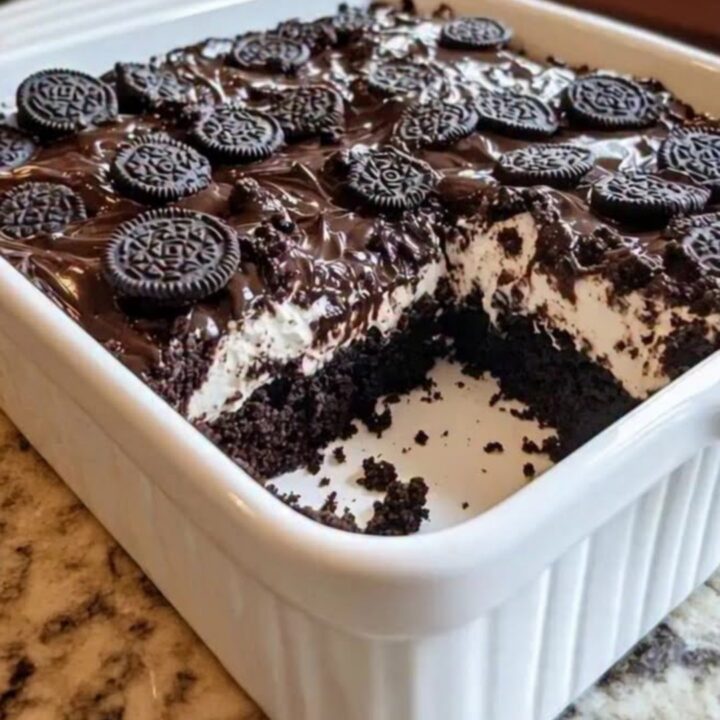
Rich Oreo Earthquake Cake with Gooey Marshmallow
Ingredients
- 1 box chocolate cake mix (prepared according to package directions)
- 7 oz marshmallow cream
- 1/2 cup chocolate glaze (store-bought or made ahead)
- 10 whole Oreos, crushed
Instructions
- Preheat the oven to 350°F (175°C). Prepare the chocolate cake mix in a large bowl according to the package instructions until smooth. Pour the batter evenly into a greased 9x13-inch baking dish, ensuring the surface is level for the layers to follow.
- Drop spoonfuls of marshmallow cream evenly over the top of the raw cake batter. Use a knife or skewer to gently swirl the marshmallow cream into the batter, creating a marbled effect that will result in gooey pockets throughout the finished cake.
- Bake the cake for 45 minutes or until a toothpick inserted into the center comes out clean. Once removed, drizzle the chocolate glaze over the warm cake and sprinkle with the crushed Oreos. Let the cake rest for 15 minutes before slicing and serving warm.
Estimated nutrition per serving
- Calories
- 380
- Protein
- 4.5 g
- Carbohydrates
- 55 g
- Fat
- 16 g
- Fiber
- 1.5 g
- Sugar
- 38 g
- Sodium
- 320 mg
Next recipe
Easy Peanut Butter Chocolate Layer Dessert
See the recipe → →This recipe is based on a short cooking video and is published under the pen name Clara Weller. It was checked before publication, but errors can slip through. Nutrition, when shown, is an estimate. Read more in our editorial policy and on our food safety page.
More recipes to try
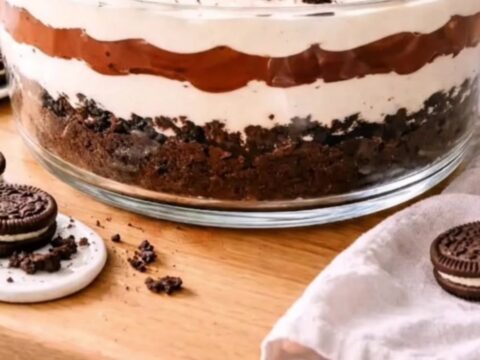
Decadent Oreo Chocolate Cream Trifle for Easy Entertaining
Total time: 1 h 15 min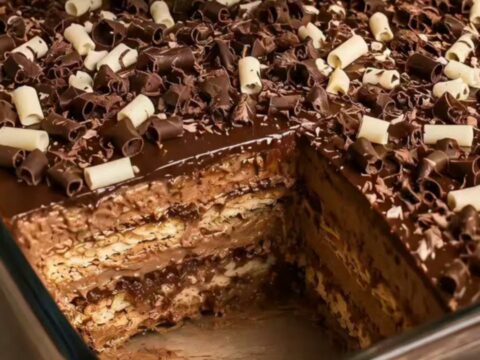
Creamy Chocolate Pavê with Glossy Ganache
Total time: 4 h 40 min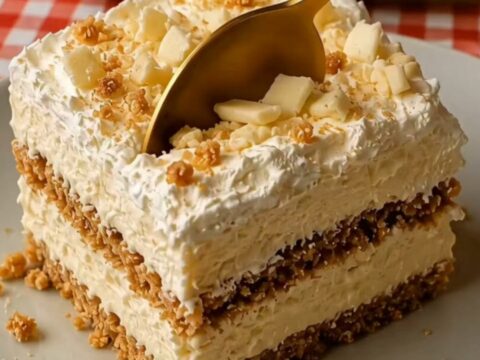
Creamy No-Bake White Chocolate Biscuit Cake
Total time: 2 h 20 min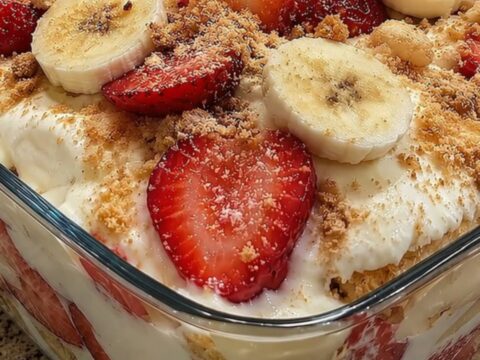
Creamy Strawberry Banana Pudding Dessert
Total time: 45 min
Baileys Chocolate Cheesecake Trifle for Easy Entertaining
Total time: 1 h 20 min