Desserts · Part 3 of 3: Tips & recipe card
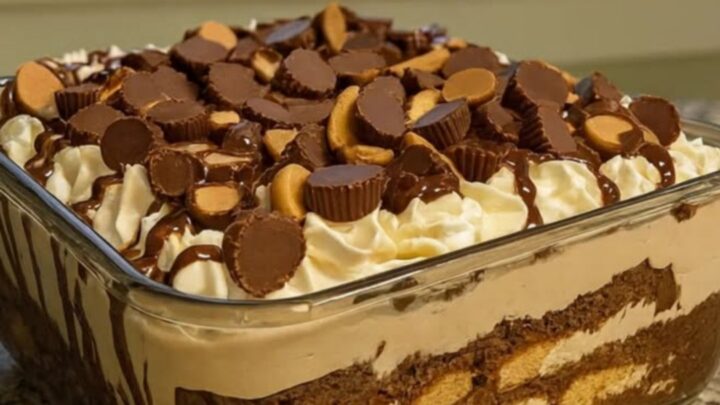
Decadent No-Bake Peanut Butter Cup Lush Dessert Tips, FAQ & printable recipe
- Prep
- Cook
- Total
- Serves
- 12
Tips for success
To achieve perfectly clean slices, dip your knife in hot water and wipe it dry between each cut. This simple technique prevents the knife from dragging through the whipped cream and preserves the beautiful, sharp lines of the layers. Repeating this process for every single slice ensures that the presentation remains as professional and appealing as possible for every serving.
If you prefer a more intense chocolate flavor, consider using a dark chocolate ganache instead of a milk or semi-sweet variety. This adjustment can provide a sophisticated contrast to the sweetness of the peanut butter and the cream, creating a more balanced flavor profile.
Experimenting with the ratio of chocolate to cream in the ganache can also help you fine-tune the richness to suit your specific preferences.
Variations
- Salted Peanut Butter: Sprinkle a small amount of flaky sea salt over the peanut butter layer before adding the chocolate. This addition enhances the savory notes of the peanut butter and balances the sweetness of the chocolate ganache effectively.
- Crunchy Texture: Mix a handful of crushed peanuts into the peanut butter layer before spreading it. This adds a pleasant, unexpected crunch that complements the creaminess of the other layers and adds depth to every bite.
Storage and make-ahead
- Fridge
- Keep refrigerated at all times, covered tightly, for up to 3 days.
Store any leftovers in the original glass dish, covered tightly with plastic wrap or a lid to prevent the whipped cream from absorbing any odors from the refrigerator.
The dessert will maintain its best texture for up to three days, after which the whipped cream may begin to lose its aeration and the peanut butter layer may start to soften slightly due to the cool environment.
This recipe is ideal for making ahead, as it requires a significant chilling time to set properly. You can assemble the dessert up to 24 hours in advance, keeping it refrigerated until you are ready to serve. This allows the flavors to develop and the texture to firm up, ensuring that the dessert is at its absolute best when it is brought out for your guests to enjoy.
Serving ideas
Serve the dessert directly from the refrigerator to ensure that the layers remain firm and easy to handle. Use a metal server or a wide spatula to lift each slice carefully from the dish, placing it onto individual dessert plates.
The cold temperature of the dessert is part of its appeal, providing a refreshing and creamy experience that contrasts perfectly with the decadent peanut butter and chocolate flavors.
For an extra touch of elegance, you can garnish each individual plate with an additional drizzle of chocolate sauce or a small dollop of fresh whipped cream.
This simple addition can elevate the presentation further, making each serving look like a restaurant-quality creation. Ensure that the plates are chilled beforehand if you are serving in a warm environment to help the dessert hold its shape for a longer period.
Frequently asked questions
Can this dessert be made in individual serving cups?
How can the whipped cream be kept from deflating?
Is it possible to use store-bought peanut butter filling?
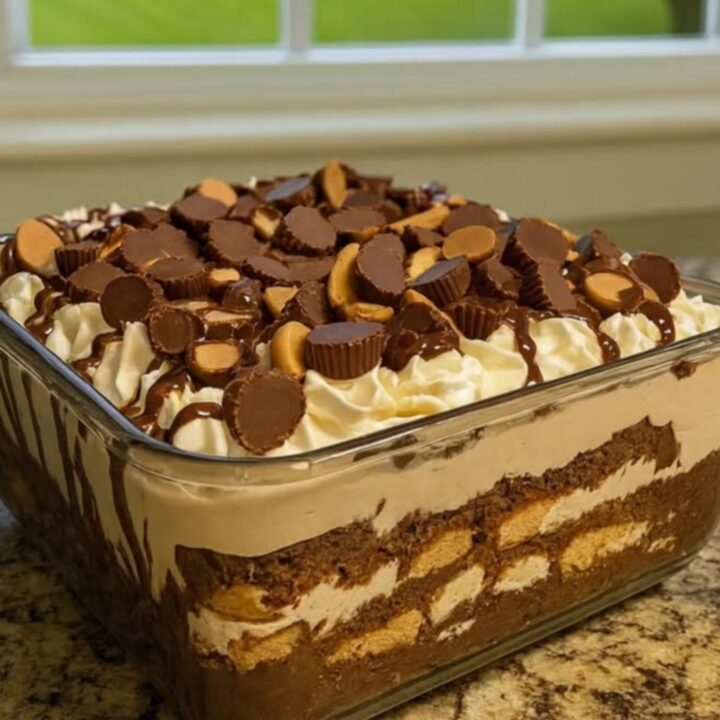
Decadent No-Bake Peanut Butter Cup Lush Dessert
Ingredients
- 1 1/2 cups creamy peanut butter
- 1 1/2 cups chocolate ganache
- 2 cups whipped cream
- 10 peanut butter cups, chopped
Instructions
- Spread the creamy peanut butter evenly across the bottom of the clear 9x13 inch glass dish. Work carefully from the center toward the corners to ensure a smooth, stable, and completely uniform foundation for the dessert.
- Carefully pour the chocolate ganache directly over the smoothed peanut butter layer. Use an offset spatula to gently spread the chocolate across the entire surface, taking care not to disturb the base to keep both tiers completely distinct.
- Spread the whipped cream over the chocolate layer, smoothing it out to the edges. Sprinkle the chopped peanut butter cups evenly over the top surface, then chill the dish in the refrigerator for at least two hours before slicing.
Estimated nutrition per serving
- Calories
- 420
- Protein
- 8 g
- Carbohydrates
- 32 g
- Fat
- 30 g
- Fiber
- 2 g
- Sugar
- 24 g
- Sodium
- 210 mg
Next recipe
Peanut Butter Crunch Lasagna: A Decadent Layered Dessert
See the recipe → →This recipe is based on a short cooking video and is published under the pen name Clara Weller. It was checked before publication, but errors can slip through. Nutrition, when shown, is an estimate. Read more in our editorial policy and on our food safety page.
More recipes to try
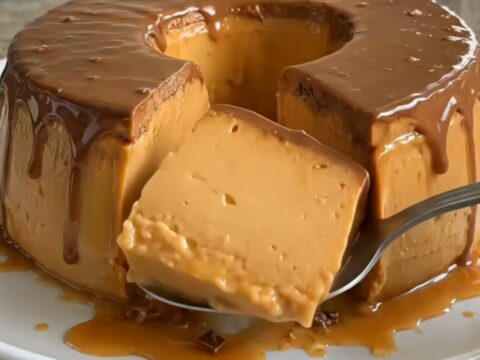
Silky Caramel Chocolate Pudding Ring
Total time: 3 h 35 min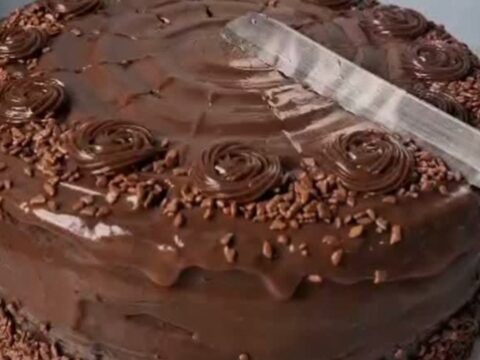
Decadent Chocolate Fudge Cake with Glossy Frosting
Total time: 1 h 10 min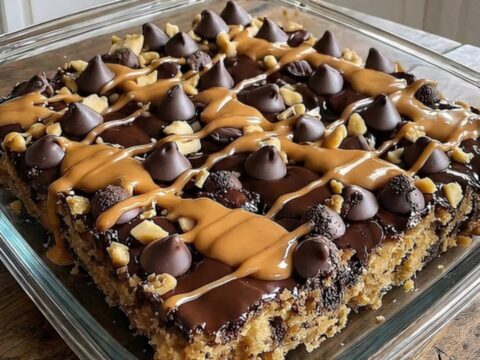
Rich Peanut Butter Cup Dump Cake
Total time: 1 h 5 min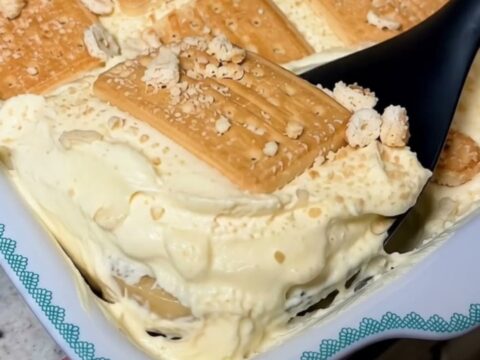
Creamy Banana Pudding Biscuit Dessert
Total time: 2 h 20 min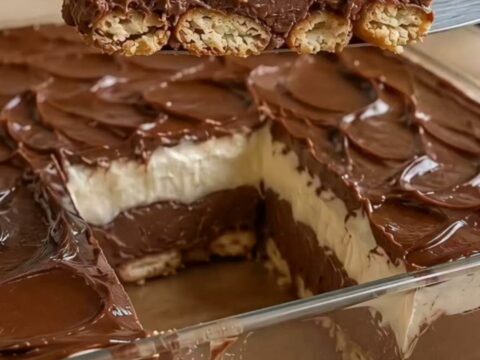
Creamy Chocolate and Vanilla Pavé Dessert
Total time: 3 h 20 min