Desserts · Part 1 of 3: Ingredients
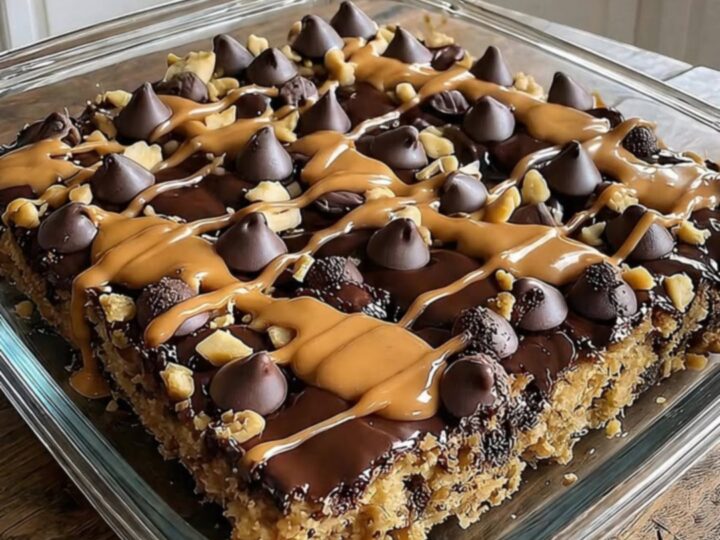
Rich Peanut Butter Cup Dump Cake
- Prep
- Cook
- Total
- Serves
- 8
Discover the effortless magic of a dump cake that delivers professional-level decadence with minimal kitchen effort. This peanut butter cup dump cake combines the rich, deep flavors of chocolate with the creamy, salty sweetness of peanut butter, all held together in a warm, gooey package that is perfect for sharing or a cozy night in. It is a foolproof recipe that relies on simple pantry staples to create a dessert that tastes like it took hours of preparation.
The dump cake method is a timeless technique for creating impressive desserts without the need for complex mixing or multiple bowls. By layering dry ingredients directly into a baking dish and topping them with fat, the oven works to transform these components into a rich, cohesive treat.
This specific version highlights the classic pairing of chocolate and peanut butter, resulting in a moist, molten center topped with a slightly crisp finish. It is an ideal solution for when a quick, satisfying dessert is needed for unexpected guests or a last-minute craving.
Ingredients
- 1 box chocolate cake mix
- 2 cups chopped peanut butter cups
- 1 cup unsalted butter, melted
- 1/2 cup creamy peanut butter, melted
Why this recipe works
The dump cake method works by allowing the melted butter and the moisture from the peanut butter to hydrate the dry cake mix during the baking process. As the butter saturates the mix, it binds the cocoa particles and flour, creating a dense, brownie-like texture that contrasts beautifully with the melting peanut butter cups. The even distribution of ingredients ensures that every bite contains a balanced blend of flavors, while the heat of the oven creates a consistent, uniform structure throughout the entire 9x13 inch pan.
Furthermore, the use of a clear glass baking dish allows for visual monitoring of the cooking progress, as you can observe the browning of the edges and the bubbling of the peanut butter layer. This method eliminates the need for mechanical mixing, which prevents the overworking of gluten and ensures a tender crumb.
By layering the ingredients strategically, you create a complex flavor profile where the chocolate and peanut butter meld together, producing a result that is far superior to what one might expect from such a simple assembly process.
Notes and substitutions
For the best results, use a high-quality chocolate cake mix that you enjoy the flavor of, as it forms the base of the dessert. When choosing peanut butter, ensure it is a creamy variety that is easy to melt, as chunky varieties may alter the final texture of the drizzle.
The unsalted butter should be fully melted but not boiling, to ensure it penetrates the cake mix evenly without cooking the cocoa prematurely. If you prefer a less sweet dessert, consider using a dark chocolate cake mix to balance the sweetness of the peanut butter cups.
Regarding equipment, a standard 9x13 inch glass baking dish is recommended because it provides excellent heat retention and allows you to see when the bottom layers are fully cooked. If you only have a metal pan, you may need to reduce the oven temperature by 25°F to prevent the edges from burning before the center is set.
A metal spatula is essential for serving, as it allows you to cleanly lift the gooey, warm slices from the dish without breaking them apart. Always ensure your oven is fully preheated before inserting the dish to guarantee even baking throughout.
- chocolate cake mix: yellow or white cake mix for a different flavor profile
- unsalted butter: salted butter, omitting any additional salt
Equipment
- 9x13 inch glass baking dish
- mixing bowl
- spatula
- whisk
Up next · Part 2 of 3
3 steps · 45 min of cooking · what to look for at each stage
Step-by-step instructions (Part 2)