Desserts · Part 3 of 3: Tips & recipe card
Elegant Earl Grey and Lavender Crème Brûlée Tips, FAQ & printable recipe
- Prep
- Cook
- Total
- Serves
- 4
Tips for success
For the best results, allow the custard to rest in the refrigerator for the full four hours or even overnight. This chilling time is not just for temperature; it allows the flavors of the lavender and Earl Grey to fully mature and harmonize.
A well-chilled custard provides the perfect contrast to the warm, freshly caramelized sugar topping, which is essential for the classic crème brûlée experience.
When using a kitchen torch to caramelize the sugar, keep the flame moving in a circular motion over the surface. Do not hold the flame in one spot for too long, as this will burn the sugar and cause it to turn black and bitter. A light, even coating of caster sugar is the secret to a thin, delicate glass that cracks easily under the weight of a spoon.
Variations
- Classic Vanilla Bean: Replace the Earl Grey and lavender with the seeds of one whole vanilla bean. Steep the vanilla bean and its pod in the cream for a timeless, aromatic flavor that appeals to everyone.
- Citrus Zest: For a brighter profile, add the zest of half an orange or lemon to the cream during the heating process. This enhances the citrus notes of the Earl Grey and creates a refreshing finish.
Storage and make-ahead
- Fridge
- Keep the baked, un-torched custards in the refrigerator for up to 3 days. Cover each ramekin tightly with plastic wrap to maintain freshness.
- Reheat
- Do not reheat the custard itself, as it is intended to be served chilled. Only the sugar topping is meant to be caramelized just before serving.
Store any leftover un-torched custards in the refrigerator, covered tightly with plastic wrap to prevent them from absorbing other odors. The custards will stay fresh for up to three days.
It is important to note that the sugar topping should only be applied and caramelized immediately before serving, as the moisture in the custard will cause the sugar crust to soften and liquefy if left in the fridge for too long.
This recipe is excellent for advance preparation. The custard bases can be baked and chilled up to two days in advance. Simply keep them in the refrigerator until you are ready to serve. This makes the dish ideal for hosting, as it removes the stress of cooking during the event, leaving only the simple, quick step of torching the sugar crust just before you bring the dessert to the table.
Serving ideas
Present the crème brûlée in the same ramekins they were baked in for an authentic, rustic look. Place each ramekin on a small dessert plate, perhaps with an extra sprig of lavender or a thin shortbread cookie on the side to complement the floral notes.
The contrast between the cold, creamy custard and the warm, crunchy sugar topping is the highlight of the presentation, so serve immediately after torching.
Consider serving this dessert with a light accompaniment that does not overpower the delicate floral and tea flavors. A small dollop of lightly whipped, unsweetened cream or a few fresh berries can add a nice texture, but keep it minimal.
The focus should remain on the interplay between the crisp caramel and the smooth, fragrant custard, which provides a satisfying and memorable conclusion to any meal.
Frequently asked questions
Can this be made without a kitchen torch?
What causes the custard to turn out grainy?
Is it possible to use milk instead of heavy cream?
Elegant Earl Grey and Lavender Crème Brûlée
Ingredients
- 2 cups heavy cream
- 3 Earl Grey tea bags
- 1 tsp culinary lavender buds
- 5 large egg yolks
- 90 g caster sugar
- 4 tbsp caster sugar, for caramelizing
Instructions
- Place the heavy cream in a small saucepan over medium-low heat. Once the cream is hot, add the Earl Grey tea bags and culinary lavender buds. Remove from heat and allow the mixture to steep for 15 minutes to fully infuse the flavors before removing the tea bags.
- In a mixing bowl, whisk together the egg yolks and caster sugar until the mixture is pale and slightly thickened. Slowly pour the warm, infused cream into the egg mixture while whisking constantly to temper the yolks and prevent scrambling.
- Divide the mixture into ramekins and place them in a baking dish filled with hot water. Bake at 320°F (160°C) for 35 minutes. Chill for at least 4 hours. Before serving, sprinkle with caster sugar and use a kitchen torch to melt the sugar until it bubbles into a crisp amber crust. The eggs must reach 160°F (71°C) to be fully cooked.
Estimated nutrition per serving
- Calories
- 420
- Protein
- 6.5 g
- Carbohydrates
- 28 g
- Fat
- 32 g
- Fiber
- 0.5 g
- Sugar
- 25 g
- Sodium
- 45 mg
Next recipe
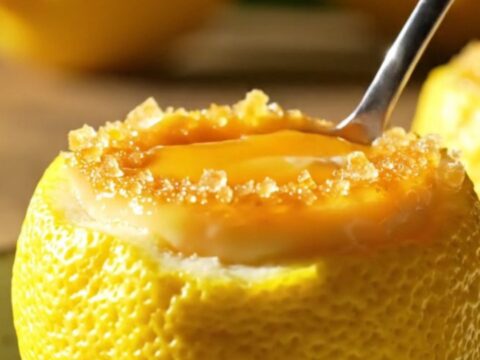
Three-Ingredient Lemon Posset Brûlée in Real Lemon Shells
See the recipe → →This recipe is based on a short cooking video and is published under the pen name Clara Weller. It was checked before publication, but errors can slip through. Nutrition, when shown, is an estimate. Read more in our editorial policy and on our food safety page.
More recipes to try
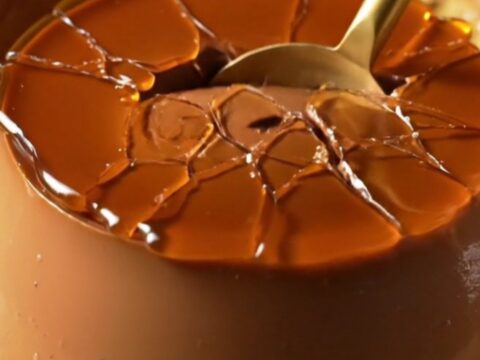
Rich Dark Chocolate Crème Brûlée with a Shattering Caramel Crust
Total time: 4 h 50 min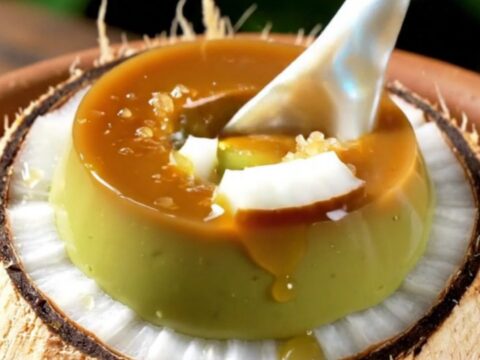
Coconut Pandan Crème Brûlée in a Real Coconut Shell
Total time: 3 h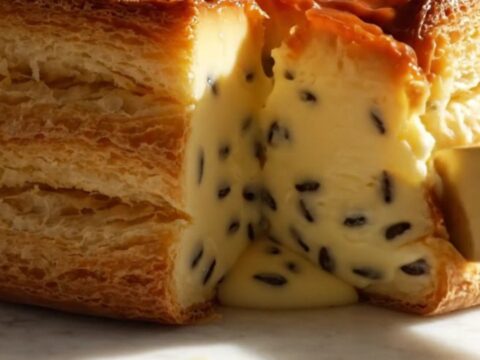
Tall Parisian Vanilla Bean Flan with Caramelized Top
Total time: 4 h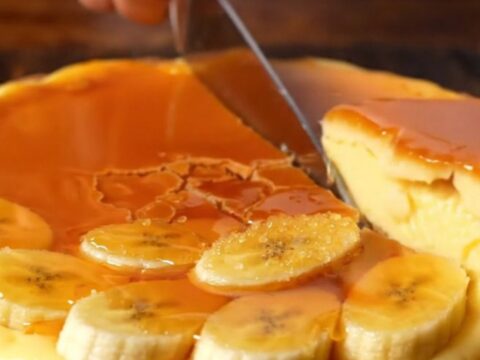
Torched Banana Brûlée Custard Tart with Dark Rum Caramel
Total time: 3 h 5 min
Silky Hong Kong Egg Tarts with Flaky Pastry
Total time: 50 min