Desserts · Part 1 of 3: Ingredients
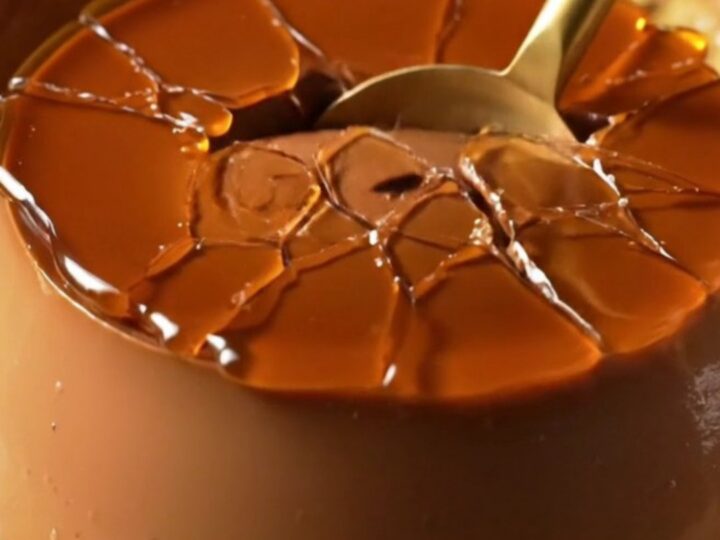
Rich Dark Chocolate Crème Brûlée with a Shattering Caramel Crust
- Prep
- Cook
- Total
- Serves
- 6
Indulge in the ultimate chocolate experience with this decadent dark chocolate crème brûlée. This dessert combines the deep, intense flavors of high-quality Valrhona dark chocolate with the classic, silky texture of a traditional French custard.
Topped with a glass-like layer of caramelized sugar that shatters under your spoon, this recipe offers a sophisticated balance of temperatures and textures that is sure to impress. It is the perfect finale for any dinner party or special occasion, providing a luxurious finish.
Creating a professional-grade crème brûlée at home is surprisingly straightforward when you understand the importance of gentle heat and proper tempering. This recipe focuses on technique, ensuring a smooth, custard-like consistency that melts in your mouth.
By using a water bath, you protect the delicate egg-based custard from the harsh heat of the oven, resulting in a perfectly set texture every time. The final step of torching the sugar creates that iconic crunch that makes this dessert so satisfying to eat.
Ingredients
Custard Base
- 150 g 70% dark chocolate, chopped
- 450 ml heavy cream
- 5 large egg yolks
- 80 g granulated sugar
- 1 pinch espresso salt
Topping
- raw cane sugar for serving
Why this recipe works
The method relies on a bain-marie, or water bath, to insulate the ramekins. This technique is essential for custards, as it keeps the ambient temperature around the eggs low and consistent, preventing the proteins from overheating and curdling. This slow, uniform cooking is what gives the custard its signature velvet-like, dense, and creamy structure without any graininess or separation, ensuring the dark chocolate remains perfectly suspended.
Tempering the egg yolks with the hot chocolate cream is a crucial step that gradually raises the temperature of the yolks. By adding the hot liquid slowly while whisking constantly, you avoid sudden coagulation of the egg proteins.
This careful process ensures a smooth, uniform custard base. Once chilled, the custard provides a cold, stable foundation that contrasts beautifully with the warm, crisp, and slightly bitter caramelized sugar crust created during the final torching phase.
Notes and substitutions
For the best results, use high-quality 70% dark chocolate, such as Valrhona, as the chocolate is the primary flavor profile. The intensity of the cocoa is what defines the character of the dessert. If you prefer a less intense flavor, you can use a 60% dark chocolate, but avoid using milk chocolate, as the high sugar and dairy content can alter the final set of the custard and make the dessert overly sweet.
Ensure all equipment is completely clean and dry before starting. The ramekins should be of uniform size to ensure even baking. A kitchen torch is highly recommended for achieving the perfect caramelized sugar topping, as it allows for precise control over the browning process.
If you do not have a torch, you can place the ramekins under a preheated broiler for a minute, but monitor them closely to avoid burning the custard underneath the sugar.
- 70% dark chocolate: Use a high-quality semi-sweet chocolate if a milder cocoa flavor is preferred.
- Espresso salt: Substitute with a tiny pinch of fine sea salt and a 1/4 teaspoon of instant espresso powder.
Equipment
- Heavy-bottomed saucepan
- Whisk
- Mixing bowl
- 6 ramekins
- Baking dish for water bath
- Kitchen torch
Up next · Part 2 of 3
3 steps · 35 min of cooking · what to look for at each stage
Step-by-step instructions (Part 2)