Desserts · Part 3 of 3: Tips & recipe card
Espresso Tiramisu Tart with Dark Chocolate Ganache Tips, FAQ & printable recipe
- Prep
- Cook
- Total
- Serves
- 8
Tips for success
For the cleanest slices, use a long, sharp knife and dip it in hot water, then wipe it dry before each cut. This prevents the mascarpone from sticking and keeps the layers intact.
If the tart has been in the fridge for a while, let it sit at room temperature for 5 to 10 minutes before slicing to make cutting easier, but serve it chilled.
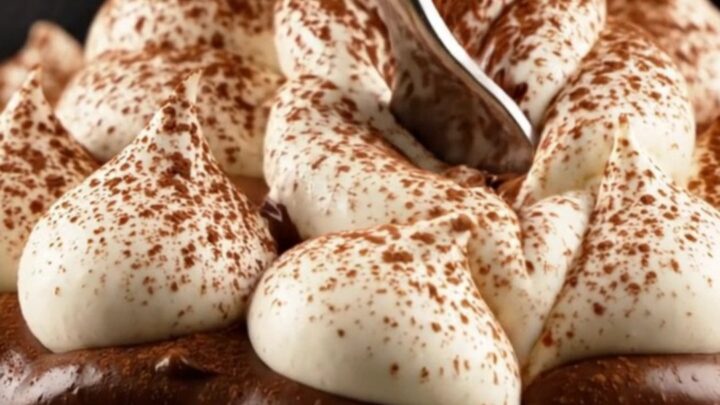
To achieve a professional look, pipe the mascarpone in a spiral or in small rosettes, leaving a little space between each mound. Dust the cocoa powder just before serving to prevent it from absorbing moisture and becoming patchy.
For an extra touch, you can add a few chocolate shavings or coffee beans on top, but the classic version is simply cocoa-dusted.
Variations
- Mocha Twist: Add 1 teaspoon of instant espresso powder to the ganache along with the chocolate for a deeper coffee flavor. You can also sprinkle a few chocolate-covered espresso beans on top before serving.
- Raspberry Swirl: Spoon a thin layer of raspberry preserves over the ladyfingers before adding the ganache. The tart fruit cuts through the richness and adds a bright color.
- Nutty Crunch: Sprinkle a handful of toasted hazelnuts or almonds over the ganache while it's still wet. The nuts add a pleasant crunch and pair beautifully with chocolate and coffee.
- Spiced Cocoa: Add a pinch of cinnamon or cardamom to the cocoa powder before dusting. The warm spice complements the espresso and chocolate, giving the tart a subtle aromatic lift.
Storage and make-ahead
- Fridge
- Keep the assembled tart refrigerated for up to 3 days, covered. The cocoa powder should be added just before serving to avoid sogginess.
- Freezer
- Freeze the un-dusted tart for up to 1 month. Thaw overnight in the refrigerator, then dust with cocoa and serve.
- Reheat
- No reheating needed; serve chilled. If desired, let it sit at room temperature for 5 minutes to soften slightly.
Store the tiramisu tart in the refrigerator, covered loosely with plastic wrap or in a cake dome, for up to 3 days. The crust may soften slightly over time, but the flavors will continue to meld. Keep it chilled until ready to serve.
This tart is ideal for making a day ahead. Assemble it completely, cover, and refrigerate for up to 24 hours before serving. Dust with cocoa powder just before serving for the best appearance. The tart can also be frozen for up to 1 month; thaw overnight in the refrigerator before serving.
Serving ideas
Serve the tiramisu tart chilled, straight from the refrigerator, to enjoy the contrast between the crisp crust and the creamy filling.
A small dollop of lightly sweetened whipped cream on the side is a lovely addition, though the tart is rich enough to stand alone. Pair it with an espresso or a small glass of amaretto for a truly Italian experience.
For a dinner party, slice the tart into thin wedges and arrange them on a platter with a dusting of extra cocoa.
The tart is elegant enough for a celebration yet simple enough for a weekend treat. Each slice reveals the beautiful layers, making it a stunning centerpiece for any dessert table.
Frequently asked questions
Can this tiramisu tart be made ahead of time?
Why does the mascarpone sabayon sometimes curdle?
Can the tart be made without eggs?
What is the best way to slice the tart cleanly?
Can the tart be served at room temperature?
Espresso Tiramisu Tart with Dark Chocolate Ganache

Ingredients
- 1 baked chocolate pate sucree tart shell (9-inch)
- 12 savoiardi ladyfingers
- 1 cup freshly brewed espresso, cooled
- 8 oz dark chocolate (60-70%), finely chopped
- 1 cup heavy cream
- 1 cup mascarpone cheese, at room temperature
- 3 large egg yolks
- 1/2 cup granulated sugar
- 2 tbsp Dutch-process cocoa powder, for dusting
Instructions
- Place the baked chocolate pate sucree tart shell on a serving plate. Pour the cooled espresso into a shallow dish. Briefly dip each savoiardi ladyfinger into the espresso, turning quickly so they soak but do not become soggy. Arrange the soaked ladyfingers in a single layer over the bottom of the tart shell, breaking them to fit as needed.
- Place the chopped dark chocolate in a heatproof bowl. In a small saucepan, heat the heavy cream over medium heat until it just begins to simmer around the edges. Pour the hot cream over the chocolate and let it sit for 2 minutes, then stir gently until smooth and glossy. Pour the ganache over the soaked ladyfingers and spread it evenly with an offset spatula.
- Refrigerate the tart for 30 minutes to let the ganache set slightly before adding the mascarpone topping. This step prevents the layers from blending together.
- In a heatproof bowl set over a pot of simmering water, whisk the egg yolks and sugar constantly until the mixture thickens and reaches 160°F (71°C) on an instant-read thermometer. Remove from heat and whisk in the mascarpone until smooth and creamy. The mixture should be glossy and hold a ribbon when lifted.
- Transfer the mascarpone sabayon to a piping bag fitted with a large round tip. Pipe decorative mounds over the ganache layer, covering the surface completely. Smooth the tops gently with a spatula if desired, leaving some peaks for texture.
- Refrigerate the assembled tart for 3 hours, or until fully chilled and set. This allows the flavors to meld and the textures to firm up.
- Just before serving, place the Dutch-process cocoa powder in a fine-mesh strainer and dust generously over the top of the tart, covering the mascarpone peaks evenly.
- Use a sharp knife dipped in hot water and wiped dry to slice the tart cleanly. Wipe the knife between cuts. Serve chilled for the best texture contrast between the crunchy crust, creamy filling, and airy topping.
Estimated nutrition per serving
- Calories
- 490
- Protein
- 7 g
- Carbohydrates
- 42 g
- Fat
- 33 g
Next recipe

Giant Ferrero Rocher Dome Cake for Celebrations
See the recipe → →This recipe is based on a short cooking video and is published under the pen name Clara Weller. It was checked before publication, but errors can slip through. Nutrition, when shown, is an estimate. Read more in our editorial policy and on our food safety page.
More recipes to try
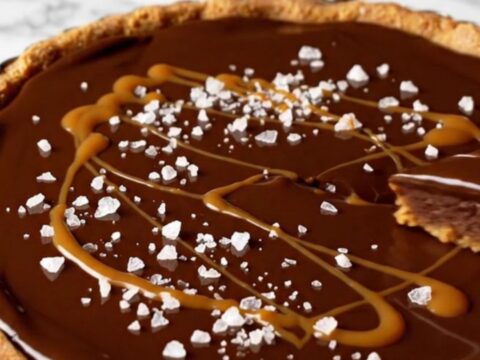
No-Bake Biscoff Dark Chocolate Ganache Tart
Total time: 2 h 20 min
Avocado Dark Chocolate Mousse with Mirror Glaze
Total time: 1 h 20 min
2-Ingredient Cocoa Condensed Milk Truffles
Total time: 2 h 20 min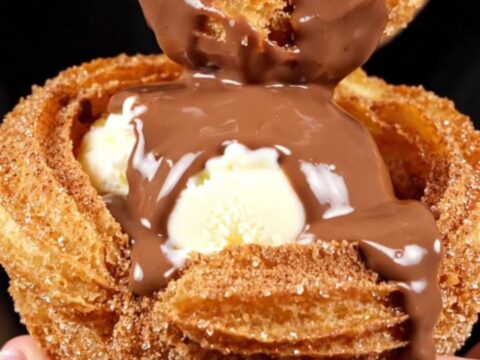
Crispy Edible Churro Bowls with Mexican Chocolate
Total time: 35 min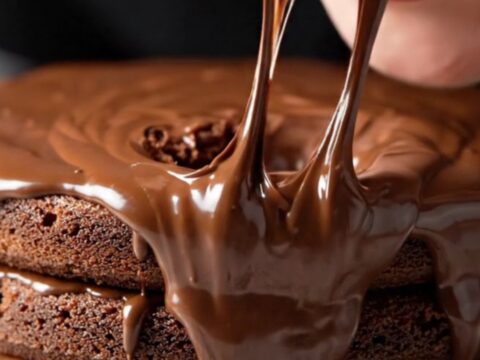
Matilda-Style Triple Chocolate Fudge Cake: Ultra-Moist
Total time: 1 h 25 min