Desserts · Part 1 of 3: Ingredients
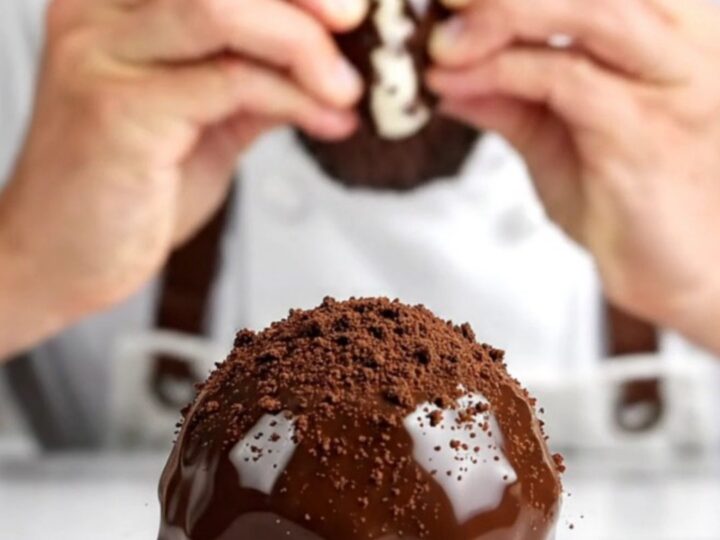
Three-Ingredient Oreo Cheesecake Truffles Without Baking
- Prep
- Cook
- Total
- Serves
- 24
Discover the effortless magic of making gourmet-style truffles at home using only three basic ingredients and absolutely no baking required. These bite-sized treats deliver an intense chocolate and cream experience that is perfect for any occasion, from quick afternoon snacks to elegant party platters.
With a snappy outer shell and a decadently dense, creamy interior, they offer a satisfying texture contrast that will impress anyone who tries them. Simplify your dessert routine with this foolproof, high-impact recipe today.
This recipe transforms standard pantry staples into sophisticated, no-bake truffles that look and taste like they came from a professional confectionery. By combining the classic crunch of chocolate sandwich cookies with the tangy richness of cream cheese, you create a base that is both stable and incredibly flavorful.
The final dip in melted chocolate provides a crisp finish that keeps the centers moist and creamy. It is an ideal project for beginners because it requires minimal equipment and no complex cooking techniques, yet it yields consistently beautiful results every single time you prepare it.
Ingredients
- 36 Oreo cookies
- 8 oz cream cheese, softened
- 12 oz dark and white chocolate, melted
Why this recipe works
The method of blending cookies and cream cheese creates a naturally stable emulsion that sets firmly without needing eggs or heat. The food processor does all the heavy lifting, pulverizing the cookies into a fine powder that integrates perfectly with the cream cheese. This mechanical process ensures a smooth, uniform texture throughout the truffle, eliminating any gritty or uneven spots in the final bite.
Chilling the formed balls before dipping is a crucial step that ensures the truffles hold their shape when introduced to the warm, melted chocolate.
By using a controlled melting temperature for the chocolate coating, you ensure a glossy, tempered-like finish that snaps cleanly when bitten. This two-stage process—freezing then dipping—is the secret to achieving a professional, clean look for every single truffle in the batch.
Notes and substitutions
For the best results, use full-fat cream cheese, as the fat content is essential for the structure and texture of the truffle filling. If you prefer a different flavor profile, you can experiment with flavored cream cheese or even double-stuffed cookies to change the sweetness level, though the base recipe provides the most consistent balance of flavors and textures for a classic, crowd-pleasing dessert.
When it comes to equipment, a standard food processor is highly recommended for achieving the fine crumb texture required. If you do not have one, you can place the cookies in a heavy-duty plastic bag and crush them with a rolling pin, though this takes more effort.
Always use high-quality parchment paper for the baking sheet to prevent the truffles from sticking, which makes the final presentation much cleaner and easier to manage.
- dark and white chocolate: semi-sweet chocolate or milk chocolate chips can be used as a direct replacement for the coating.
- Oreo cookies: other chocolate sandwich cookies may be substituted if necessary, provided they have a similar cream filling.
Equipment
- food processor
- mixing bowl
- baking sheet
- parchment paper
- dipping fork