Desserts · Part 1 of 3: Ingredients
2-Ingredient Cocoa Condensed Milk Truffles
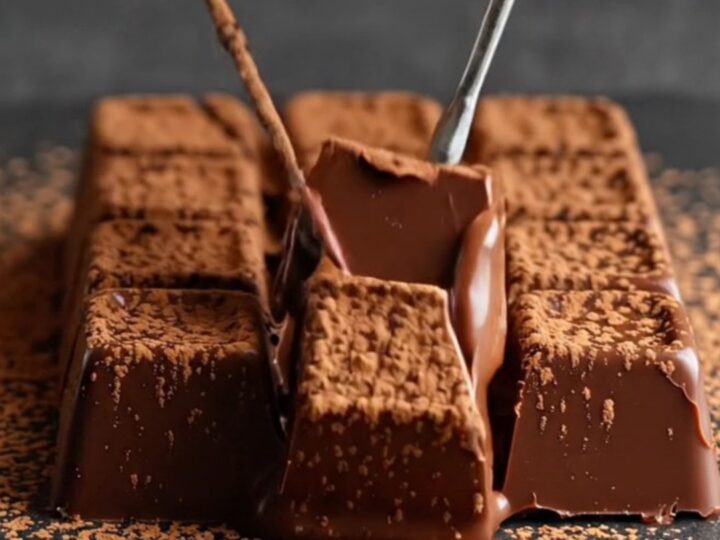
- Prep
- Cook
- Total
- Serves
- 16
Imagine a chocolate truffle that requires just two ingredients and no baking. This recipe turns sweetened condensed milk and Dutch-process cocoa into silky, fudgy cubes that melt on your tongue.
The method is almost magical: warm the milk, fold in the cocoa, chill, and slice. The result is a dense, intensely chocolatey confection with a glossy sheen and a soft, creamy texture. Perfect for gifting, holiday trays, or a quick homemade candy fix.
These two-ingredient cocoa condensed milk truffles are a minimalist dessert that delivers maximum flavor. With just a can of sweetened condensed milk and a cup of Dutch-process cocoa, you can create a batch of elegant, bite-sized chocolate cubes that look and taste like they came from a fancy patisserie.
The secret lies in the gentle warmth of the condensed milk, which helps the cocoa dissolve into a glossy, fudgy paste.
After a chill in the fridge, the mixture sets into a sliceable block that you can cut into neat cubes and dust with extra cocoa. The texture is remarkably smooth—somewhere between a dense fudge and a soft truffle—and the flavor is deep, rich, and not overly sweet. This is a dessert that proves simplicity can be utterly luxurious.
Ingredients
- 14 oz sweetened condensed milk (one can)
- 1 cup Dutch-process cocoa powder, sifted
For dusting
- Dutch-process cocoa powder, for dusting, to taste
Why this recipe works
The combination of sweetened condensed milk and Dutch-process cocoa creates a naturally thick, fudgy mixture without any added fat or sugar. The condensed milk provides sweetness and a creamy mouthfeel, while the cocoa contributes intense chocolate flavor and structure.
Because the condensed milk is already thick, it sets firmly when chilled, giving you a sliceable texture that holds its shape but remains soft and tender on the palate.
Warming the condensed milk before folding in the cocoa is a crucial step. The warmth loosens the milk slightly, allowing the cocoa powder to hydrate and blend in without lumps. Folding in batches ensures a smooth, homogeneous mixture, and the gentle heat also helps bloom the cocoa, intensifying its flavor. The result is a glossy, velvety chocolate paste that chills into perfect truffle cubes.
Notes and substitutions
Dutch-process cocoa is the preferred choice here because it is alkalized, giving it a milder, smoother flavor and a darker color. It also blends more easily with liquids, resulting in a silkier texture. If you use natural cocoa, the truffles will have a more acidic, intensely chocolatey taste, and the texture may be slightly grainy, but they will still be delicious.
Sweetened condensed milk is not the same as evaporated milk. It is thick, sweet, and essential for this recipe. Do not substitute with regular milk or cream, as the truffles will not set properly. For a dairy-free version, look for a coconut-based condensed milk, but note that the flavor will have a subtle coconut undertone.
- Dutch-process cocoa powder: Natural unsweetened cocoa powder (the flavor will be more intense and slightly more acidic, but the texture remains silky).
- Sweetened condensed milk: Coconut condensed milk (for a dairy-free version, the texture will be similar but the flavor will have a subtle coconut note).
Equipment
- Medium saucepan
- Rubber spatula
- Fine-mesh sieve
- 8-inch square baking pan
- Parchment paper
- Sharp knife
- Mixing bowl
Up next · Part 2 of 3
6 steps · 5 min of cooking · what to look for at each stage
Step-by-step instructions (Part 2)