Desserts · Part 1 of 3: Ingredients
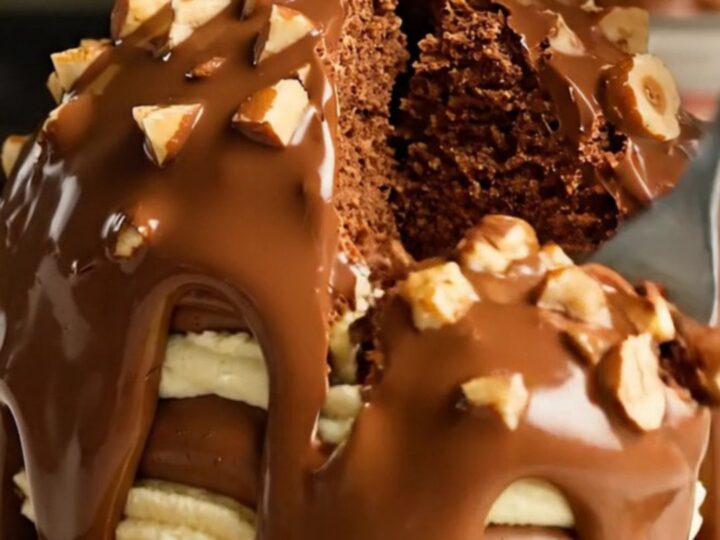
Giant Ferrero Rocher Dome Cake for Celebrations
- Prep
- Cook
- Total
- Serves
- 12
Transform your dessert table with a giant Ferrero Rocher-inspired dome cake that combines sophisticated textures with the nostalgic flavors of hazelnut and chocolate. This impressive centerpiece is surprisingly simple to assemble, relying on high-quality ingredients and a smart layering technique to achieve a professional finish.
Perfect for birthdays, holidays, or any occasion that calls for a bit of culinary flair, this recipe brings the luxury of a high-end pastry studio directly into your home kitchen with minimal stress.
This giant dome cake features a delicate balance of textures, starting with a moist hazelnut sponge base that serves as the foundation. Above this, a layer of crispy feuilletine wafers mixed with rich Gianduja provides the signature crunch that defines the classic Ferrero Rocher experience.
The filling consists of a velvety, whipped Nutella and mascarpone cream that ties all the elements together. Finally, the entire dome is encased in a glossy milk chocolate shell studded with roasted hazelnuts, creating an irresistible treat that is as beautiful to look at as it is to eat.
Ingredients
Layers
- 1 layer hazelnut sponge cake, made ahead or store-bought
- 1 cup crushed crepe dentelle feuilletine wafers
- 3/4 cup melted Gianduja hazelnut chocolate
Filling
- 8 oz mascarpone cheese
- 1 cup Nutella hazelnut spread
Shell
- 2 cups milk chocolate, melted
- 3/4 cup roasted hazelnuts, chopped
Why this recipe works
The method of using a hemisphere bowl as a mold ensures a perfect, uniform dome shape every time. By layering the sponge, crunchy feuilletine, and creamy Nutella filling within the bowl, the ingredients set together during the chilling process. This creates a stable internal structure that allows for easy slicing once the outer shell is added, ensuring that every piece served maintains the beautiful layered appearance.
Chilling the assembled dome before applying the final chocolate shell is essential for achieving the perfect texture contrast. The cold temperature of the cake causes the warm chocolate shell to set almost instantly upon contact, creating that iconic crackly, crisp finish associated with premium chocolate confections.
This thermal shock technique is the secret to getting a smooth, professional-looking coating that stays firmly in place while remaining delicate enough to crack with a fork.
Notes and substitutions
When selecting ingredients, choose a high-quality hazelnut sponge for the best flavor profile. If making the sponge from scratch, ensure it is completely cooled before assembly to prevent the creamy filling from melting. For the Gianduja, look for a high-quality hazelnut chocolate that contains a good percentage of hazelnut paste, as this provides the authentic, rich flavor profile required for the crunchy layer of the cake.
The choice of equipment is straightforward, with a standard hemisphere bowl being the most critical tool for achieving the signature shape. If a dedicated hemisphere bowl is unavailable, a rounded mixing bowl of similar size will work perfectly.
Ensure the bowl is lined with enough plastic wrap to allow for an easy lift-out once the cake has chilled, which prevents the cake from sticking to the sides of the bowl during the unmolding process.
- Gianduja hazelnut chocolate: Equal parts milk chocolate and hazelnut butter melted together
- Crepe dentelle feuilletine: Crushed thin crispy wafer cookies
Equipment
- hemisphere mixing bowl
- electric mixer
- spatula
- plastic wrap
- cooling rack
Up next · Part 2 of 3
4 steps · 20 min of cooking · what to look for at each stage
Step-by-step instructions (Part 2)