Dinner · Part 3 of 3: Tips & recipe card
Crispy Turkish Kıymalı Pide with Melted Butter Tips, FAQ & printable recipe

- Prep
- Cook
- Total
- Serves
- 4
Tips for success
For the crispiest crust, roll the dough as thin as you can without tearing — about 1/4 inch thick. A thin layer of dough crisps up faster and more evenly than a thick one.
Also, don't be shy with the butter: brush it generously over the entire surface, including the sealed ends. The butter not only adds flavor but also helps the crust stay crisp after slicing.
If the pide start to brown too quickly on top but the bottom is not yet crisp, move them to the lowest oven rack for the last 2 minutes. Conversely, if the bottom is burning, raise the rack.
Every oven is different, so watch closely. The pide are best eaten immediately, but if you have leftovers, reheat them in a hot oven for a few minutes to revive the crust.
Variations
- Spicy Lamb Pide: Replace the ground beef with ground lamb and add 1/2 tsp of ground cumin and a pinch of cayenne to the filling. Lamb pairs beautifully with the pul biber and adds a richer, more aromatic flavor.
- Cheese Pide: For a vegetarian version, omit the meat and fill the pide with a mixture of crumbled feta, shredded mozzarella, and chopped parsley. Bake as directed, and brush with butter immediately after.
- Egg-Topped Pide: After baking, crack a raw egg into the center of each pide and return to the oven for 2-3 minutes, until the white is set but the yolk is still glossy. This is a popular breakfast variation.
- Extra-Herby Pide: Add 2 tablespoons of chopped fresh mint and 1 tablespoon of chopped dill to the beef filling. The herbs brighten the filling and add a fresh, summery note.
Storage and make-ahead
- Fridge
- Store leftover pide in an airtight container in the refrigerator for up to 2 days. Reheat in a hot oven to restore crispness.
- Freezer
- Freeze baked pide for up to 1 month. Wrap tightly in foil and plastic. Reheat directly from frozen in a 350°F oven for 10-12 minutes.
- Reheat
- Reheat pide in a 350°F (175°C) oven for 5-7 minutes until hot and crisp. Do not microwave.
Leftover pide can be stored in an airtight container in the refrigerator for up to 2 days. To reheat, place on a baking sheet and warm in a 350°F (175°C) oven for 5 to 7 minutes, until the crust is crisp again. Avoid microwaving, which makes the crust chewy and soft.
The dough can be made a day ahead: prepare the dough, let it rise, then punch it down and refrigerate overnight. Bring it to room temperature for 30 minutes before shaping. The filling can also be made a day ahead and kept refrigerated. Shape and bake the pide just before serving for the best texture.
Serving ideas
Serve the pide hot, straight from the oven, with a generous shower of fresh parsley. The butter should still be glistening on the crust.
Slice into strips and serve as a main dish with a simple salad of tomatoes, cucumbers, and onions dressed with olive oil and lemon. A bowl of plain yogurt on the side adds a cool, creamy contrast to the spicy beef.
For a casual meal, cut the pide into smaller pieces and serve as an appetizer or snack. It also makes a great lunchbox addition if you reheat it properly.
The pide is best eaten with your hands — just tear off a piece and enjoy the combination of crispy crust, savory filling, and buttery richness. Pair with a glass of ayran or a cold beer.
Frequently asked questions
Can the dough be made without a stand mixer?
Why does the filling sometimes make the dough soggy?
Can these be baked on a regular sheet pan without a stone?
What is pul biber and where can it be found?
Can the pide be frozen after baking?
Crispy Turkish Kıymalı Pide with Melted Butter

Ingredients
- 2 1/4 cups bread flour
- 1 tsp active dry yeast
- 1 tsp salt
- 1 cup warm water
- 10 1/2 oz ground beef
- 1 grated onion
- 1 diced tomato
- 1 green pepper, finely chopped
- 1 tbsp tomato paste
- 1 tsp pul biber (Turkish red pepper flakes)
- 1 tsp salt
- 1.75 oz village butter (or high-fat butter), cold
- Fresh flat-leaf parsley, chopped, for serving
Instructions
- In a large bowl, combine the bread flour, yeast, and salt. Add the warm water and stir until a shaggy dough forms. Turn the dough onto a lightly floured surface and knead for 8 to 10 minutes, until smooth and elastic. Place the dough in a lightly oiled bowl, cover with a damp towel, and let rest in a warm spot for 1 hour, or until doubled in size.
- While the dough rests, make the filling. In a medium bowl, combine the ground beef, grated onion, diced tomato, chopped green pepper, tomato paste, pul biber, and salt. Mix with your hands or a spoon until everything is evenly distributed. Cover and refrigerate until ready to use.
- Turn the rested dough onto a lightly floured surface. Divide into 4 equal pieces. Roll each piece into a long oval about 1/4 inch thick, roughly 12 by 6 inches. Spread a quarter of the filling lengthwise down the center of each oval, leaving a 1-inch border at the top and bottom. Pinch the two long edges together at the top and bottom to form a pointed boat shape, leaving the center open.
- Place a baking stone or a heavy sheet pan on the middle rack of the oven. Preheat the oven to 480°F (250°C) for at least 30 minutes, so the stone gets screaming hot. If using a sheet pan, let it heat empty.
- Carefully transfer the shaped pide boats to a floured peel or an inverted sheet pan. Slide them onto the hot baking stone. Bake for 10 minutes, or until the edges are deeply browned, blistered, and crisp. The filling should be cooked through and the beef fully browned.
- Remove the pide from the oven and immediately rub the cold butter over the hot crust, letting it melt and soak into the crispy edges. The butter should sizzle and bubble as it hits the hot surface.
- Using a rocker knife or a sharp chef's knife, slice the pide into strips crosswise. The crust should crunch loudly as you cut. Scatter fresh parsley over the top and serve hot.
Estimated nutrition per serving
- Calories
- 560
- Protein
- 28 g
- Carbohydrates
- 52 g
- Fat
- 26 g
Next recipe
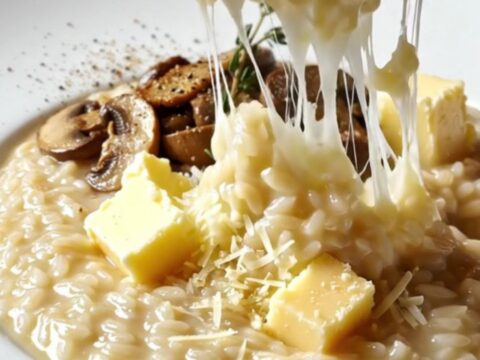
Creamy Wild Mushroom & Fontina Risotto
See the recipe → →This recipe is based on a short cooking video and is published under the pen name Clara Weller. It was checked before publication, but errors can slip through. Nutrition, when shown, is an estimate. Read more in our editorial policy and on our food safety page.
More recipes to try
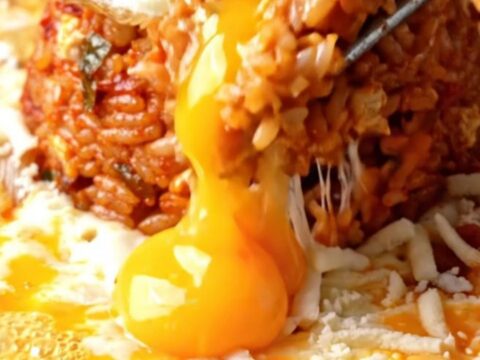
One-Pan Korean Cheesy Kimchi Fried Rice Skillet
Total time: 25 min
Japanese Teriyaki Salmon Rice Bowl with Quick Pickled Cucumbers
Total time: 25 min
Giant Mozzarella Stuffed Pizza Burger on Brioche
Total time: 45 min
Crispy Birria Quesadilla with Rich Consommé
Total time: 50 min
Creamy Tuscan Garlic Shrimp with Orzo & Spinach
Total time: 30 min