Desserts · Part 3 of 3: Tips & recipe card
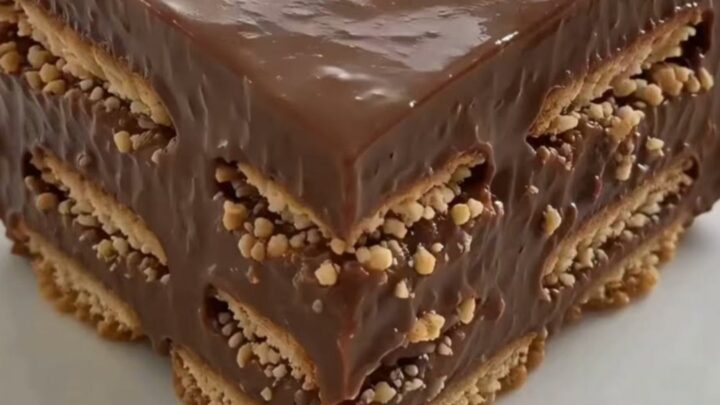
Classic Chocolate Icebox Cake for Easy Chilled Desserts Tips, FAQ & printable recipe
- Prep
- Cook
- Total
- Serves
- 8
Tips for success
To achieve the most polished presentation, consider dusting the top of the finished cake with unsweetened cocoa powder or chocolate shavings just before serving.
This adds an extra layer of texture and a professional aesthetic that elevates the simple dessert. For flavor depth, a tiny pinch of espresso powder stirred into the chocolate pudding can enhance the cocoa notes without making the dessert taste like coffee.
If you prefer a different texture, you can experiment with adding very thin layers of whipped cream between the biscuits and pudding. This introduces a lighter, airier element to the cake.
However, be mindful that whipped cream adds more moisture, so the chilling time may need to be adjusted slightly to ensure the biscuits do not become overly soft or lose their structural integrity.
Variations
- Mocha Icebox Cake: Stir two teaspoons of instant espresso powder into the chocolate pudding before layering. This adds a sophisticated depth of flavor that complements the chocolate perfectly.
- Berry Chocolate Cake: Add a thin layer of fresh, sliced strawberries or raspberries between the biscuit and pudding layers for a bright, fruity contrast to the rich chocolate.
Storage and make-ahead
- Fridge
- Keep refrigerated for up to 3 days, covered tightly with plastic wrap.
- Freezer
- Freezing is not recommended as it will alter the texture of the biscuits and the pudding.
- Reheat
- Serve chilled, do not reheat.
Store any leftovers in the original baking dish, tightly covered with plastic wrap to prevent the cake from drying out or absorbing other refrigerator odors. It is best consumed within three days for optimal texture. If you anticipate having leftovers, store individual slices in airtight containers to make them easier to grab for a quick treat without disturbing the entire cake.
This recipe is specifically designed to be made ahead of time, which is its greatest advantage. Preparing the cake the day before serving allows the flavors to meld and the biscuits to reach the perfect consistency. It can be stored in the refrigerator for up to 24 hours before serving without any loss of quality, making it an ideal choice for stress-free party planning.
Serving ideas
When serving, consider the temperature of the room. This dessert is best enjoyed chilled, so remove it from the refrigerator only at the moment of service.
Providing a small spoon for the pudding and a fork for the biscuit layers allows guests to enjoy the texture fully. A dollop of lightly sweetened whipped cream on the side can provide a pleasant contrast to the rich chocolate.
For a more formal presentation, place each square on a chilled dessert plate. If the cake has been in the refrigerator for a long time, let it sit at room temperature for just a minute or two to take the chill off slightly, which can enhance the perception of the chocolate flavor.
Pair with fresh berries to add a bright, acidic counterpoint that balances the overall sweetness of the dish.
Frequently asked questions
Can this be made with a different type of pudding?
Why did the biscuits stay hard?
Can the cake be frozen for later?
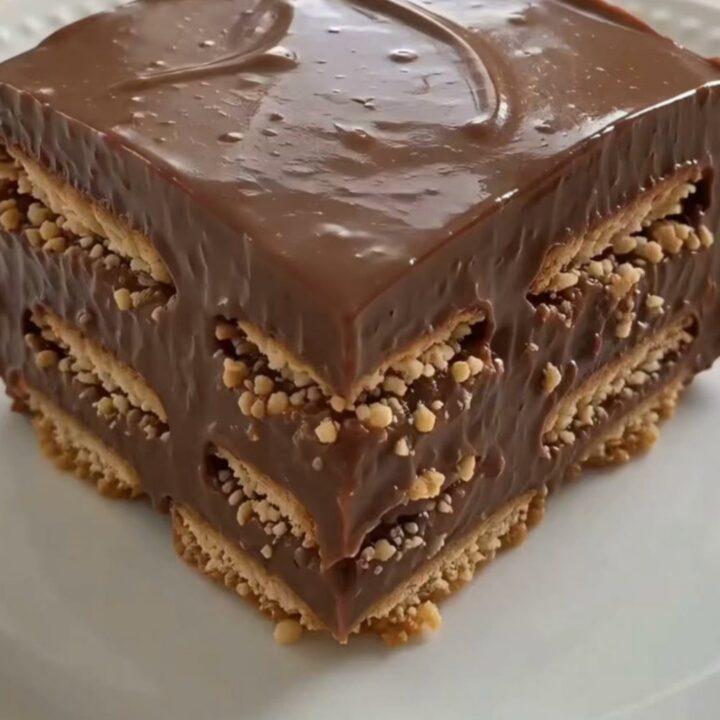
Classic Chocolate Icebox Cake for Easy Chilled Desserts
Ingredients
- 3 cups chocolate pudding, store-bought or made ahead
- 1 package crisp biscuits
Instructions
- Spread a thin, even layer of chocolate pudding across the bottom of the 8-inch square baking dish using an offset spatula. This base ensures the bottom layer of biscuits adheres properly and softens correctly during the chilling process.
- Arrange a single layer of crisp biscuits over the pudding base. Follow with a generous layer of chocolate pudding, spreading it smoothly to cover the biscuits completely. Repeat these alternating layers until the dish is filled, finishing with a final layer of chocolate pudding on top.
- Place the assembled cake into the refrigerator. Allow the dessert to chill for at least four hours, or ideally overnight, to ensure the biscuits soften to a cake-like texture while remaining distinct from the creamy pudding layers.
- Remove the cake from the refrigerator once fully chilled. Use a sharp knife or spatula to cut the cake into square portions. Carefully lift each slice onto a serving plate and enjoy immediately while cold.
Estimated nutrition per serving
- Calories
- 320
- Protein
- 4.5 g
- Carbohydrates
- 42 g
- Fat
- 15 g
- Fiber
- 1.2 g
- Sugar
- 28 g
- Sodium
- 210 mg
Next recipe
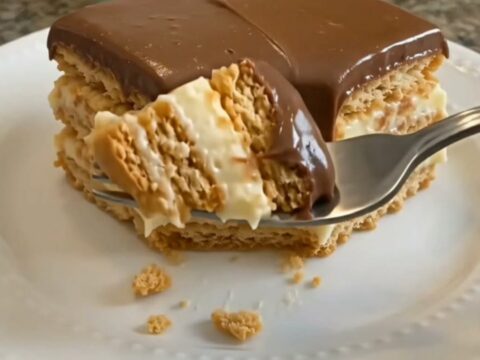
Easy No-Bake Eclair Cake with Creamy Vanilla Layers
See the recipe → →This recipe is based on a short cooking video and is published under the pen name Clara Weller. It was checked before publication, but errors can slip through. Nutrition, when shown, is an estimate. Read more in our editorial policy and on our food safety page.
More recipes to try
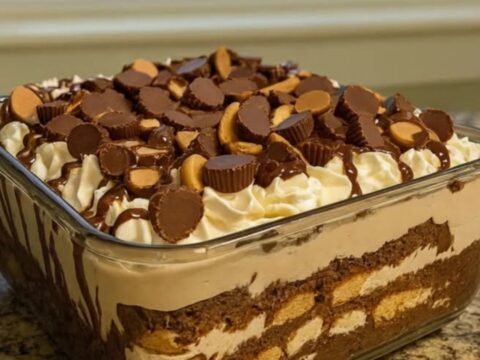
Decadent No-Bake Peanut Butter Cup Lush Dessert
Total time: 2 h 20 min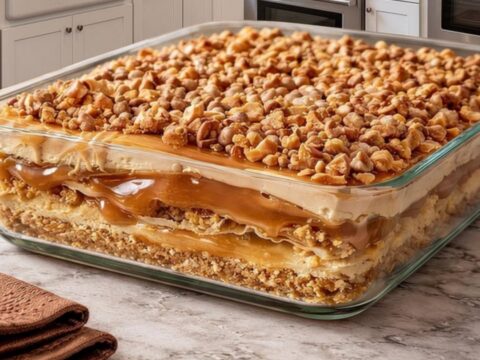
Peanut Butter Crunch Lasagna: A Decadent Layered Dessert
Total time: 1 h 20 min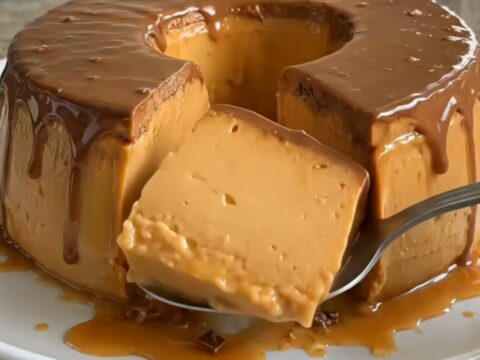
Silky Caramel Chocolate Pudding Ring
Total time: 3 h 35 min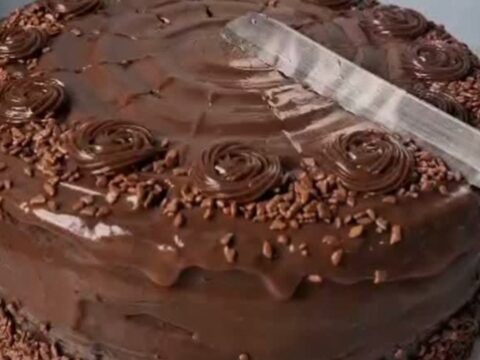
Decadent Chocolate Fudge Cake with Glossy Frosting
Total time: 1 h 10 min
Rich Peanut Butter Cup Dump Cake
Total time: 1 h 5 min