Dinner · Part 3 of 3: Tips & recipe card
Artisan Sourdough Bread with a Blistering Ear Tips, FAQ & printable recipe
- Prep
- Cook
- Total
- Serves
- 12
Tips for success
To achieve a blistered, crackling crust, the key is a very hot Dutch oven and a good steam burst. Make sure the pot is preheated for at least 45 minutes. When you transfer the dough, work quickly to minimize heat loss.
The parchment paper helps you lower the dough gently without burning your fingers. For an even more dramatic ear, score at a shallower angle (about 30 degrees) and make the slash slightly off-center.
The overnight cold proof is essential for both flavor and handling. The cold dough is much easier to score, and the extended fermentation develops the tangy sourdough taste.
If you're short on time, you can proof at room temperature for 3–4 hours, but the flavor will be less complex. Always use a digital scale for measuring—baking by weight is more accurate and consistent than using cups.
Variations
- Seeded Sourdough: Add 50 g of a mix of sesame, sunflower, and poppy seeds to the dough during the first stretch-and-fold. Before baking, brush the shaped loaf with water and press extra seeds onto the top for a crunchy, nutty crust.
- Rosemary Garlic: Fold in 2 tablespoons of finely chopped fresh rosemary and 2 minced garlic cloves during the final stretch-and-fold. The aromatic herbs infuse the crumb with a savory note that pairs well with olive oil.
- Whole Wheat Blend: Replace 150 g of the bread flour with whole wheat flour. The loaf will be slightly denser but more flavorful. Increase the water by 25 g to accommodate the extra bran.
- Cranberry Walnut: Add 100 g of dried cranberries and 75 g of chopped walnuts during the last stretch-and-fold. The sweet-tart cranberries and crunchy walnuts add texture and a festive touch.
Storage and make-ahead
- Fridge
- Store in a paper bag at room temperature for up to 3 days. Do not refrigerate, as it accelerates staling.
- Freezer
- Wrap the cooled loaf tightly in plastic wrap and foil, then freeze for up to 3 months. Thaw at room temperature.
- Reheat
- Reheat slices in a toaster or oven at 350°F (175°C) for 5–7 minutes to restore crispness.
Store the cooled bread in a paper bag or a bread box at room temperature for up to 3 days. The crust will soften over time, but you can refresh it by reheating slices in a toaster or a hot oven for a few minutes. Avoid storing in plastic, as it traps moisture and makes the crust chewy.
The dough can be prepared up to 2 days ahead: after shaping, place the banneton in the refrigerator and bake within 24–48 hours. The longer cold proof will deepen the flavor. You can also freeze the shaped, unbaked dough for up to 1 month; thaw in the refrigerator overnight before baking.
Serving ideas
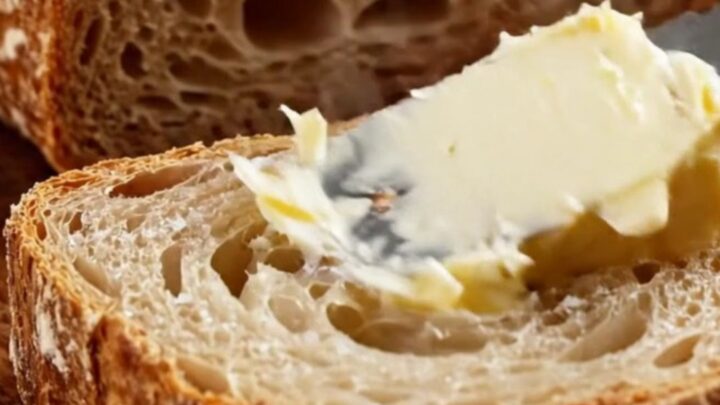
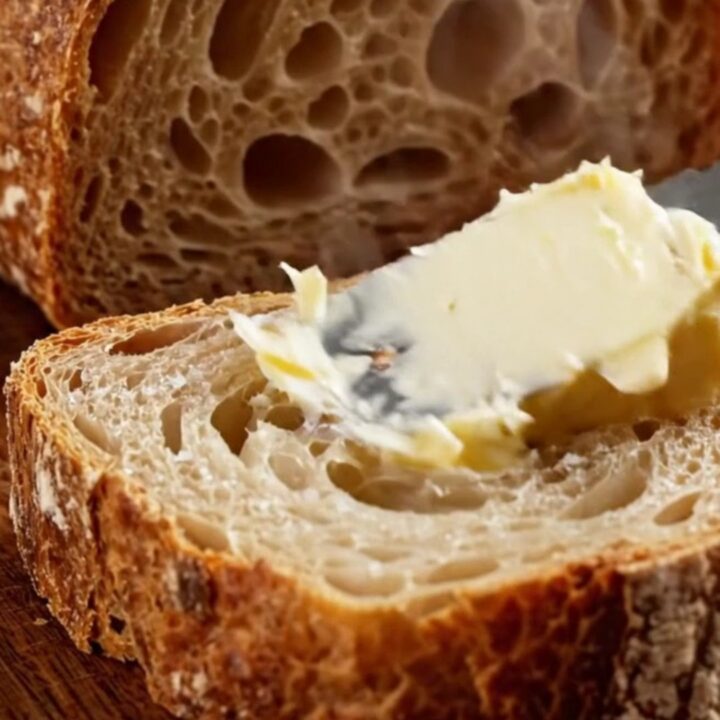
Serve this sourdough warm or at room temperature, ideally with good salted butter that melts into the crumb. It's also wonderful with olive oil for dipping, or as the base for bruschetta topped with tomatoes and basil.
For breakfast, toast thick slices and top with avocado or jam. The crusty exterior and chewy interior make it a versatile companion to soups, stews, and salads.
For a cheese board, slice the bread into thin wedges and serve alongside aged cheddar or tangy goat cheese. The bread's mild tang pairs beautifully with both sweet and savory accompaniments.
If you have leftovers, use them to make bread pudding, croutons, or panzanella. The bread's sturdy structure holds up well in these dishes, adding texture and flavor.
Frequently asked questions
Why did the bread not get an ear?
Can the dough be proofed at room temperature instead?
What if the starter is not active enough?
How should the bread be stored to keep the crust crisp?
Can this recipe be made without a Dutch oven?
Artisan Sourdough Bread with a Blistering Ear
Ingredients
- 100 g active sourdough starter
- 350 g warm water
- 500 g bread flour
- 10 g sea salt
- Salted butter, for serving
Instructions
- In a large bowl, stir together the active sourdough starter and warm water until the starter disperses. Add the bread flour and sea salt, then mix with a spatula or your hand until a shaggy dough forms and no dry flour remains. Cover the bowl with a damp towel or plastic wrap and let it rest for 30 minutes to begin autolyse.
- Perform four sets of stretch-and-folds at 30-minute intervals. To do this, wet your hand, reach under one side of the dough, stretch it up and over the center, then rotate the bowl a quarter turn and repeat three more times. After each set, cover and rest the dough. The dough will become smoother and more elastic with each fold.
- After the final stretch-and-fold, turn the dough out onto a lightly floured surface. Shape it into a tight round boule by pulling the edges toward the center and pinching them together. Place the boule seam-side up in a floured banneton basket. Cover and refrigerate overnight (8–12 hours) for a slow, flavorful proof.
- At least 45 minutes before baking, place a Dutch oven with its lid on the center rack of the oven. Preheat the oven to 450°F (232°C). The Dutch oven needs to be thoroughly hot to create steam and produce a crackling crust.
- Carefully remove the hot Dutch oven from the oven. Invert the proofed dough onto a piece of parchment paper, seam-side down. Using a razor blade or lame, score the top of the dough with a single slash at a 45-degree angle, about 1/2 inch deep. Lift the parchment with the dough and lower it into the Dutch oven. Cover with the lid and bake for 20 minutes.
- After 20 minutes, remove the lid and continue baking for 25–30 minutes, until the crust is deep golden brown and blistered. The internal temperature of the bread should read 200–210°F (93–99°C) on an instant-read thermometer. Transfer the bread to a wire rack and let it cool completely before slicing.
- Once the bread is completely cool, slice it with a serrated knife to reveal the open, honeycomb crumb. Spread salted butter on a warm slice and listen for the crackle. Serve immediately or store in a bread box.
Estimated nutrition per serving
- Calories
- 210
- Protein
- 7 g
- Carbohydrates
- 42 g
- Fat
- 1 g
Next recipe

Adorable Turkish Pumpkin Brioche Buns with Feta
See the recipe → →This recipe is based on a short cooking video and is published under the pen name Clara Weller. It was checked before publication, but errors can slip through. Nutrition, when shown, is an estimate. Read more in our editorial policy and on our food safety page.
More recipes to try

Crispy Homemade Chicken Fries with Honey Mustard
Total time: 24 min
Sheet Pan Chipotle Chicken Tacos: Crispy, Easy Family Dinner
Total time: 27 min
Baked Beef Pockets with Garlic Butter and Stretchy Cheese
Total time: 50 min
One-Pan Stuffed Jumbo Shells with Meatballs
Total time: 41 min
Crispy Chicken Caesar Pasta Salad: Quick Summer Lunch
Total time: 35 min