Dinner · Part 1 of 3: Ingredients
Artisan Sourdough Bread with a Blistering Ear
- Prep
- Cook
- Total
- Serves
- 12
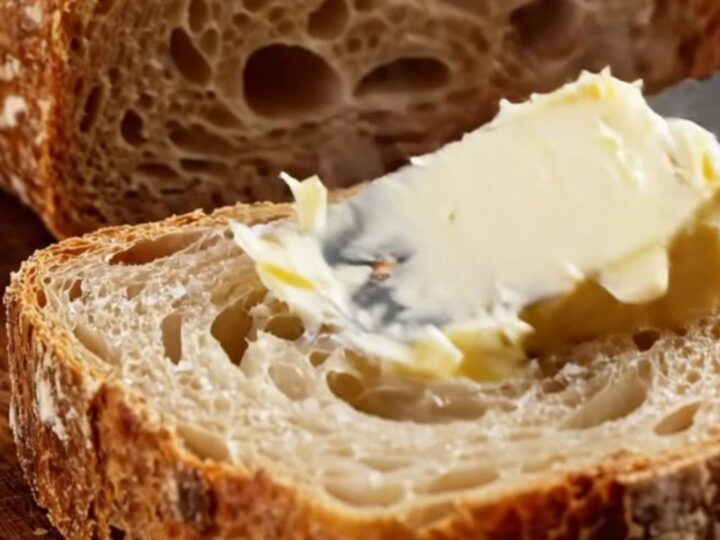
The sound of a sourdough crust crackling as you slice into it is pure magic. This recipe delivers that dramatic ear, a blistered dark-golden crust, and an open, airy crumb—all from a simple mix of flour, water, salt, and starter.
The method is forgiving: a few stretch-and-folds, an overnight rest in the fridge, and a screaming-hot Dutch oven do the heavy lifting. No complicated equipment, no fussy techniques, just honest bread that looks and tastes like it came from a professional bakery.
Artisan sourdough bread is often seen as the pinnacle of home baking, but it doesn't have to be intimidating. This recipe strips away the mystique and focuses on the essentials: a lively starter, a simple mix, a series of gentle folds, and a hot Dutch oven.
The result is a loaf with a crackling crust that shatters under a knife, a tender, chewy crumb with irregular holes, and that signature ear that makes bakers swoon. The overnight proof in the refrigerator deepens the flavor and makes the dough easier to handle, so you can bake on your own schedule. Whether you're serving it with butter at breakfast or alongside a bowl of soup, this bread is a triumph.
Ingredients
- 100 g active sourdough starter
- 350 g warm water
- 500 g bread flour
- 10 g sea salt
For serving
- Salted butter, for serving
Why this recipe works
The high hydration of the dough—350 grams of water to 500 grams of flour—creates a wet, sticky dough that, when handled with stretch-and-folds, develops strong gluten strands without aggressive kneading.
This gentle method traps air and builds structure, resulting in an open, holey crumb that's characteristic of artisan loaves. The long, cold proof in the refrigerator slows fermentation, allowing enzymes to break down starches and produce complex, tangy flavors that you just don't get from a quick rise.
Baking in a preheated Dutch oven mimics the steam-injected ovens of professional bakeries. The enclosed pot traps moisture released from the dough, creating a humid environment that keeps the crust supple during the initial phase of baking.
This allows the dough to expand fully, producing a tall, open crumb and a dramatic ear where the scored edge pulls back. After the lid is removed, the dry heat crisps the crust to a deep golden brown, giving it that signature crackle when it hits the air.
Notes and substitutions
The star of this recipe is the active sourdough starter. It should be bubbly and doubled in volume before you begin, ideally fed 4–6 hours prior. If your starter is sluggish, don't rush—give it time to peak. Bread flour provides the necessary protein for a strong gluten network, but all-purpose flour can work in a pinch, just expect a slightly denser crumb. Use warm water (around 90°F/32°C) to help the starter wake up, but avoid hot water that could kill the yeast.
A banneton basket is ideal for proofing because it allows air circulation and leaves a beautiful flour pattern on the loaf. If you don't have one, a mixing bowl lined with a floured kitchen towel works just as well. The razor blade or lame is crucial for scoring—a sharp blade creates a clean slash that opens into a dramatic ear. And don't skip the parchment paper; it makes transferring the sticky dough into the hot Dutch oven much safer and easier.
- bread flour: All-purpose flour works, but the crumb will be slightly less open. Use the same weight.
- active sourdough starter: If the starter is not quite active, feed it 4–6 hours before mixing until it doubles in volume.
- sea salt: Fine table salt can be used, but reduce the amount to 8 g to avoid over-salting.
Equipment
- Large mixing bowl
- Dutch oven with lid
- Banneton basket or proofing bowl
- Razor blade or lame
- Parchment paper
- Kitchen towel
Up next · Part 2 of 3
7 steps · 45 min of cooking · what to look for at each stage
Step-by-step instructions (Part 2)