Dinner · Part 1 of 3: Ingredients
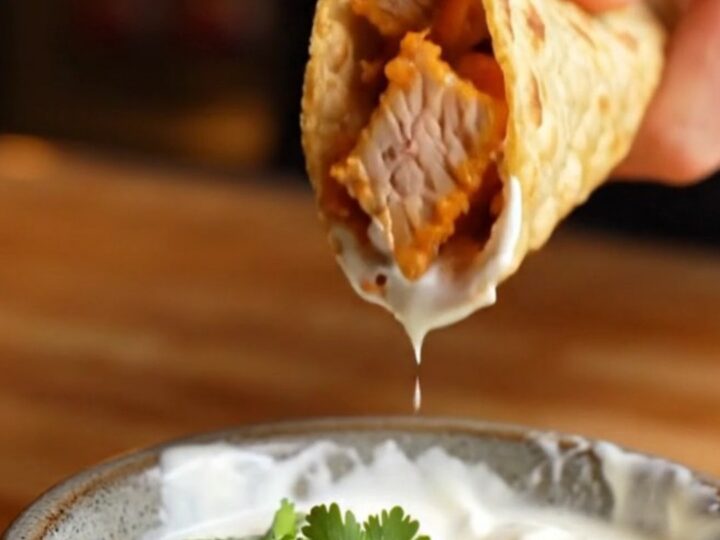
Sheet Pan Chipotle Chicken Tacos: Crispy, Easy Family Dinner
- Prep
- Cook
- Total
- Serves
- 4
These sheet pan chipotle chicken tacos are the ultimate weeknight win: tender, smoky chicken and gooey Monterey Jack cheese folded into crispy corn tortillas, all baked on one pan.
With just 15 minutes of prep, you get a dinner that feels like a Friday-night treat any day of the week. The chipotle heat is balanced by the cool, creamy sour cream, and the crispy edges are pure magic. No standing over a skillet, no messy cleanup—just fold, bake, and serve.
This recipe turns simple ingredients into a dinner that disappears fast. Sliced chicken breast gets a bold rub of chipotle, garlic, cumin, and smoked paprika, then gets tucked into corn tortillas with a generous pile of Monterey Jack. A quick bake at high heat delivers shatteringly crisp tortillas and juicy, fully cooked chicken.
The whole thing comes together on one sheet pan, making cleanup a breeze. Serve with sour cream and fresh cilantro for a bright, cooling finish. Whether it's Taco Tuesday or any night of the week, these tacos deliver big flavor with minimal fuss.
Ingredients
- 1 lb chicken breast, sliced into thin strips
- 2 tsp chipotle chili powder
- 1 tsp garlic powder
- 1 tsp ground cumin
- 1 tsp smoked paprika
- 1 tsp kosher salt
- 3 tbsp olive oil, divided
- 8 corn tortillas (6-inch)
- 2 cups shredded Monterey Jack cheese
For serving
- 1/2 cup sour cream, for serving
- 1/4 cup fresh cilantro leaves, for serving
Why this recipe works
Baking the tacos on a sheet pan means the tortillas crisp up evenly without needing to stand over a hot skillet. The high heat of 425°F (220°C) drives out moisture from the tortillas and cheese, creating a crunchy exterior while the chicken stays moist and tender. The fold-and-bake method also lets the cheese melt and act as a glue, holding everything together for a neat, easy-to-eat taco.
The spice blend is built for depth: chipotle brings smoky heat, cumin adds earthiness, and smoked paprika contributes a subtle sweetness. Coating the chicken before baking ensures every bite is flavorful.
Using corn tortillas brushed with oil gives them that classic taqueria-style crispness without deep frying. The result is a taco that's both sturdy and delicate, with a satisfying crunch in every bite.
Notes and substitutions
For the best texture, use corn tortillas—they crisp up beautifully in the oven. If you prefer flour tortillas, they'll work but won't get as crunchy.
Monterey Jack melts wonderfully and has a mild flavor that lets the chipotle shine; cheddar or pepper jack are great swaps if you want more bite. Chicken breast is lean and cooks quickly, but thighs will be even juicier if you have them on hand.
This recipe is easily scaled up for a crowd—just add more tortillas and filling to the sheet pan, making sure not to overcrowd so they crisp properly. If you have extra spice blend, store it in an airtight jar for future use. The tacos are best served right out of the oven, but they also hold up well for leftovers—just reheat in a toaster oven to bring back the crunch.
- chicken breast: chicken thighs, sliced thin, for juicier results
- Monterey Jack cheese: cheddar, pepper jack, or a Mexican blend
- corn tortillas: flour tortillas (but note they won't get as crispy)
- chipotle chili powder: regular chili powder plus a pinch of cayenne
Equipment
- Large sheet pan
- Mixing bowl
- Pastry brush
- Tongs
- Chef's knife
- Cutting board
Up next · Part 2 of 3
5 steps · 12 min of cooking · what to look for at each stage
Step-by-step instructions (Part 2)