Desserts · Part 3 of 3: Tips & recipe card
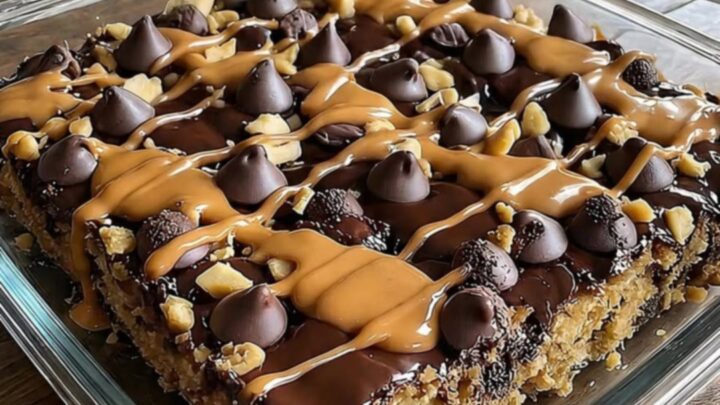
Rich Peanut Butter Cup Dump Cake Tips, FAQ & printable recipe
- Prep
- Cook
- Total
- Serves
- 8
Tips for success
To elevate the presentation of this dessert, serve each warm slice with a small scoop of vanilla bean ice cream or a light dusting of cocoa powder. The temperature contrast between the warm, molten cake and the cold ice cream creates a sophisticated flavor profile that balances the richness of the peanut butter and chocolate.
If you want to add a bit of texture, sprinkle a few toasted, chopped peanuts over the top just before serving, which provides a satisfying crunch that complements the gooey interior.
When working with melted peanut butter, ensure it is smooth and free of any scorched bits. If the peanut butter is too thick to drizzle effectively, place the bowl in the microwave for 10-second intervals, stirring in between, until it reaches a pourable consistency.
This attention to detail ensures that the drizzle is distributed uniformly, preventing concentrated pools of peanut butter that could overpower the chocolate base. Keeping the consistency of your ingredients in mind is the secret to achieving a professional-looking dessert every time.
Variations
- Salted Caramel Twist: Add a generous drizzle of salted caramel sauce over the peanut butter cups before adding the butter. The salt highlights the chocolate notes and creates a sophisticated depth of flavor.
- Nutty Crunch: Incorporate a half-cup of chopped roasted peanuts into the cake mix layer before baking. This adds a pleasant, varied texture that contrasts with the softness of the cake.
Storage and make-ahead
- Fridge
- Keep leftovers in the refrigerator for up to 3 days. Ensure the container is sealed tightly to prevent the cake from absorbing other odors from the fridge.
- Freezer
- The cake can be frozen for up to 1 month. Wrap the cooled cake in a layer of plastic wrap followed by a layer of aluminum foil to prevent freezer burn.
- Reheat
- Reheat individual portions in the microwave for 30 seconds at a time until warmed through. For a larger portion, use a 325°F oven until thoroughly heated.
Store any leftovers in an airtight container to maintain the moisture of the cake. If you prefer to keep it in the original baking dish, cover it tightly with plastic wrap or aluminum foil once it has completely cooled to room temperature. It is important to prevent air exposure, which can cause the cake to dry out and lose its tender, gooey texture. Keep the container in a cool, dry place away from direct sunlight or heat sources to ensure it remains fresh for as long as possible.
This dish can be assembled up to 2 hours before baking. Simply layer all the dry ingredients in the dish, cover it tightly, and keep it at room temperature. If you need to prepare it further in advance, assemble the layers and refrigerate the dish.
However, if baking from cold, you will need to add 5 to 10 minutes to the total baking time to ensure the center reaches the correct temperature. Always allow the dish to sit on the counter for 30 minutes before placing it into the oven to avoid thermal shock.
Serving ideas
Serve this dessert warm, directly from the baking dish, using a large spoon or a metal spatula to scoop out generous portions. Because of the molten nature of the center, it is best presented in shallow bowls rather than flat plates to contain the gooey layers. Each portion should capture a mix of the crisp top, the moist cake, and the melted peanut butter cups. It is a hearty dessert that pairs exceptionally well with a glass of cold milk or a cup of black coffee.
When entertaining, you can divide the cake into smaller, individual portions by using a sharp knife to cut through the layers once the cake has rested. This makes it easier for guests to serve themselves.
If you have guests with specific preferences, you can offer additional toppings on the side, such as whipped cream or a drizzle of warm chocolate ganache. This allows everyone to customize their serving while keeping the main dish intact and warm throughout the duration of your event.
Frequently asked questions
Can this be made with a different type of cake mix?
How can the gooeyness of the center be adjusted?
Is it possible to prepare this in a smaller pan?
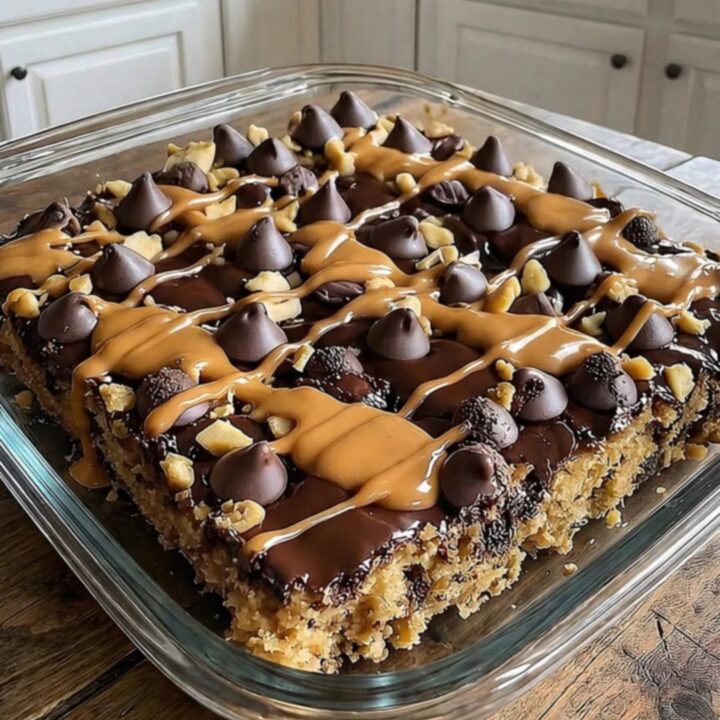
Rich Peanut Butter Cup Dump Cake
Ingredients
- 1 box chocolate cake mix
- 2 cups chopped peanut butter cups
- 1 cup unsalted butter, melted
- 1/2 cup creamy peanut butter, melted
Instructions
- Preheat the oven to 350°F (175°C). Grease a 9x13 inch glass baking dish thoroughly to prevent sticking. Evenly spread the dry chocolate cake mix across the bottom of the dish to create an even foundation for the subsequent layers.
- Distribute the chopped peanut butter cups over the layer of dry cake mix. Drizzle the melted creamy peanut butter over the peanut butter cups, ensuring an even coverage. Finally, pour the melted butter uniformly over the entire surface of the cake mix and toppings.
- Place the dish into the preheated oven and bake for approximately 45 minutes, or until the edges are set and the center appears cooked through. Remove from the oven and let it rest for 10 minutes to allow the layers to settle before slicing and serving warm.
Estimated nutrition per serving
- Calories
- 420
- Protein
- 5.5 g
- Carbohydrates
- 58 g
- Fat
- 20 g
- Fiber
- 1.5 g
- Sugar
- 42 g
- Sodium
- 380 mg
Next recipe
Creamy Banana Pudding Biscuit Dessert
See the recipe → →This recipe is based on a short cooking video and is published under the pen name Clara Weller. It was checked before publication, but errors can slip through. Nutrition, when shown, is an estimate. Read more in our editorial policy and on our food safety page.
More recipes to try
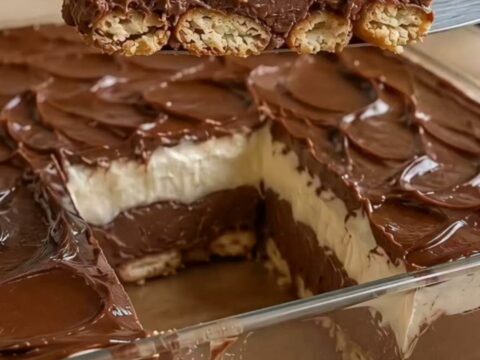
Creamy Chocolate and Vanilla Pavé Dessert
Total time: 3 h 20 min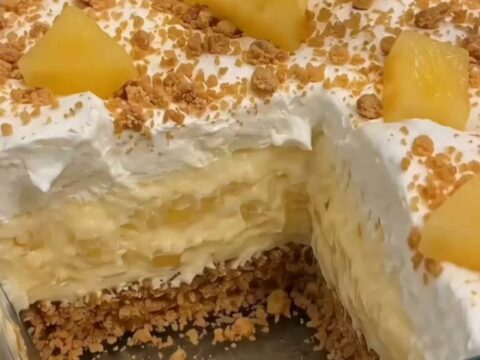
Chilled Pineapple Cream Dessert with Graham Cracker Crust
Total time: 4 h 15 min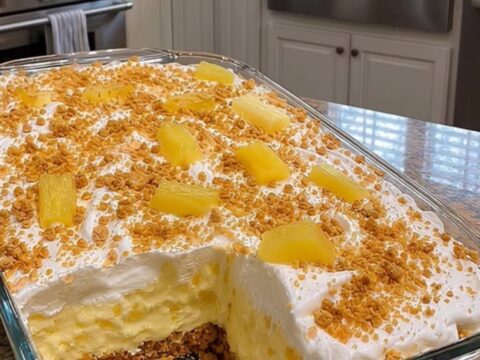
No-Bake Pineapple Cream Dessert with Graham Crust
Total time: 4 h 20 min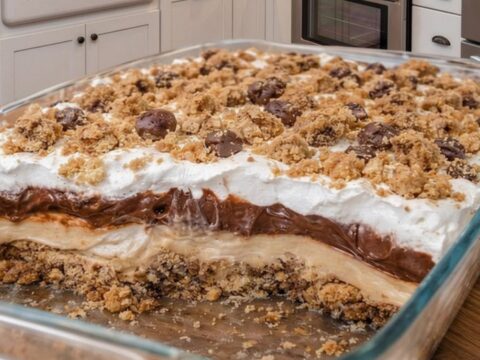
Creamy No-Bake Peanut Butter Chocolate Chip Pie
Total time: 2 h 20 min
Creamy Baked Coconut Dessert with Golden Crust
Total time: 1 h 5 min