Desserts · Part 3 of 3: Tips & recipe card
Rich and Creamy Peanut Butter Fudge Tips, FAQ & printable recipe
- Prep
- Cook
- Total
- Serves
- 16
Tips for success
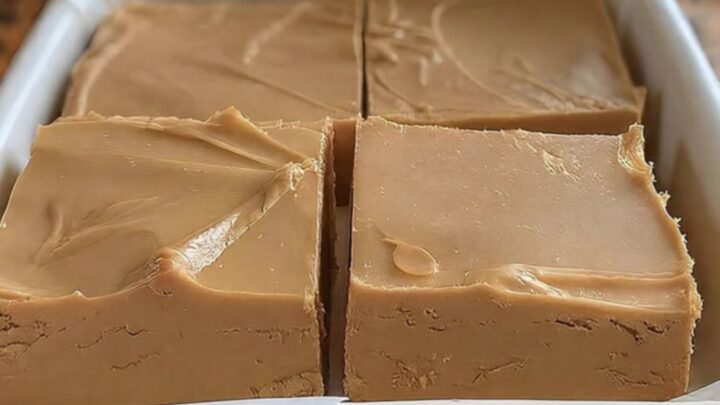
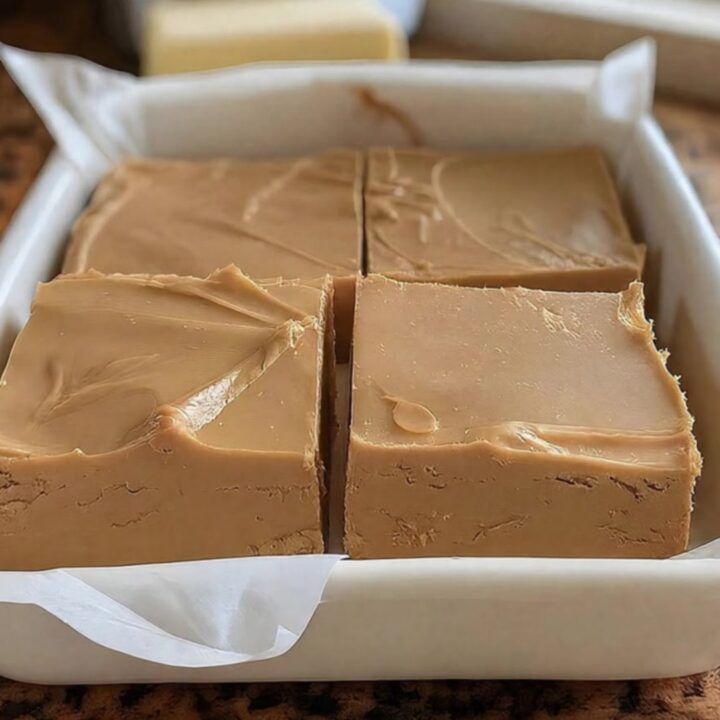
For perfectly clean slices, warm the blade of a sharp knife under hot water and wipe it dry before cutting the fudge. This allows the knife to glide through the dense fudge without sticking or tearing the edges, ensuring every square looks professional and polished for serving or presentation. A warm knife is the secret to achieving those sharp, clean lines that make homemade fudge look like it came from a professional confectionery shop, especially when cutting through the dense, rich layers of the set treat.
If the fudge feels too soft after the initial chilling time, place the dish in the freezer for 15 to 20 minutes to firm up the fats quickly. Conversely, if it is too hard to cut immediately after refrigeration, let it sit at room temperature for five minutes to soften slightly, making it easier to slice without cracking the squares. Adjusting the temperature of the fudge before slicing is a simple way to ensure that you get perfect, uniform pieces every time you serve this delicious, creamy dessert to your family or guests.
Variations
- Chocolate Swirl Fudge: Stir in a tablespoon of melted semi-sweet chocolate into the fudge mixture just before pouring into the dish. Use a toothpick to create decorative swirls through the peanut butter base for a beautiful marble effect.
- Salted Peanut Fudge: Sprinkle a small pinch of flaky sea salt over the top of the fudge immediately after spreading it in the dish. The salt enhances the savory notes of the peanut butter and cuts through the sweetness.
Storage and make-ahead
- Fridge
- Store in an airtight container in the refrigerator for up to 2 weeks.
- Freezer
- Wrap tightly in plastic wrap and store in a freezer-safe bag for up to 3 months.
- Reheat
- Serve chilled; reheating is not recommended as it will melt the fudge.
Store the fudge in an airtight container to prevent it from absorbing other flavors in the refrigerator. Keeping the pieces separated by parchment paper will ensure they do not stick together, maintaining their shape and texture for up to two weeks.
Always keep the container in the coldest part of the fridge to ensure the fudge remains firm and maintains its quality. Proper storage is key to preserving the fresh, creamy texture of the fudge, so ensure the container is sealed tightly to keep out moisture and odors from other stored food items.
This fudge is an excellent make-ahead dessert as it actually improves in texture after resting. Prepare it up to three days in advance and keep it stored in the refrigerator until ready to serve.
The flavors have time to meld, and the fudge will remain perfectly firm, making it a stress-free option for gatherings or as a convenient sweet treat on hand. Planning ahead allows you to focus on other tasks while knowing that a high-quality, delicious dessert is already prepared and waiting in the refrigerator for your next event or casual meal.
Serving ideas
Serve the fudge chilled directly from the refrigerator for the best texture. The dense, cool squares provide a refreshing contrast, especially when paired with a warm beverage like coffee or tea. Placing the squares on a small plate allows guests to enjoy them easily, and the firm structure holds up well even if left out for a short period during a meal.
The cool temperature enhances the creamy mouthfeel, making each bite feel luxurious and satisfying, which is why serving it straight from the fridge is the recommended method for the best experience.
For a simple presentation, serve the fudge squares plain. Because the fudge is quite rich, smaller squares are often preferred, allowing the flavors to be savored slowly. The clean, simple aesthetic of the fudge makes it a versatile addition to any dessert platter or gift box.
Whether you are serving it as a standalone treat or as part of a larger selection of sweets, the elegant simplicity of this peanut butter fudge ensures that it will be a highlight of your dessert service, impressing everyone with its rich, velvety, and perfectly balanced flavor profile.
Frequently asked questions
Can natural peanut butter be used for this recipe?
Why does the fudge sometimes turn out grainy?
Is it possible to make this fudge without a ceramic dish?
Rich and Creamy Peanut Butter Fudge
Ingredients
- 1 cup creamy peanut butter
- 1/2 cup unsalted butter
Instructions
- Combine the creamy peanut butter and unsalted butter in a medium saucepan over low heat. Stir continuously until both ingredients are fully melted and incorporated into a smooth, uniform mixture. Ensure the heat remains low to prevent the peanut butter from scorching or separating during this initial melting phase.
- Remove the saucepan from the heat. Continue to stir the melted mixture vigorously with a spatula until the consistency becomes thick, dense, and velvety. This step is crucial for achieving the signature fudge texture, ensuring that the fats remain perfectly emulsified as the mixture begins to cool down slightly off the heat.
- Line the ceramic dish with parchment paper to allow for easy removal. Pour the fudge mixture into the prepared dish and spread it evenly to the edges using a spatula. Place the dish in the refrigerator and let it set for at least two hours before slicing into uniform squares for serving.
Estimated nutrition per serving
- Calories
- 260
- Protein
- 6 g
- Carbohydrates
- 8 g
- Fat
- 22 g
Next recipe
Rich Chocolate Crumble Cake with Coconut Cream Filling
See the recipe → →This recipe is based on a short cooking video and is published under the pen name Clara Weller. It was checked before publication, but errors can slip through. Nutrition, when shown, is an estimate. Read more in our editorial policy and on our food safety page.
More recipes to try
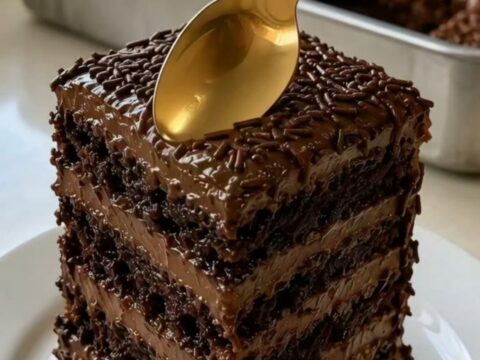
Decadent Chocolate Fudge Layer Cake
Total time: 1 h 25 min
Decadent Triple Chocolate Mousse Cake
Total time: 2 h 30 min
Decadent Chocolate Caramel Icebox Cake
Total time: 4 h 30 min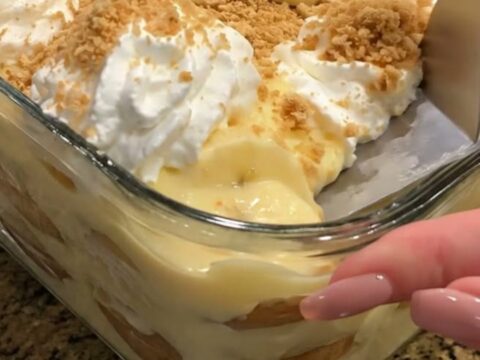
Classic Homemade Banana Pudding with Vanilla Wafers
Total time: 2 h 35 min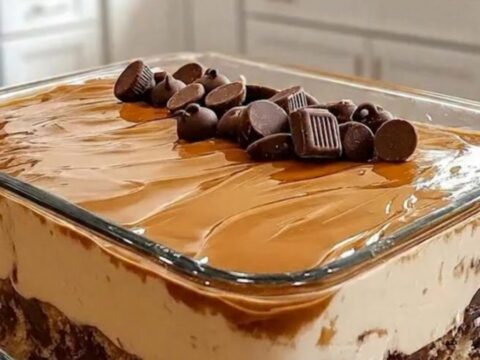
No-Bake Layered Peanut Butter Chocolate Dessert
Total time: 2 h 20 min