Desserts · Part 1 of 3: Ingredients
Creamy Chocolate Caramel Layered Dessert
- Prep
- Cook
- Total
- Serves
- 8
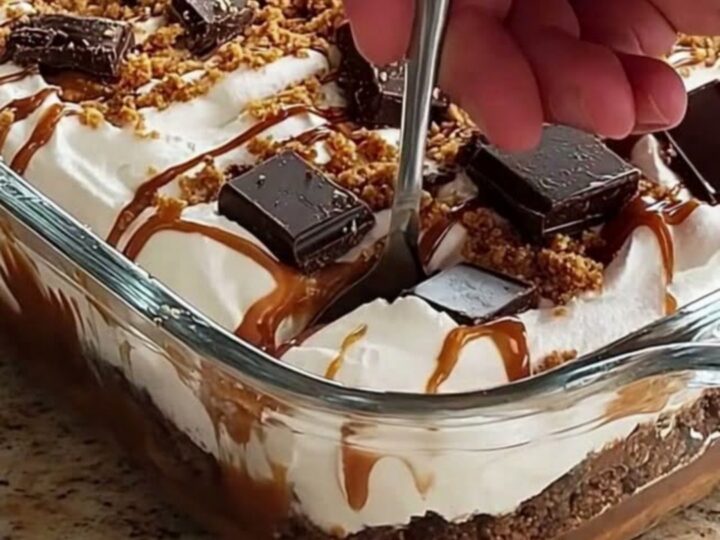
This decadent chocolate caramel dessert is the ultimate solution for those seeking a rich, creamy, and satisfying treat that requires minimal effort. By combining smooth chocolate pudding with sweet caramel and a light, airy whipped cream topping, this dessert delivers a multi-textural experience that is sure to please any palate. It is designed to be prepared in advance, making it an ideal choice for busy hosts or anyone looking for a quick yet impressive dessert option to serve at home.
The beauty of this layered dessert lies in its simplicity. By utilizing prepared components, the assembly process becomes efficient, allowing for a sophisticated final result without the need for extensive cooking or baking time.
The contrast between the dense, silky chocolate pudding and the sweet, buttery notes of the caramel sauce creates a harmonious balance, while the whipped cream adds a necessary lightness. Finished with crunchy toffee and dark chocolate, every bite offers a complex profile of textures and flavors that feels truly indulgent and thoughtfully crafted for any occasion.
Ingredients
Layers
- 2 cups chocolate pudding, prepared
- 1/2 cup caramel sauce
Topping
- 2 cups whipped cream
- 1/4 cup toffee crumbs
- 4 pieces dark chocolate squares
Why this recipe works
The method of layering ingredients in a glass dish works because it allows the distinct flavors to meld together while maintaining their visual appeal. The density of the chocolate pudding provides a stable base that supports the lighter caramel and cream layers, ensuring that each spoonful contains a perfect balance of all components.
This technique is highly effective for building depth in a dessert that does not require any heat, relying instead on the structural integrity of the pudding to hold the composition together.
The use of refrigeration after assembly is critical for the success of this dessert. As the dish chills, the temperatures of the individual components stabilize, which helps the flavors to integrate and the textures to firm up.
This resting period is essential for achieving clean slices when serving, as it allows the pudding to set and the whipped cream to maintain its structure against the other layers. Without this cooling step, the layers might slide, compromising the presentation and the overall eating experience of the dish.
Notes and substitutions
When selecting ingredients, choose a high-quality chocolate pudding to serve as the foundation, as its flavor will define the character of the dessert. For the caramel sauce, a thicker variety is preferred to ensure it stays distinct within the layers rather than bleeding into the pudding too quickly.
The whipped cream should be freshly whipped to ensure it holds its volume and provides the best possible texture contrast against the denser pudding layer below. These choices ensure that the final result is both delicious and visually striking.
Regarding equipment, a clear glass baking dish is recommended to showcase the distinct layers of the dessert. If a glass dish is not available, any square or rectangular container of similar size will function perfectly. The use of an offset spatula is highly recommended for spreading the layers evenly without disturbing the ones beneath. If toffee crumbs are unavailable, crushed chocolate cookies or toasted nuts provide an excellent alternative that adds a similar crunch and depth of flavor to the overall composition.
- toffee crumbs: crushed chocolate sandwich cookies or chopped hazelnuts
- dark chocolate squares: chocolate shavings or cocoa powder
Equipment
- 9x9 inch glass baking dish
- spatula
- serving spoon
- whisk