Desserts · Part 1 of 3: Ingredients
Decadent Chocolate Caramel Icebox Cake
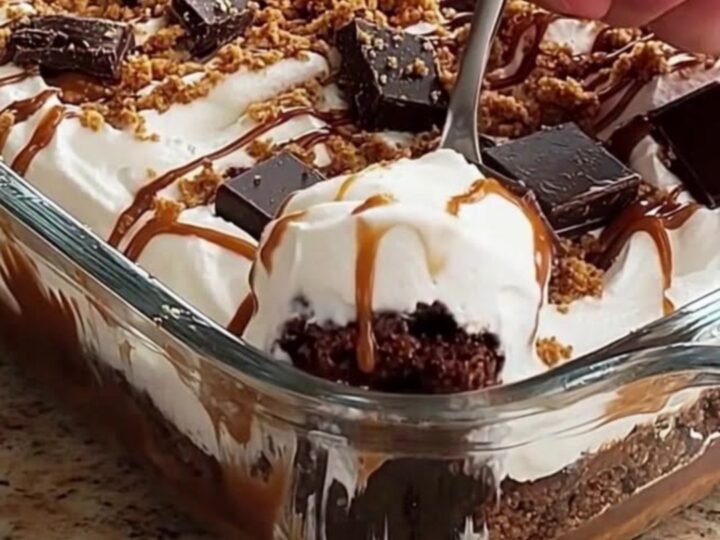
- Prep
- Cook
- Total
- Serves
- 8
Discover the art of the perfect icebox cake, a classic no-bake dessert that transforms simple pantry staples into a decadent, layered masterpiece. This recipe relies on patience and quality ingredients to achieve a harmonious balance of texture and flavor, making it an essential addition to any dessert repertoire.
Whether planning for a special weekend gathering or simply seeking a sophisticated treat, this method ensures a consistent and impressive result that satisfies every sweet craving without requiring any time near a hot oven.
The magic of an icebox cake lies in the transition of ingredients over time. As the cake layers absorb moisture from the caramel and the whipped cream, they soften into a cohesive, sliceable structure that feels like a traditional baked cake. This method is exceptionally reliable because it removes the variables of baking times and temperatures, focusing instead on the assembly and the resting period.
By layering ingredients carefully, the final result achieves a beautiful cross-section that highlights every component, from the rich caramel ribbons to the light, airy cream. It is a timeless dessert that celebrates simplicity and elegance in every single bite.
Ingredients
Base
- 1 package chocolate cake, store-bought or made ahead
Fillings
- 1 cup caramel sauce
- 2 cups heavy whipped cream
Toppings
- 4 ounces chocolate squares, chopped
- 1/2 cup crushed biscuits
Why this recipe works
The method of layering cake with moisture-rich components like caramel and whipped cream works by allowing the cake to rehydrate slowly within the refrigerator. This process, known as osmosis, ensures that the cake becomes tender and uniform throughout, rather than remaining dry or crumbly.
The cold environment of the refrigerator is essential for this transformation, as it stabilizes the whipped cream and allows the caramel to thicken slightly, creating a stable structure that can be sliced cleanly once the time is up.
Using a glass baking dish is critical for this recipe because it allows for visual monitoring of the layers as they form and settle. The transparency of the glass ensures that the cook can verify the evenness of the caramel and cream distribution, which is vital for a professional-looking finish.
Furthermore, glass provides excellent thermal conductivity, meaning the entire dessert chills evenly. This ensures that the center of the cake sets just as firmly as the edges, providing a consistent texture in every serving.
Notes and substitutions
When selecting a chocolate cake, choose one that has a sturdy crumb. Avoid cakes that are overly moist or delicate, as they may become too soft during the resting period. If the cake feels fragile, chill it briefly in the freezer before slicing it into the required shapes for the assembly. This simple step ensures that the cake maintains its shape when layered with the heavier caramel and cream, preventing the layers from collapsing into one another during the assembly process.
Regarding the equipment, an offset spatula is highly recommended for achieving clean, professional layers. Its unique shape allows for precise control when spreading the whipped cream, especially near the edges of the dish. If an offset spatula is unavailable, the back of a large spoon or a flat butter knife can be used effectively. Ensure that all garnishes, such as the crushed biscuits and chocolate, are added just before the final chilling to maintain their crunch and visual appeal.
- chocolate cake: chocolate wafer cookies or graham crackers
- caramel sauce: dulce de leche
Equipment
- 8-inch glass baking dish
- offset spatula
- mixing bowl
- whisk
- saucepan
Up next · Part 2 of 3
3 steps · 10 min of cooking · what to look for at each stage
Step-by-step instructions (Part 2)