Dinner · Part 3 of 3: Tips & recipe card
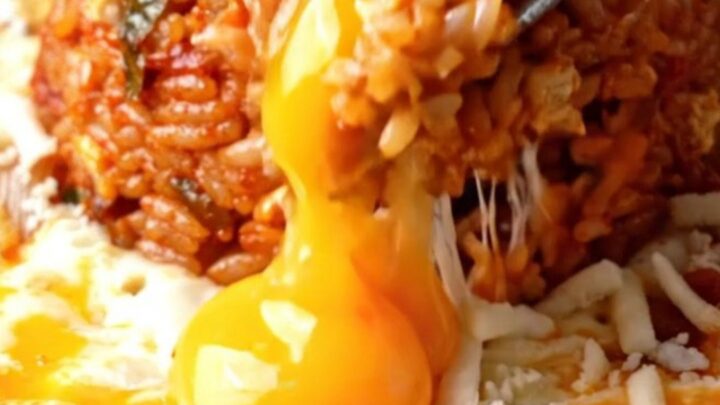
One-Pan Korean Cheesy Kimchi Fried Rice Skillet Tips, FAQ & printable recipe
- Prep
- Cook
- Total
- Serves
- 4
Tips for success
For an extra layer of flavor, add a handful of chopped scallions or a drizzle of sesame oil just before serving. If you like a bit of crunch, sprinkle toasted sesame seeds over the top.
The cheese moat can be customized with different cheeses—try smoked gouda or pepper jack for a smoky or spicy twist.
When frying the eggs, use a nonstick skillet and a little oil to ensure they release easily. If you prefer your eggs over-easy, flip them gently and cook for 30 seconds more.
For a fully cooked yolk, cook until the yolk is firm and reaches 160°F (71°C). Always use pasteurized eggs if you are serving runny yolks to vulnerable individuals.
Variations
- Bacon Kimchi Fried Rice: Add 4 slices of chopped bacon, cooked until crisp, along with the kimchi. The smoky bacon fat enriches the rice and adds a savory depth. Omit the egg if desired.
- Tuna Kimchi Fried Rice: Fold in one can of drained tuna (in water or oil) after frying the rice. The tuna adds protein and a mild fishiness that complements the kimchi. Skip the egg or keep it for extra richness.
- Vegetable Kimchi Fried Rice: Add 1 cup of mixed diced vegetables, such as carrots, zucchini, and bell peppers, when cooking the kimchi. Sauté until tender before adding the rice for extra crunch and color.
- Spicy Pork Kimchi Fried Rice: Stir-fry 1/2 cup of ground pork with the kimchi until browned, then proceed with the recipe. The pork adds a hearty, savory element that pairs well with the gochujang.
Storage and make-ahead
- Fridge
- Store leftovers in an airtight container in the refrigerator for up to 3 days. Reheat in a skillet or microwave until hot.
- Freezer
- Freeze the fried rice (without the egg) in a freezer-safe container for up to 1 month. Thaw overnight in the refrigerator before reheating.
- Reheat
- Reheat in a skillet over medium heat, adding a teaspoon of water to moisten. Stir until hot and sizzling. Add a fresh fried egg for the best experience.
Leftover fried rice can be stored in an airtight container in the refrigerator for up to 3 days. Reheat in a skillet over medium heat, adding a splash of water to loosen the rice. The cheese may lose its stretch when reheated, but the flavor remains delicious.
You can prepare the kimchi and rice mixture ahead of time, stopping before adding the cheese. Store the fried rice in the refrigerator for up to 2 days.
When ready to serve, reheat the rice in a skillet, then add the cheese and melt as directed. Cook the eggs fresh for the best texture.
Serving ideas
Serve this skillet straight from the pan for a dramatic presentation. The bubbling cheese moat and bright red rice are visually stunning.
Pair with a simple green salad or pickled vegetables to balance the richness. This dish is hearty enough to be a main course, but can also be served as a side with Korean barbecue.
For a complete meal, add a side of steamed vegetables or a bowl of light soup. The spicy, cheesy rice pairs well with cold, crisp beer or a refreshing cucumber salad. Leftovers can be enjoyed for lunch the next day—just reheat gently and top with a fresh egg if desired.
Frequently asked questions
Can this dish be made ahead of time?
What kind of kimchi is best for this recipe?
Can this be made without a cast iron skillet?
Is it possible to use fresh rice instead of day-old?
What can be used instead of mozzarella cheese?
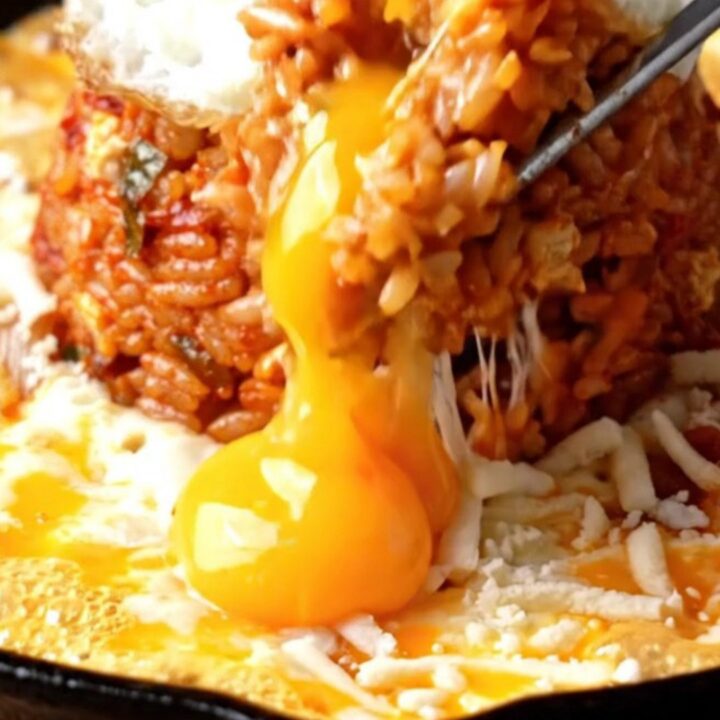
One-Pan Korean Cheesy Kimchi Fried Rice Skillet
Ingredients
- 3 cups cold day-old cooked rice
- 1 cup well-fermented kimchi, chopped
- 2 tbsp kimchi juice
- 1 tbsp gochujang paste
- 1 tbsp soy sauce
- 1 tbsp toasted sesame oil
- 1 1/2 cups shredded mozzarella cheese
- 4 large eggs
- 2 sheets nori (dried seaweed), torn
- 1 tbsp neutral oil (such as vegetable or canola)
- Salt, to taste
Instructions
- Heat a large cast iron skillet over medium-high heat. Add the toasted sesame oil and the chopped kimchi. Sauté for about 3 minutes, stirring frequently, until the kimchi is deeply caramelized and fragrant. Add the gochujang paste and kimchi juice, stirring to coat the kimchi evenly.
- Add the cold rice to the skillet, breaking up any clumps with a spatula. Drizzle with the soy sauce and stir-fry over high heat for 3 to 4 minutes, tossing frequently, until every grain is separated and coated in the spicy red sauce. The rice should be glossy and slightly charred in spots.
- Reduce the heat to medium-low. Using the spatula, mound the fried rice into a flat island in the center of the skillet, leaving a 1-inch border around the edges. Sprinkle the shredded mozzarella cheese into the border, forming a complete ring around the rice. Cover the skillet with a lid or a baking sheet and cook for 2 to 3 minutes, until the cheese is melted and bubbling.
- While the cheese melts, heat a small nonstick skillet over medium heat with 1 tbsp neutral oil. Crack the eggs into the skillet and cook until the whites are set but the yolks are still glossy and runny, about 2 to 3 minutes. Season with a pinch of salt. If you prefer the eggs cooked through, flip and cook for another minute until the yolks are fully set to 160°F (71°C).
- Remove the skillet from the heat. Place the fried eggs on top of the rice mound. Scatter the torn nori over the top. Serve immediately, scooping the rice with the melted cheese from the moat. For the full experience, break the yolk and let it run into the rice before eating.
Estimated nutrition per serving
- Calories
- 520
- Protein
- 20 g
- Carbohydrates
- 65 g
- Fat
- 20 g
Next recipe
Japanese Teriyaki Salmon Rice Bowl with Quick Pickled Cucumbers
See the recipe → →This recipe is based on a short cooking video and is published under the pen name Clara Weller. It was checked before publication, but errors can slip through. Nutrition, when shown, is an estimate. Read more in our editorial policy and on our food safety page.
More recipes to try
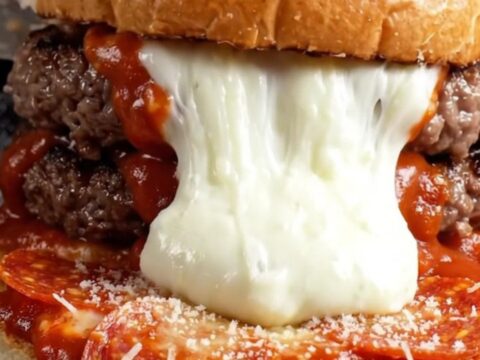
Giant Mozzarella Stuffed Pizza Burger on Brioche
Total time: 45 min
Crispy Birria Quesadilla with Rich Consommé
Total time: 50 min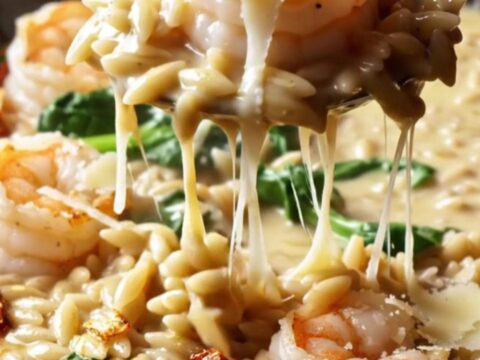
Creamy Tuscan Garlic Shrimp with Orzo & Spinach
Total time: 30 min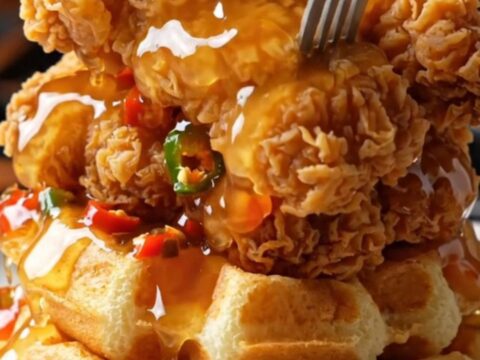
Crispy Honey Chipotle Chicken Tenders with Waffles
Total time: 45 min
Cheesy Skillet French Onion Meatball Sliders
Total time: 55 min