Desserts · Part 3 of 3: Tips & recipe card
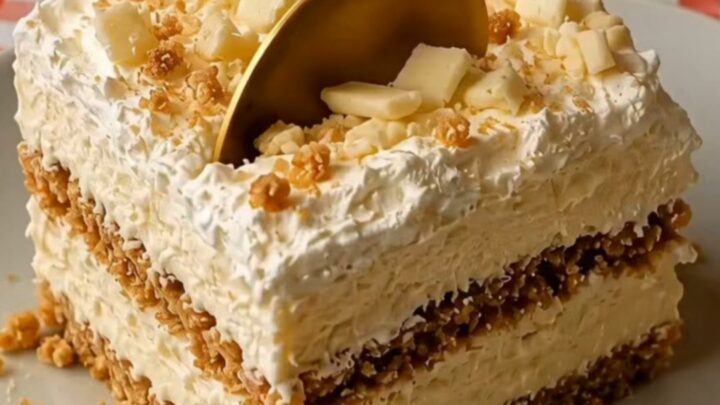
No-Bake White Chocolate Biscuit Cream Cake Tips, FAQ & printable recipe
- Prep
- Cook
- Total
- Serves
- 8
Tips for success
For an extra layer of flavor, toast the biscuit crumbs slightly in a dry pan before placing them in the dish. This adds a subtle, nutty depth that complements the sweetness of the white chocolate. Allow the crumbs to cool completely before using them in the base to ensure the cream does not melt prematurely.
This simple step enhances the complexity of the base, making the overall dessert feel more thoughtful and refined without requiring any additional ingredients or significant extra effort during the preparation process.
If the white chocolate tends to harden too quickly when folded into the cream, ensure the chocolate is melted gently and cooled to room temperature before mixing. This prevents the chocolate from forming small, hard lumps when it hits the cold cream, ensuring that every spoonful is perfectly smooth and consistent in flavor.
Taking the time to manage the temperature of your ingredients is the secret to achieving a professional-looking dessert that has a consistent, velvety texture from the first bite to the very last.
Variations
- Berry Infusion: Add a thin layer of fresh raspberry or strawberry preserves between the biscuit base and the white chocolate cream for a bright, fruity contrast that balances the sweetness.
- Citrus Zest: Fold a teaspoon of freshly grated lemon or lime zest into the whipped cream before spreading it over the biscuits to add a vibrant, aromatic lift to the dessert.
Storage and make-ahead
- Fridge
- Keep in an airtight container for up to 3 days.
Store the cake in the refrigerator, covered with plastic wrap or a lid to prevent it from absorbing odors from other foods. It will maintain its texture and flavor for up to three days when kept at a consistent cold temperature. Keep the dish away from the back of the fridge where it might get too cold and freeze, as this can alter the texture of the whipped cream and cause it to separate or become icy upon thawing.
This dessert is ideal for making ahead, as it requires significant chilling time to set perfectly. Prepare it up to 24 hours in advance for the best results. The flavors will meld beautifully over time, and the biscuit base will soften slightly to the perfect consistency, making it even better on the second day than the first. This makes it a stress-free option for hosting, as you can have the dessert completely finished and ready to serve well before your guests arrive.
Serving ideas
Serve the cake chilled directly from the refrigerator to maintain its structure and refreshing quality. Use a sharp, hot knife to slice the cake into neat squares, wiping the blade clean between each cut to ensure the layers remain distinct and the presentation stays crisp and professional for your guests.
The cold temperature is essential for the structure of the cream, so do not leave the cake out at room temperature for too long before serving, as it will begin to soften.
For a simple yet elegant touch, serve each slice on a chilled plate. The contrast between the cold, creamy texture and the crisp base is most enjoyable when the dessert is served at the correct temperature.
No additional garnish is needed, as the simplicity of the cake is its most appealing and sophisticated feature. If desired, you can add a few fresh berries on the side to provide a pop of color and a touch of acidity to cut through the sweetness of the white chocolate.
Frequently asked questions
Can this be made with milk chocolate instead?
How long does it take to set in the refrigerator?
What is the best way to ensure the biscuits do not get soggy?
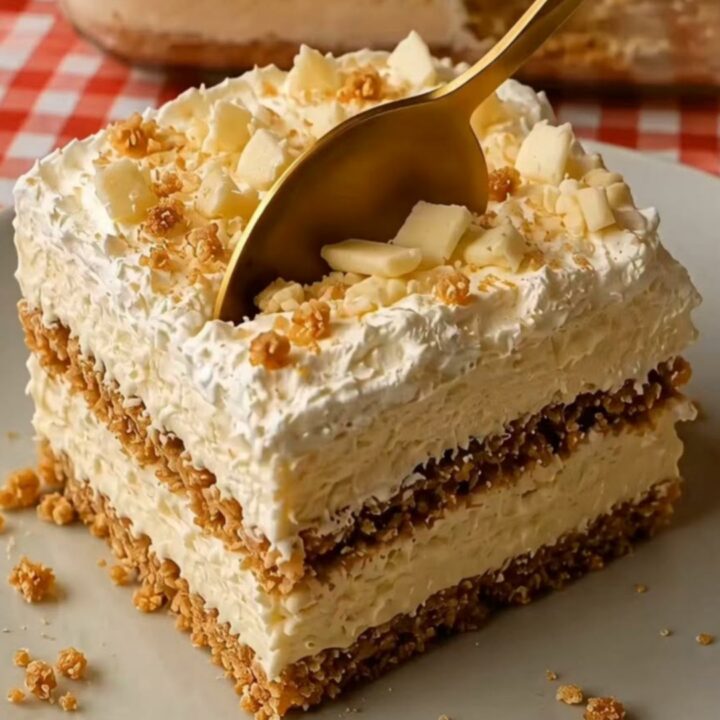
No-Bake White Chocolate Biscuit Cream Cake
Ingredients
- 2 cups crushed biscuits
- 10 oz white chocolate, chopped
- 2 cups heavy cream
Instructions
- Place the crushed biscuits into the bottom of an 8-inch square glass dish. Use the back of a spoon to press the crumbs down firmly, creating an even and compact base layer for the cake.
- In a large mixing bowl, whip the heavy cream using an electric mixer until it reaches stiff peaks. Gradually fold in half of the chopped white chocolate to incorporate it into the airy mixture.
- Spread the white chocolate cream over the biscuit base in an even layer. Sprinkle the remaining white chocolate chunks over the top. Refrigerate the dish for at least two hours to allow the cream to set before serving.
Estimated nutrition per serving
- Calories
- 420
- Protein
- 4.5 g
- Carbohydrates
- 38 g
- Fat
- 28 g
- Fiber
- 0.5 g
- Sugar
- 25 g
- Sodium
- 120 mg
Next recipe
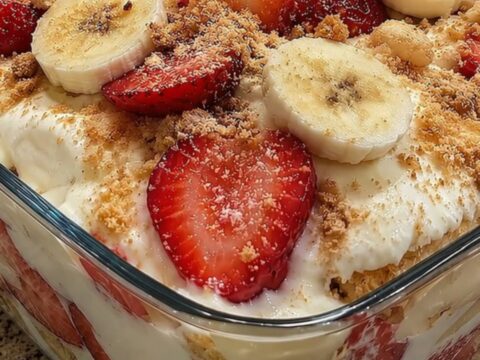
Creamy Strawberry Banana Pudding Dessert
See the recipe → →This recipe is based on a short cooking video and is published under the pen name Clara Weller. It was checked before publication, but errors can slip through. Nutrition, when shown, is an estimate. Read more in our editorial policy and on our food safety page.
More recipes to try
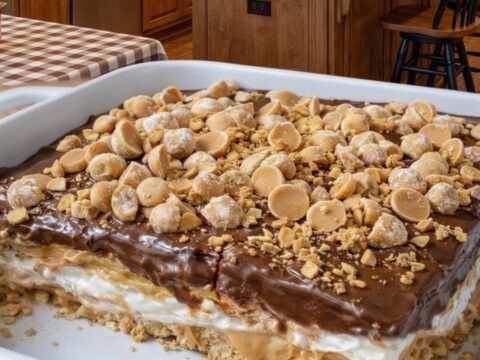
Easy Peanut Butter Crunch Lasagna for Dessert
Total time: 2 h 20 min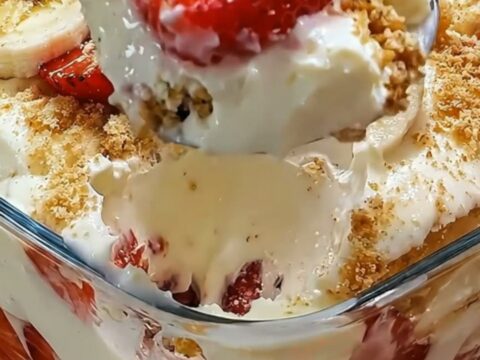
Creamy Strawberry Banana Pudding Parfait
Total time: 45 min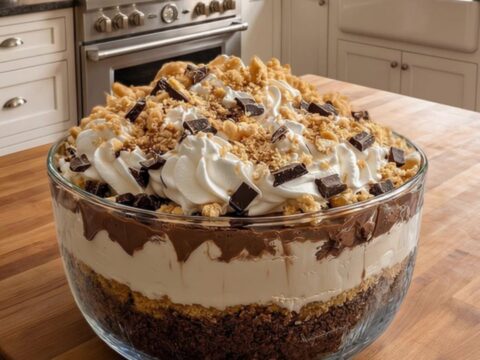
Creamy Baileys Chocolate Trifle
Total time: 1 h 30 min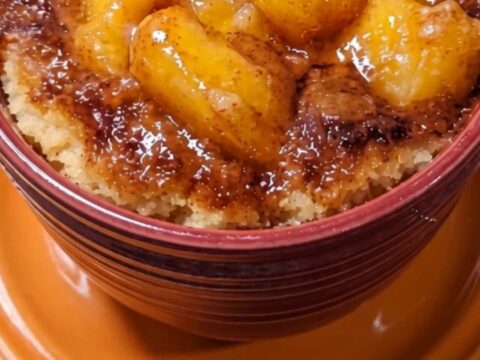
Warm Peach Cobbler Mug Cake
Total time: 10 min
Ultra-Moist Triple-Layer Dark Chocolate Fudge Cake
Total time: 2 h 5 min