Desserts · Part 1 of 3: Ingredients
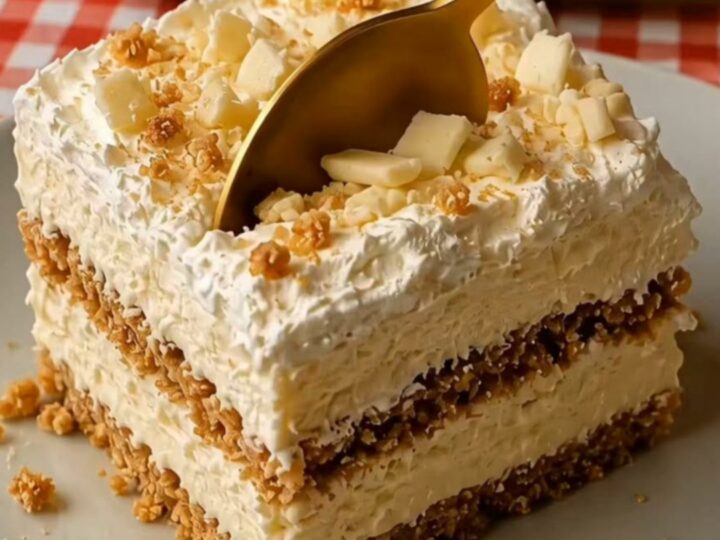
No-Bake White Chocolate Biscuit Cream Cake
- Prep
- Cook
- Total
- Serves
- 8
Discover the effortless elegance of a dessert that requires no oven and minimal preparation. This no-bake white chocolate biscuit cream cake pairs the sweet, buttery notes of premium white chocolate with the delicate crunch of crisp biscuits. It delivers a patisserie-worthy layered presentation that chills to firm perfection, making it a reliable crowd-pleaser for any gathering.
This dessert is the ideal solution when craving a luxurious finish to a meal without heating up the kitchen. By combining whipped heavy cream with fine white chocolate, you establish a velvety texture that contrasts cleanly with the crumb base. Its concise ingredient list lets genuine chocolate flavor shine, offering an accessible yet refined treat suitable for entertaining or casual weeknight indulgence.
Ingredients
Base
- 2 cups crushed biscuits
Cream
- 10 oz white chocolate, chopped
- 2 cups heavy cream
Why this recipe works
The method of whipping heavy cream to stiff peaks provides the necessary structure for the cake without needing gelatin or thickeners. This ensures a light, airy mouthfeel while maintaining the integrity of the layers, allowing the dessert to stand firm when sliced into individual squares.
Because the cream is whipped to a stable state, it traps air bubbles that keep the dessert feeling light on the palate, even though it is rich in flavor. This structural integrity is vital for the presentation of the dessert, ensuring that each slice maintains its shape on the plate without collapsing or weeping, which is a common issue with less stable, unbaked cream desserts.
By using crushed biscuits as a foundation, the recipe achieves a balanced flavor profile. The slight saltiness of the biscuits cuts through the sweetness of the white chocolate, while the base absorbs just enough moisture from the cream to become tender without turning soggy, ensuring a delightful texture in every single bite.
The contrast between the crunchy biscuit foundation and the smooth, creamy topping is what makes this dessert so compelling. This interplay of textures is essential for a balanced dessert, as it prevents the palate from becoming overwhelmed by the richness of the cream alone, creating a more enjoyable experience.
Notes and substitutions
Choose a high-quality white chocolate bar rather than chips for the best melting properties and flavor. High-quality bars contain pure cocoa butter, which helps the cream set more effectively when chilled, resulting in a cleaner slice and a smoother finish on the palate.
Avoid using compound chocolates or candy melts, as these often contain vegetable oils that do not set as firmly or provide the same depth of flavor as real cocoa butter-based chocolate. Investing in a good bar of chocolate will significantly improve the overall quality and mouthfeel of the final dessert, making it taste much more luxurious.
The choice of biscuit is versatile, but plain, buttery varieties work best to complement the richness of the cream. Ensure the biscuits are crushed into fine, uniform crumbs to create a consistent texture throughout the base layer, which is essential for achieving a professional presentation in the finished dish.
You can use a food processor to pulse the biscuits into fine crumbs, or place them in a sealed plastic bag and crush them with a rolling pin for a more rustic, varied texture. Both methods work well, provided the base remains compact and firm enough to support the weight of the cream layer.
- White chocolate: Milk chocolate or dark chocolate for a different flavor profile.
- Crushed biscuits: Graham crackers or digestive biscuits work perfectly for the base layer.
Equipment
- Large mixing bowl
- Electric hand mixer
- 8-inch square glass dish
- Rubber spatula
- Knife