Dinner · Part 3 of 3: Tips & recipe card
Garlic Butter Beef Pockets with Molten Cheese Tips, FAQ & printable recipe

- Prep
- Cook
- Total
- Serves
- 4
Tips for success
For an extra crispy bottom, place the pockets on a wire rack set on the baking sheet; this allows air to circulate underneath. If you prefer a softer tortilla, you can skip the final crisping step, but the golden crust is part of the appeal.
To make the pockets ahead, assemble them, then refrigerate unbaked; bake straight from the fridge, adding a few minutes to the cook time.
When brushing the garlic herb butter, make sure to cover the edges and corners of the tortillas, as these are the areas that brown most. If you have leftover garlic herb butter, it’s delicious brushed on crusty bread or roasted vegetables. For a more indulgent version, add a sprinkle of grated Parmesan on top along with the mozzarella.
Variations
- Chicken Filling: Swap the ground beef for ground chicken or turkey. Cook until no longer pink and reaches 165°F (74°C). Add a little olive oil if needed, as lean poultry can dry out.
- Vegetarian Option: Replace the beef with 1 cup of cooked black beans and 1 cup of corn, seasoned with the same spices. Omit the meat and reduce the cook time; the filling is ready when heated through.
- Extra Cheesy: Add a slice of pepper jack or cheddar inside each pocket along with the mozzarella for a spicier, creamier melt. Use a mix of cheeses on top for a golden, bubbly crust.
- Chipotle Kick: Add 1–2 teaspoons of chipotle powder or ancho chili powder to the beef mixture for a smoky, deeper heat. Serve with a drizzle of crema or ranch dressing.
Storage and make-ahead
- Fridge
- Store leftovers in an airtight container in the fridge for up to 3 days. Reheat in the oven to restore crispness.
- Freezer
- Freeze baked or unbaked pockets on a baking sheet until firm, then transfer to a freezer bag. Thaw overnight in the fridge before reheating or baking.
- Reheat
- Reheat in a 350°F (175°C) oven for 10–12 minutes until hot and crispy. Avoid microwaving to keep the tortilla crisp.
Store leftover baked pockets in an airtight container in the refrigerator for up to 3 days. To reheat, place them on a baking sheet and warm in a 350°F (175°C) oven for 8–10 minutes, or until heated through and the cheese is melted again. Avoid microwaving, as it can make the tortilla soggy.
You can prepare the beef filling up to 2 days ahead and keep it refrigerated. Assemble the pockets just before baking. You can also assemble the pockets completely, then cover and refrigerate for up to 24 hours before baking.
If baking straight from the fridge, increase the baking time by 3–5 minutes, and check that the filling reaches 160°F (71°C).
Serving ideas
Serve these garlic butter beef pockets warm, straight from the oven, when the cheese is at its most molten. Garnish with fresh parsley for a pop of color.
They’re excellent on their own, but you can also serve them with a side of sour cream, salsa, or a simple green salad. The pockets are hearty enough to be a full meal, but they also make great appetizers if cut into smaller pieces.
For a fun dinner, set out bowls of extra toppings—diced avocado, jalapeños, or hot sauce—and let everyone customize their pocket.
The contrast of the crispy, buttery exterior with the juicy, spiced beef and stretchy cheese is what makes these so satisfying. Whether for a weeknight family dinner or a casual get-together, these pockets are sure to be a hit.
Frequently asked questions
Can these beef pockets be made ahead of time?
Why did your tortillas become soggy?
Can you use corn tortillas instead of flour?
What can you substitute for serrano pepper?
How do you know when the beef is fully cooked?
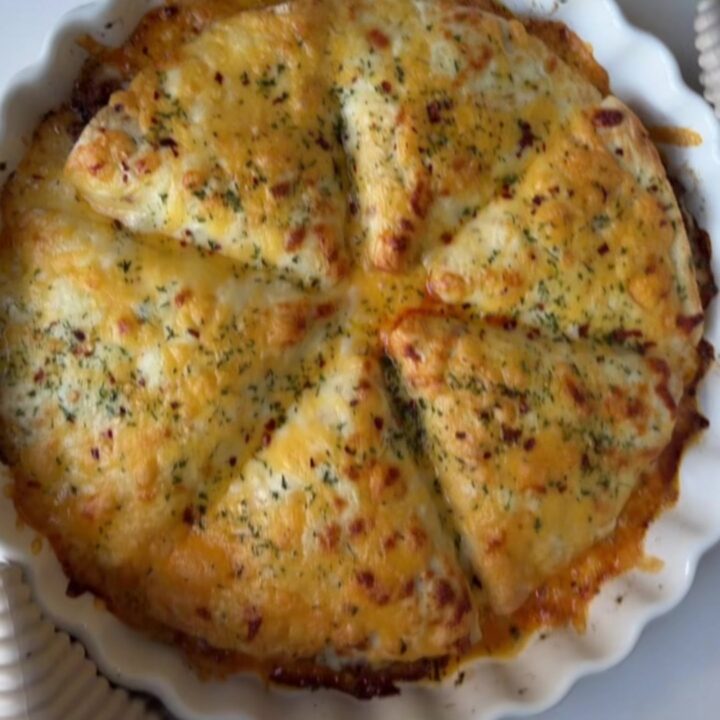
Garlic Butter Beef Pockets with Molten Cheese
Ingredients
- 4 large flour tortillas (burrito-size)
- 1 lb lean ground beef
- 1 small yellow onion, diced
- 1 cup sweet bell peppers, chopped
- 3 cloves garlic, minced
- 1 serrano pepper, finely diced (seeds removed for less heat)
- 3 tbsp tomato paste
- 1 tsp ground cumin
- 1 tsp smoked paprika
- 1/2 tsp salt, or to taste
- 1/4 tsp black pepper
- 2 cups shredded mozzarella cheese, divided
- 4 tbsp unsalted butter, melted
- 2 cloves garlic, minced
- 1 tbsp fresh parsley, finely chopped
- Fresh parsley, chopped, for garnish, to taste
Instructions
- Heat a large skillet over medium-high heat. Add the ground beef and cook, breaking it up with a spoon, until browned and no longer pink, about 5–7 minutes. Add the diced onion, chopped bell peppers, minced garlic, and serrano pepper. Cook, stirring occasionally, until the vegetables are softened, about 3–4 minutes. Stir in the tomato paste, cumin, smoked paprika, salt, and black pepper. Cook for another 2 minutes until the mixture is thick and aromatic. Remove from heat.
- Transfer the beef mixture to a bowl and let it cool for 5–10 minutes. This makes it easier to handle and prevents the tortillas from becoming soggy.
- Preheat the oven to 380°F (193°C). Place a tortilla on a work surface. Spoon about 1/2 cup of the beef mixture onto the center, leaving a border. Top with about 1/4 cup of shredded mozzarella. Fold the sides over the filling, then roll from the bottom to enclose the filling completely, tucking in the ends to form a pocket. Repeat with the remaining tortillas and filling.
- In a small bowl, combine the melted butter, minced garlic, and chopped parsley. Stir well.
- Place the pockets seam-side down on a parchment-lined baking sheet. Brush the tops generously with the garlic herb butter. Sprinkle the remaining mozzarella over the tops, pressing lightly to adhere.
- Bake the pockets in the preheated oven for 18 minutes, or until the tortillas are golden brown and crispy and the cheese is melted and bubbly. The internal temperature of the beef filling should reach 160°F (71°C) to ensure it is safely cooked.
- Remove the pockets from the oven and let them rest for 2–3 minutes. Garnish with fresh chopped parsley. Serve warm, tearing into the pockets to reveal the molten cheese.
Estimated nutrition per serving
- Calories
- 580
- Protein
- 32 g
- Carbohydrates
- 45 g
- Fat
- 29 g
Next recipe

Crispy Beef Tacos Cones with Cheddar and Cilantro Crema
See the recipe → →This recipe is based on a short cooking video and is published under the pen name Clara Weller. It was checked before publication, but errors can slip through. Nutrition, when shown, is an estimate. Read more in our editorial policy and on our food safety page.
More recipes to try
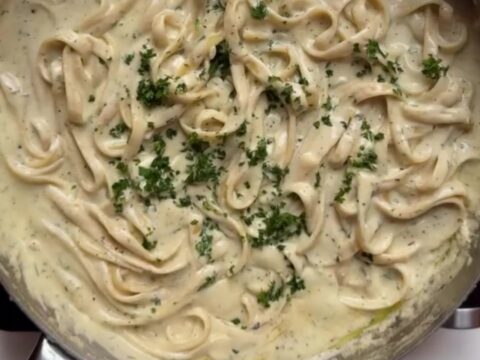
Creamy Garlic Parmesan Fettuccine Alfredo in 20 Minutes
Total time: 20 min
Sticky Glazed Beef Tortilla Kebabs
Total time: 45 min
Crispy Cheesy Beef Tortilla Pockets
Total time: 35 min
Japanese Crispy Pork Gyoza with Golden Lace Skirt
Total time: 30 min
Crispy Antep Lahmacun Rolls with Fresh Mint and Lemon
Total time: 1 h 12 min