Breakfast · Part 3 of 3: Tips & recipe card
Clap-Fluffed Malabar Parotta with Golden Ghee Tips, FAQ & printable recipe
- Prep
- Cook
- Total
- Serves
- 4
Tips for success
For the flakiest parottas, make sure the dough is rolled as thin as possible without tearing. The thinner the dough, the more layers you'll get.
Also, don't skimp on the ghee—it's essential for both flavor and flakiness. If the dough starts to stick while rolling, dust lightly with flour or brush with a little oil.
Cook the parottas one at a time to ensure even browning. Keep the cooked ones warm in a low oven (200°F) or under a clean kitchen towel.
The clapping step is best done immediately after cooking, while the parotta is still hot and the layers are pliable. If you wait too long, the parotta will crisp up and won't fluff as easily.
Variations
- Whole Wheat Parotta: Replace half of the all-purpose flour with whole wheat flour for a nuttier flavor and more fiber. You may need to add a little extra water, as whole wheat absorbs more liquid. The texture will be slightly denser but still flaky.
- Garlic-Butter Parotta: After cooking, brush the hot parotta with melted butter mixed with minced garlic and chopped cilantro. The garlic infuses the layers with a savory aroma, making it a delicious accompaniment to any meal.
- Stuffed Parotta: Before coiling, spread a thin layer of spiced potato filling (like aloo masala) over the dough. Then proceed with the coiling and rolling. The result is a stuffed parotta with a savory, soft center and crispy exterior.
- Sweet Parotta: For a dessert version, brush the dough with a mixture of ghee and sugar (or jaggery) before coiling. Cook as usual, then serve with a drizzle of honey or a sprinkle of cardamom. The sweet layers are a delightful treat.
Storage and make-ahead
- Fridge
- Store leftover parottas in the refrigerator for up to 3 days. Reheat in a dry skillet over medium heat until warm and crisp.
- Freezer
- Freeze uncooked rolled parottas between parchment paper for up to 1 month. Cook from frozen, adding 1-2 minutes to the cooking time.
- Reheat
- To reheat, place parottas on a hot cast-iron skillet for 30 seconds per side until hot and crispy.
Store leftover parottas in an airtight container at room temperature for up to 2 days. To reheat, place them on a hot skillet for 30 seconds per side, or wrap in foil and warm in a 350°F oven for 5 minutes. Avoid microwaving, as it will make them soggy.
The dough can be made up to 1 day ahead. After kneading, cover the bowl tightly and refrigerate. The next day, let the dough come to room temperature for about 30 minutes before shaping.
You can also shape the parottas ahead and refrigerate them between layers of parchment paper, then cook them just before serving.
Serving ideas
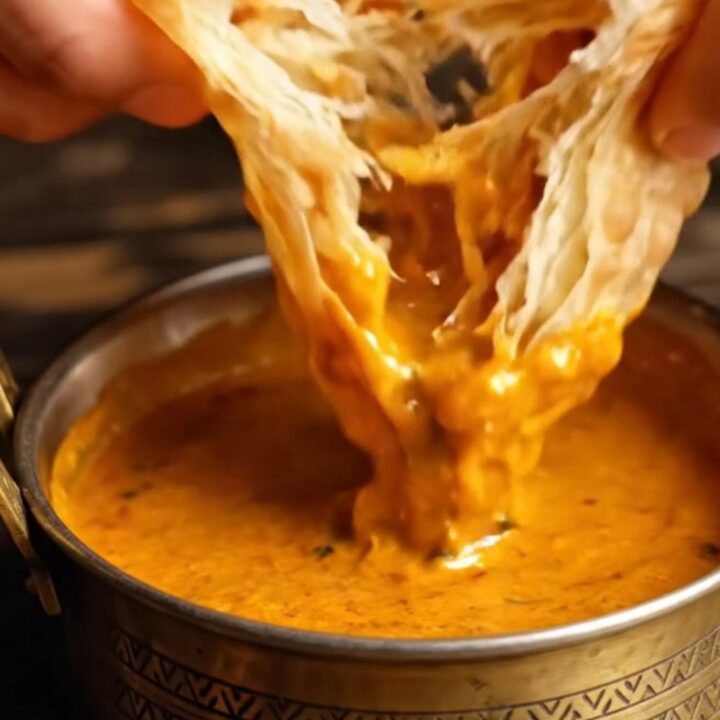
Serve Malabar parotta hot, straight from the skillet, with a bowl of your favorite curry—such as chicken curry, vegetable kurma, or dal.
The flaky layers are perfect for tearing and soaking up the sauce. Pair it with a side of pickles or raita for a complete meal.
For a casual meal, set out the parottas on a platter and let everyone tear off pieces. The crispy texture contrasts beautifully with rich, saucy dishes. You can also serve them as a snack with a cup of chai. Enjoy the satisfying clap and the delicious layers!
Frequently asked questions
Why does the parotta not get flaky?
Can this be made without ghee?
How to store and reheat leftover parotta?
Can the dough be prepared in advance?
What is the best way to clap the parotta?
Clap-Fluffed Malabar Parotta with Golden Ghee
Ingredients
- 2 cups all-purpose flour
- 1 tsp salt
- 3/4 cup lukewarm water
- 1/4 cup ghee, melted, plus more for brushing
- 1 tbsp vegetable oil, for the bowl
Instructions
- In a large bowl, combine the flour and salt. Gradually add the lukewarm water, mixing with a spoon until a shaggy dough forms. Turn the dough out onto a lightly floured surface and knead for 8 to 10 minutes until smooth and elastic. The dough should be soft and slightly tacky but not sticky. Shape it into a ball, rub the surface with vegetable oil, cover with a damp towel, and let rest for 30 minutes.
- After resting, divide the dough into 4 equal portions. Roll each portion into a ball, place them on a lightly oiled plate, and cover with a damp towel. Let them rest for another 10 minutes. This relaxes the gluten, making the dough easier to stretch.
- Take one dough ball and on a lightly oiled surface, roll it into a very thin rectangle, about 1/16 inch thick. Brush the entire surface with melted ghee. Starting from one short end, fold the dough into narrow pleats, like an accordion. Then, holding the pleated strip, stretch it gently and coil it into a tight spiral, tucking the end underneath. Repeat with the remaining dough balls.
- Take a coiled spiral and place it on a lightly floured surface. Using a rolling pin, gently roll it into a thin round, about 6 to 7 inches in diameter. The coils will create layers as you roll. Roll from the center outward, applying even pressure. Repeat with the remaining spirals, rolling each just before cooking.
- Place a cast-iron skillet over medium-high heat and let it get hot. Add a small amount of ghee to the skillet. Place one rolled parotta in the skillet and cook for 1 to 2 minutes until the bottom is golden brown with darker spots. Brush the top with ghee, flip, and cook the other side for another 1 to 2 minutes until browned and puffed. The parotta should have golden blisters and a crisp exterior.
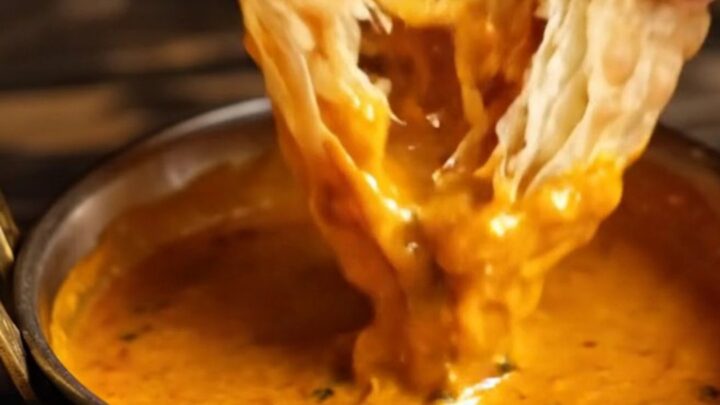
- Immediately after removing the hot parotta from the skillet, hold it between both hands and gently clap or slap it together. The steam inside will cause the layers to separate and fluff into dozens of crispy, buttery ribbons. Repeat with the remaining parottas. Serve hot with curry.
Estimated nutrition per serving
- Calories
- 320
- Protein
- 6 g
- Carbohydrates
- 45 g
- Fat
- 12 g
Next recipe
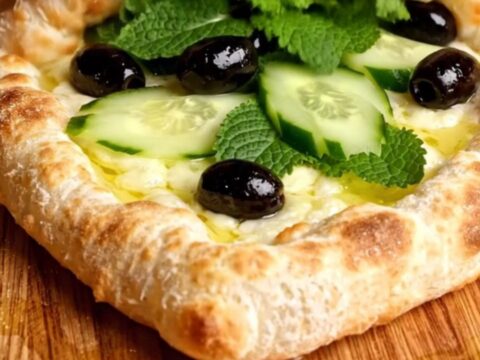
Fragrant Za'atar and Akkawi Cheese Manakish
See the recipe → →This recipe is based on a short cooking video and is published under the pen name Clara Weller. It was checked before publication, but errors can slip through. Nutrition, when shown, is an estimate. Read more in our editorial policy and on our food safety page.
More recipes to try
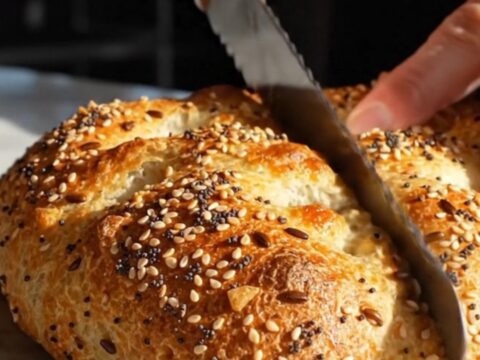
Everything-Bagel Focaccia Stuffed with Scallion Cream Cheese
Total time: 2 h 15 min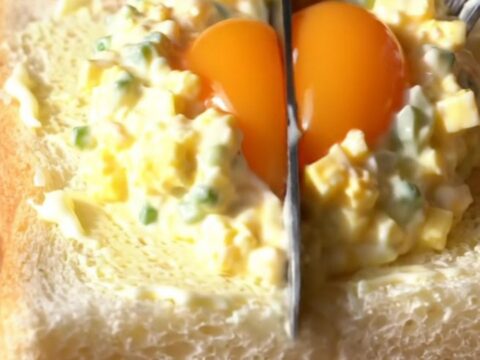
Cloud-Like Japanese Tamago Sando with Jammy Egg Center
Total time: 25 min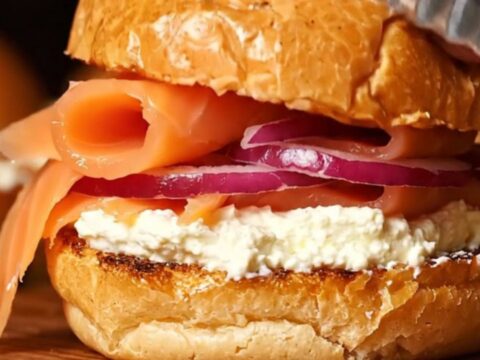
Everything Bagel Smoked Salmon Sliders for Effortless Brunch
Total time: 16 min
Maple-Glazed Bacon and Egg Breakfast Sliders
Total time: 25 min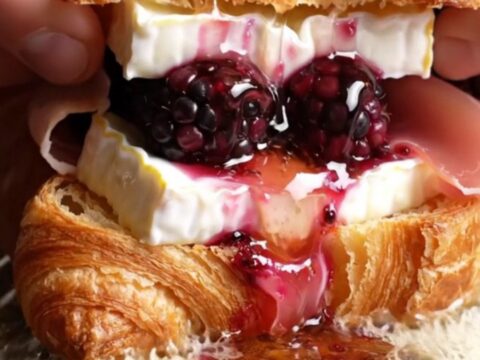
Crispy Croissant Brie Prosciutto Blackberry Melt
Total time: 10 min