Dinner · Part 3 of 3: Tips & recipe card
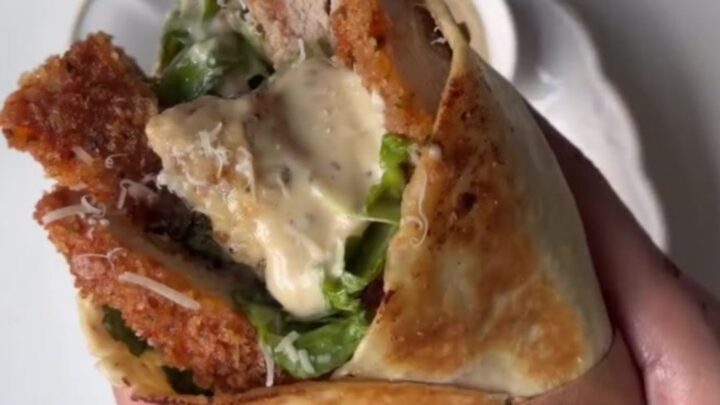
Crispy Chicken Caesar Wraps Tips, FAQ & printable recipe
- Prep
- Cook
- Total
- Serves
- 4
Tips for success
For an extra-crispy crust, use Japanese panko breadcrumbs, which are larger and flakier than regular breadcrumbs. Press the panko firmly onto the chicken to ensure it adheres well.
You can also season the flour with a pinch of cayenne for a subtle kick. When frying, maintain the oil temperature between 350°F and 375°F; if the oil is too cool, the crust will absorb oil and become greasy.
To keep the wraps from becoming soggy, pat the lettuce dry thoroughly before assembling. The Caesar dressing can be thinned with a little lemon juice if it's too thick, making it easier to spread.
If you're preparing these for a crowd, you can fry the chicken ahead and reheat it in a 400°F oven for a few minutes before assembling. This helps restore the crispness.
Variations
- Spicy Buffalo: Toss the cooked chicken strips in buffalo sauce before assembling. Use ranch dressing instead of Caesar, and add crumbled blue cheese and celery slices for a buffalo chicken wrap.
- Grilled Chicken: Skip the breading and frying; season the chicken with salt, pepper, and garlic powder, then grill or pan-sear until cooked through. Slice and assemble with the same Caesar components for a lighter wrap.
- Chicken Caesar Salad Wrap: For a fresher take, use leftover grilled or rotisserie chicken. Mix the chicken with Caesar dressing and chopped romaine, then wrap in a tortilla without the breading. Toast as directed for a quick meal.
- Avocado Caesar: Add sliced avocado to the wrap for extra creaminess. You can also blend a ripe avocado into the Caesar dressing to make it richer and more vibrant. This variation adds a smooth texture that complements the crunch.
Storage and make-ahead
- Fridge
- Store leftover wraps in an airtight container in the fridge for up to 2 days. Reheat in a skillet to restore crispness.
- Freezer
- Freeze breaded, uncooked chicken for up to 2 months. Fry from frozen, adding a few minutes to the cooking time.
- Reheat
- Reheat leftover wraps in a dry skillet over medium heat for 2-3 minutes per side until hot and crispy.
Leftover wraps can be stored in an airtight container in the refrigerator for up to 2 days. However, the tortillas may become soft and the lettuce may wilt. To reheat, place the wraps in a skillet over medium heat for a few minutes per side to crisp them up again. For best results, store the components separately and assemble fresh when ready to eat.
You can bread the chicken up to a day in advance and keep it covered in the refrigerator. Fry it just before serving for the crispiest result. The Caesar dressing can be made ahead and stored in the fridge for up to a week. Chop the lettuce and store it in a sealed bag with a paper towel to absorb moisture. Warm the tortillas just before assembling.
Serving ideas
Serve these wraps warm, straight from the skillet, with the crispy exterior and juicy filling. They can be served whole or sliced in half diagonally to show off the layers.
For a complete meal, pair them with a simple side of fresh fruit, a green salad, or some crunchy vegetable sticks. The wraps are satisfying enough to stand alone, but they also work well as part of a casual lunch or dinner spread.
For a fun twist, offer extra Caesar dressing on the side for dipping. You can also add a sprinkle of grated Parmesan cheese over the filling before rolling, if desired.
These wraps are perfect for picnics, game day, or any time you need a portable, delicious meal. They are best enjoyed immediately, but they can be wrapped in foil and kept warm for a short time.
Frequently asked questions
Can this recipe be made with chicken thighs?
What can be used instead of panko breadcrumbs?
How can the wraps be kept from getting soggy?
Can the chicken be baked instead of fried?
Is it possible to prepare the wraps ahead of time?
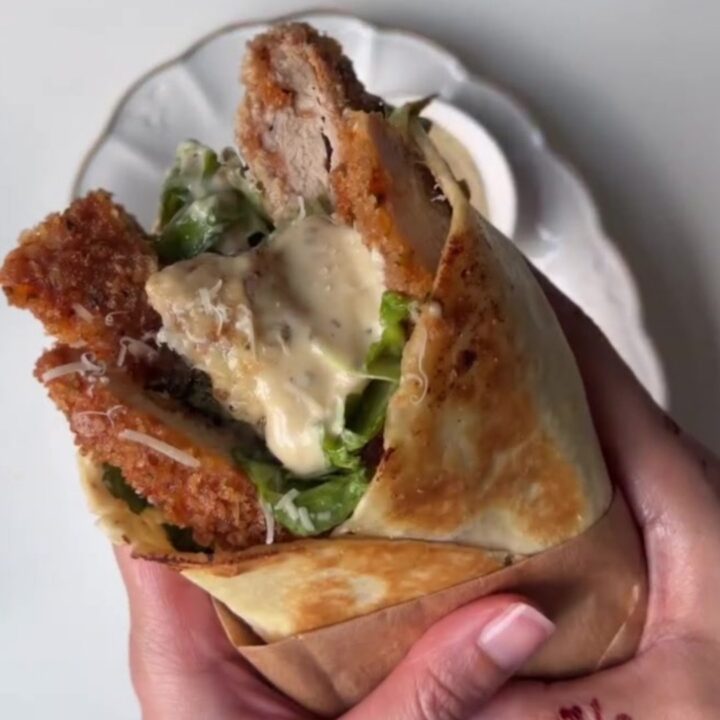
Crispy Chicken Caesar Wraps
Ingredients
- 1 1/2 lb boneless, skinless chicken breast
- 1/2 cup all-purpose flour
- 2 large eggs, beaten
- 1 1/2 cups panko breadcrumbs
- 1/2 tsp garlic powder
- 1/2 tsp kosher salt
- 1/4 tsp black pepper
- 1 cup avocado oil, for frying
- 1/2 cup Caesar dressing
- 2 cups chopped romaine lettuce
- 4 large flour tortillas
Instructions
- Place the chicken breast between two sheets of plastic wrap and pound to an even 1/2-inch thickness. Set up a breading station: one shallow bowl with the flour, one with the beaten eggs, and one with the panko mixed with garlic powder, salt, and pepper. Working with one piece at a time, dredge the chicken in the flour, shaking off any excess. Dip it into the egg wash, letting the excess drip off, then press it firmly into the panko mixture, coating both sides evenly.
- Heat the avocado oil in a large skillet over medium-high heat until it shimmers, about 350°F (175°C). Carefully lay the breaded chicken in the hot oil, working in batches if needed to avoid crowding. Fry for 3 to 4 minutes per side, until the crust is deep golden brown and the chicken reaches an internal temperature of 165°F (74°C). Transfer to a paper-towel-lined plate and let rest for 5 minutes.
- Once the chicken has rested, transfer it to a cutting board. Using a sharp knife, slice the cutlets into 1/2-inch-thick strips. The crust should crackle as you cut, revealing juicy, tender chicken inside.
- Heat a dry skillet or griddle over medium heat. Warm each tortilla for about 30 seconds per side, until pliable and lightly toasted. Keep them covered with a clean kitchen towel to stay warm.
- Spread a generous layer of Caesar dressing over the center of each warm tortilla. Top with a handful of chopped romaine, then arrange the chicken strips evenly on top. Fold in the sides and roll tightly into a snug cylinder, tucking the filling as you go.
- Heat the same skillet over medium heat. Place the wraps seam-side down in the dry skillet and toast for 1 to 2 minutes per side, until golden brown and crispy. This step seals the wrap and adds a pleasant crunch.
- Transfer the toasted wraps to a cutting board. Slice each wrap diagonally in half, exposing the crispy chicken, vivid green lettuce, and creamy sauce. Serve immediately while the chicken is still crunchy.
Estimated nutrition per serving
- Calories
- 650
- Protein
- 38 g
- Carbohydrates
- 45 g
- Fat
- 35 g
Next recipe
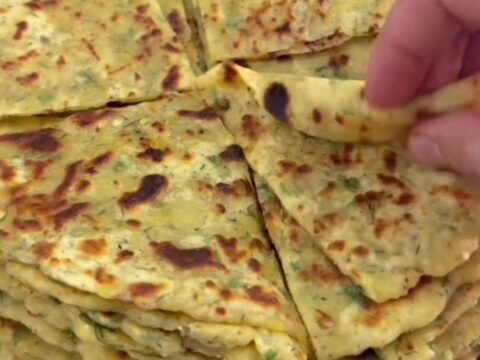
Cheesy Potato Herb Flatbreads: Quick Stovetop Comfort
See the recipe → →This recipe is based on a short cooking video and is published under the pen name Clara Weller. It was checked before publication, but errors can slip through. Nutrition, when shown, is an estimate. Read more in our editorial policy and on our food safety page.
More recipes to try
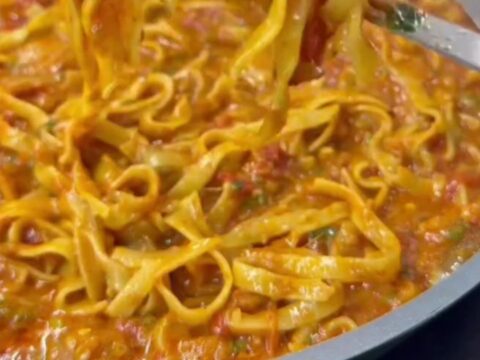
One-Pan Whole Vegetable Tagliatelle
Total time: 30 min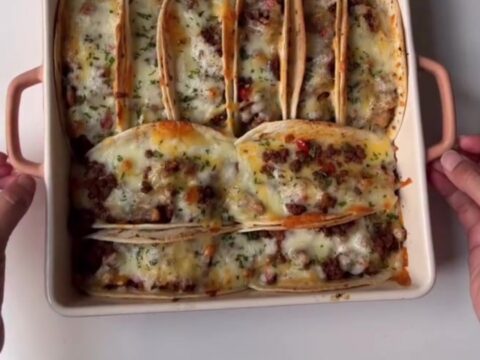
Baked Chipotle Beef Tacos
Total time: 40 min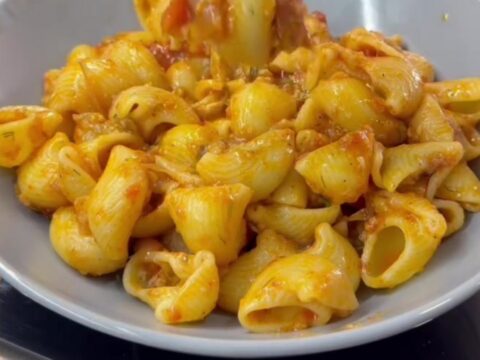
One-Pan Cheesy Roasted Vegetable Pasta
Total time: 55 min
Bakery-Style Homemade Pizza with Stretchy Cheese Pull
Total time: 1 h 32 min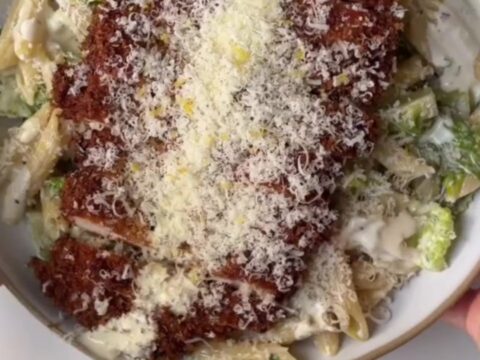
Crispy Chicken Caesar Pasta Salad
Total time: 35 min