Appetizers · Part 3 of 3: Tips & recipe card
Crispy Beef and Cheddar Tortilla Cones in 20 Minutes Tips, FAQ & printable recipe
- Prep
- Cook
- Total
- Serves
- 4
Tips for success
Roll the tortillas while they are warm; ten seconds in the microwave or a few seconds over a dry skillet makes them pliable enough to curve without cracking at the tip.
If a cone still resists, roll it slightly loose rather than tight: a roomier cone bakes crisp, packs more filling and is easier to eat. Rotate the muffin tin halfway through the bake if the oven runs hot at the back.
Keep the temperature contrast in mind at every stage: hot beef melts the cheese, a hot oven dries the shell, warm queso pours and cold garnishes stay fresh. Work in that order and the texture holds.
If making a double batch, brown all the beef first, then shape and fill the cones in two tins so both go into the oven at the same time and everything is served at once.
Variations
- Chicken taco cones: Swap the ground beef for an equal amount of finely shredded rotisserie chicken warmed with the taco seasoning and a spoonful of the queso. It fills the cones neatly, needs no draining and keeps the same bake time as written.
- Breakfast cones: Fill the baked shells with scrambled eggs cooked fully set, crumbled cooked sausage and cheddar, then finish with scallions. Skip the queso pour and serve these warm from the oven as a brunch hand-held.
- Black bean cones: Replace the beef with seasoned black beans, mashed lightly so they hold together, and keep the cheddar and queso as written. The shells and bake time stay exactly the same, and the cones hold their crunch just as well.
- Fiesta dip cones: Skip the beef entirely and fill the baked shells with warm queso topped with tomatoes, scallions and tortilla strips. Shorter, snack-size cones made from half tortillas make these easy to pass around at a larger gathering.
Storage and make-ahead
- Fridge
- Up to 2 days in an airtight container, garnishes and queso stored separately.
- Freezer
- Freeze the baked, unfilled shells up to 1 month; recrisp from frozen before filling.
- Reheat
- Bake at 350°F (175°C) for 5 minutes on a sheet pan; add queso and garnish after reheating.
Cool any leftover cones for no more than two hours, then refrigerate them in a single layer in an airtight container. Store the garnishes separately so the tomatoes and tortilla strips do not soften the shells. The cones keep their structure best when the queso is kept in its own container and reheated separately.
The seasoned beef can be browned up to two days ahead and reheated in a skillet until hot. The garnishes can all be prepped a day ahead and refrigerated in separate containers.
Shape the cones up to a few hours before baking and keep them uncovered at room temperature; brush and fill them just before the bake so the shells stay dry and crisp.
Serving ideas
Serve the cones standing upright in the muffin tin set on a trivet, or lift each one onto a platter lined with a fold of paper towel to catch any queso. They are a hand-held appetizer, so no forks are needed, but small napkins earn their place. A cone is two or three bites; plan on one per guest for a party, two for a hungry crowd.
Pair them with cold drinks and nothing fussy on the side; the cone already carries its sauce, its crunch and its garnish.
If serving a larger spread, set the cones out first while they are at their crispest and follow with heartier dishes. Warm a little extra queso in a small bowl alongside, and guests can top up a cone that ran dry.
Frequently asked questions
Why bake the cones upright in a muffin tin?
How are the cones kept from going soggy?
Can the beef be cooked ahead of time?
What if the tortillas crack when rolled into cones?
Can these cones be made for a larger crowd?
Crispy Beef and Cheddar Tortilla Cones in 20 Minutes
Ingredients
- 4 oz ground beef
- 1 tbsp taco seasoning
- 4 6-inch flour tortillas
- 1 tbsp melted garlic butter
- 1/2 cup shredded sharp cheddar
- 3 tbsp warm jalapeño queso blanco, store-bought or made ahead
- 1/2 cup diced tomatoes, for garnish
- 2 scallions, sliced, for garnish
- 1/4 cup crushed tortilla strips, for garnish
Instructions
- Set a small skillet over medium heat and add the ground beef, breaking it up with a spoon as it cooks. Sprinkle the taco seasoning over the meat and stir so every crumb is coated. Cook until no pink remains, about 4 to 5 minutes, then drain off any fat.
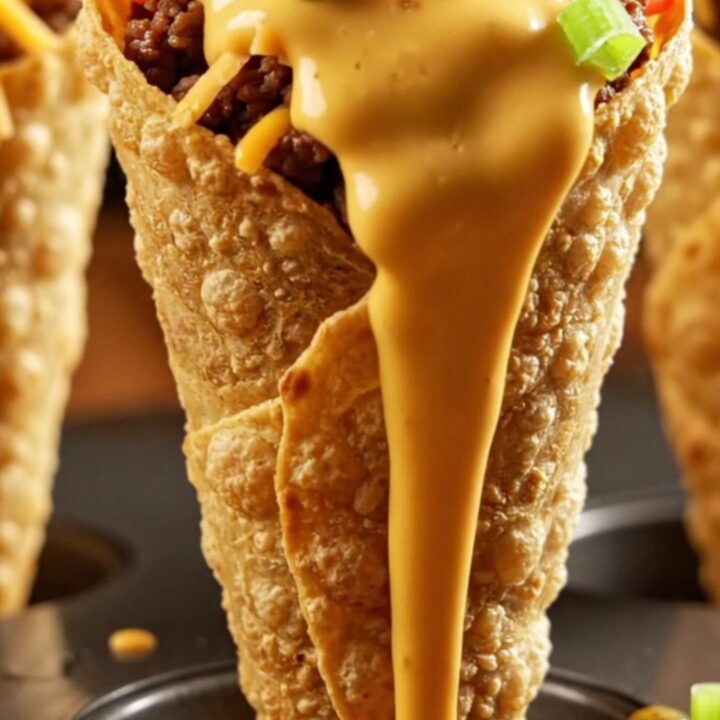
- Brush each flour tortilla on one side with the melted garlic butter. Roll each one into a loose cone, overlapping the seam and pinching the pointed tip so it holds its shape. Keep the opening wide enough to pack in the filling later.
- Stand each cone upright in a cup of a muffin tin. Spoon the hot seasoned beef into the opening, filling each cone about two-thirds full, then divide the shredded sharp cheddar over the top of the beef so it settles into the cone.
- Bake the muffin tin in a 400°F (200°C) oven for 8 minutes, until the tortilla shells are deeply golden and crisp at the edges and the cheese is bubbling hot. Pull the tin from the oven and let the cones sit for one minute before lifting them out.
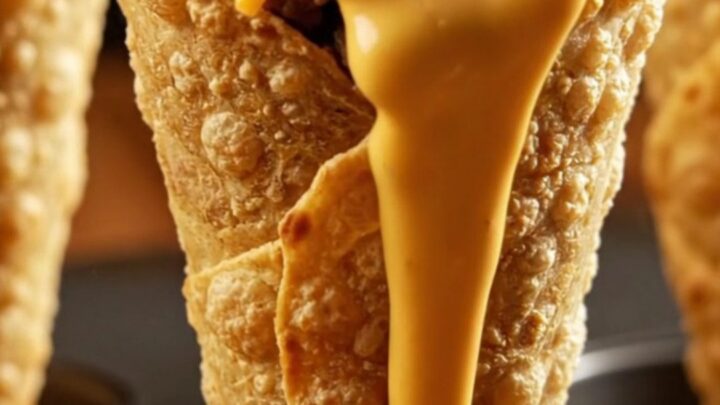
- Spoon the warm jalapeño queso blanco over the top of each cone, letting it cascade down over the beef and cheese. Warm the queso gently on the stove or in short bursts in the microwave first so it pours in a smooth ribbon.
- Scatter the diced tomatoes and sliced scallions over the queso, then finish each cone with a pinch of crushed tortilla strips for extra crunch. Serve the cones immediately, straight from the tin or transferred to a platter while they are still crisp.
Estimated nutrition per serving
- Calories
- 320
- Protein
- 14 g
- Carbohydrates
- 24 g
- Fat
- 18 g
Next recipe
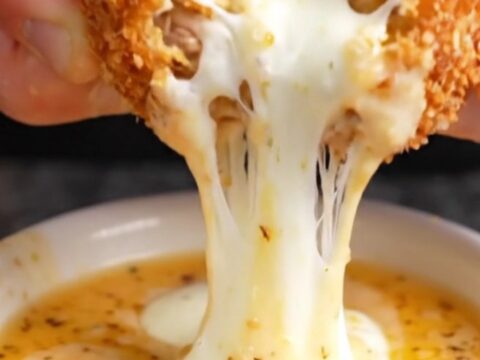
Crispy Chicken Potato Croquettes with Gooey Cheese
See the recipe → →This recipe is based on a short cooking video and is published under the pen name Clara Weller. It was checked before publication, but errors can slip through. Nutrition, when shown, is an estimate. Read more in our editorial policy and on our food safety page.
More recipes to try

Creamy Maryland Lump Crab Imperial Dip for Game Day
Total time: 2 h 10 min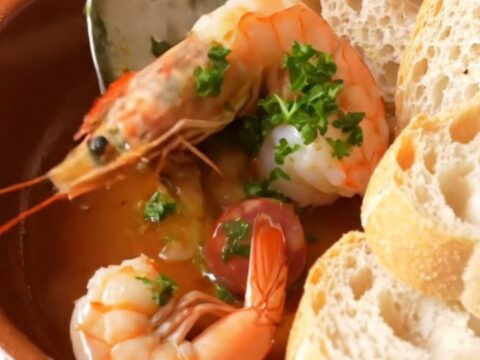
Slow-Cooker Spanish Garlic Shrimp and Chorizo Tapas
Total time: 1 h 40 min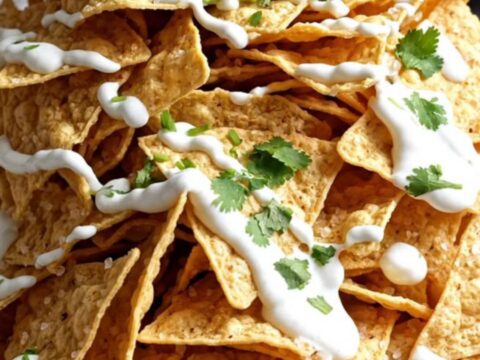
Crockpot Crispy Carnitas Nachos Supreme Queso Dip
Total time: 2 h 13 min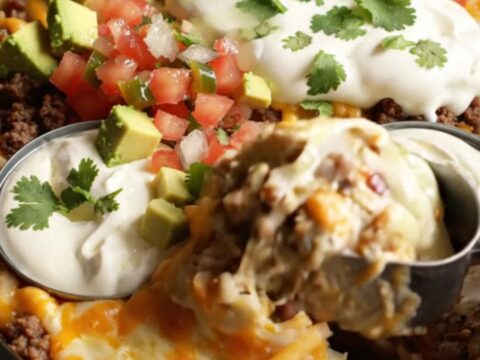
Warm Texas Trash Crockpot Dip with Taco Beef
Total time: 2 h 45 min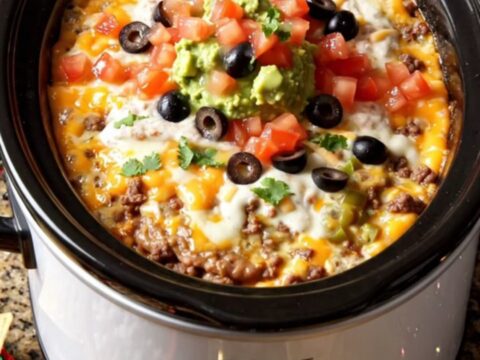
Crockpot Seven-Layer Taco Dip with Ground Beef
Total time: 2 h 20 min