Dinner · Part 3 of 3: Tips & recipe card
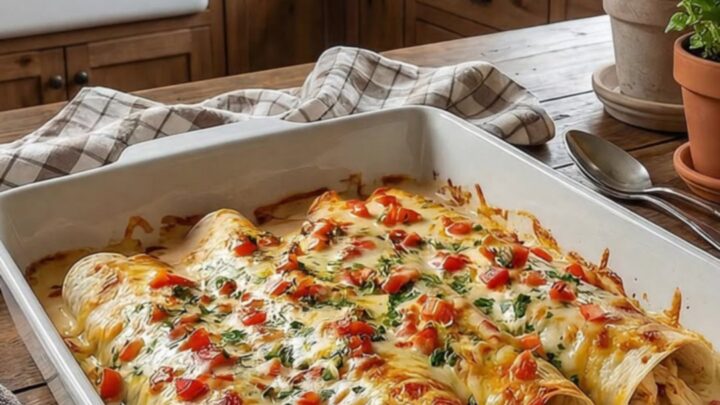
Creamy Queso Chicken Enchiladas Tips, FAQ & printable recipe
- Prep
- Cook
- Total
- Serves
- 6
Tips for success
For an extra layer of flavor, consider adding finely chopped cilantro or diced green chiles to the chicken mixture before rolling. These additions provide a fresh contrast to the richness of the queso and cheese. If the queso sauce seems too thick, adding a splash of chicken broth or milk can help achieve the perfect consistency for coating the tortillas evenly.
When serving, use a sturdy spatula to lift the enchiladas from the pan. Because they are baked in a creamy sauce, they may be delicate. Sliding the spatula all the way to the bottom of the dish ensures you get a generous amount of the cheesy sauce along with the enchilada. Serve immediately while hot to enjoy the best texture and the most satisfying melted cheese experience.
Variations
- Spicy Queso Chicken: Add a tablespoon of chopped pickled jalapeños or a dash of hot sauce into the chicken mixture to provide a spicy kick that balances the creamy cheese.
- Vegetable Loaded: Incorporate sautéed bell peppers and onions into the chicken filling for added texture and a subtle sweetness that complements the savory queso sauce perfectly.
Storage and make-ahead
- Fridge
- Store in an airtight container for up to 3 days.
- Freezer
- Freeze in a freezer-safe container for up to 2 months. Thaw in the refrigerator overnight before reheating.
- Reheat
- Reheat in a preheated oven at 350°F (175°C) until warmed through, or use a microwave-safe dish for individual portions until hot.
Allow any leftovers to cool to room temperature for no more than two hours before transferring them to an airtight container. Keep the container in the refrigerator to maintain freshness.
The enchiladas are best consumed within three days. When storing, try to keep them in a single layer if possible to prevent them from becoming crushed or losing their shape, which makes reheating much more uniform and effective.
You can assemble the enchiladas up to 24 hours in advance. Simply cover the baking dish tightly with plastic wrap or foil and store it in the refrigerator.
When ready to bake, remove the dish from the refrigerator and let it sit on the counter for about 20 minutes to take the chill off before placing it in the preheated oven. You may need to add 5 to 10 minutes to the total baking time.
Serving ideas
These enchiladas are a complete meal on their own, but they pair beautifully with a crisp side salad featuring a lime-based vinaigrette to cut through the richness of the cheese.
A side of black beans or seasoned rice can also round out the meal. Consider garnishing the plate with fresh toppings like diced tomatoes, sliced jalapeños, or a spoonful of sour cream if you prefer an additional cooling element.
Because the dish is quite hearty, smaller portions are often sufficient. If serving for a larger group, you can easily double the recipe by using two separate baking dishes.
Ensure that each serving includes a generous amount of the sauce from the bottom of the pan, as this is where much of the concentrated flavor resides. The combination of textures from the soft tortilla and the melted cheese is the highlight of every plate.
Frequently asked questions
Can these enchiladas be made ahead of time?
What is the best way to prevent the tortillas from tearing?
Why is it important to let the dish rest after baking?
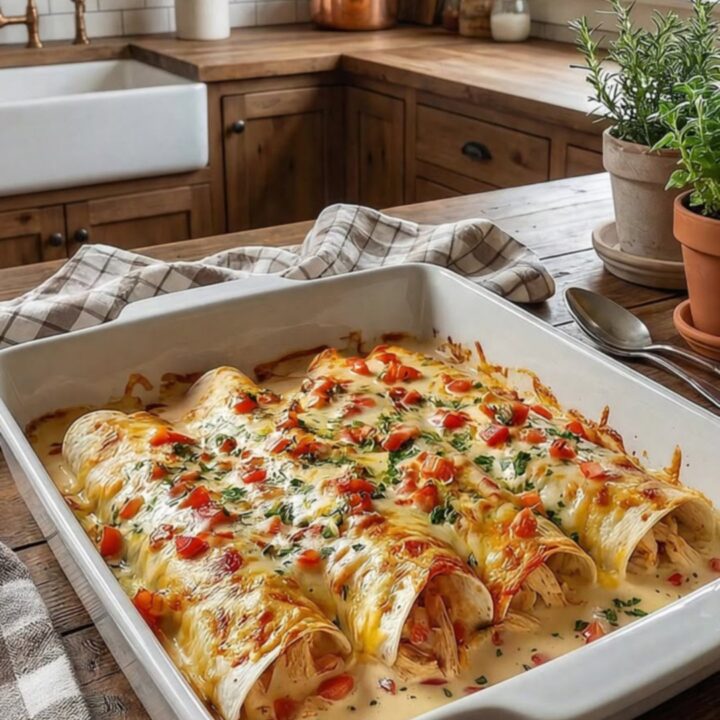
Creamy Queso Chicken Enchiladas
Ingredients
- 2 lbs shredded cooked chicken
- 1 1/2 cups queso sauce, store-bought or made ahead
- 1 cup shredded cheese
Instructions
- In a large mixing bowl, combine the shredded cooked chicken with a portion of the queso sauce to ensure the meat is well-coated and remains moist during the baking process. Mix thoroughly until every strand of chicken is evenly covered in the creamy sauce.
- Spoon the chicken mixture into the center of each tortilla. Roll them tightly and place them seam-side down in a 9x13 inch baking dish. Ensure they are packed snugly together so they hold their shape during the baking process.
- Pour the remaining queso sauce over the top of the assembled enchiladas. Sprinkle the shredded cheese generously across the surface. Bake in a preheated oven at 375°F (190°C) until the cheese is bubbling and golden. The internal temperature of the chicken must reach 165°F (74°C). Remove from the oven and let rest for 5 minutes before serving.
Estimated nutrition per serving
- Calories
- 450
- Protein
- 28 g
- Carbohydrates
- 35 g
- Fat
- 22 g
Next recipe
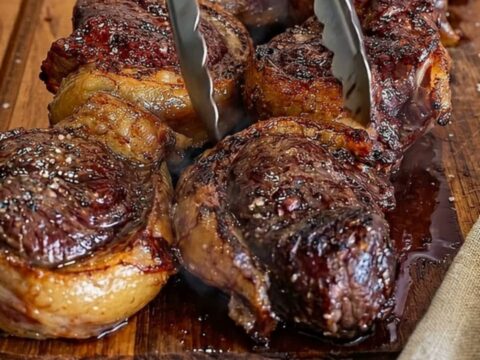
Crispy Seared Steak Medallions
See the recipe → →This recipe is based on a short cooking video and is published under the pen name Clara Weller. It was checked before publication, but errors can slip through. Nutrition, when shown, is an estimate. Read more in our editorial policy and on our food safety page.
More recipes to try
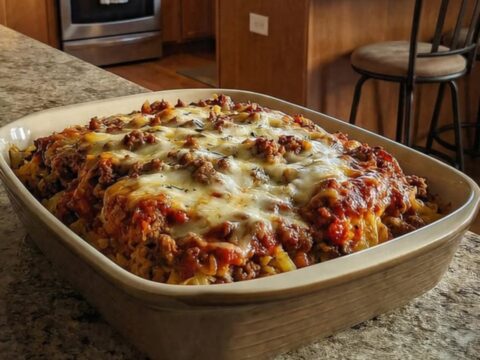
Cheesy Cabbage Roll Casserole for Weeknight Comfort
Total time: 1 h 15 min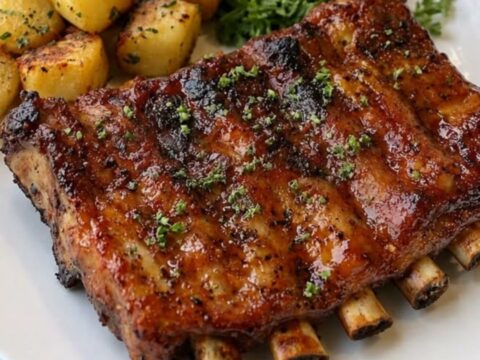
Sticky Glazed BBQ Ribs with Roasted Potatoes
Total time: 2 h 25 min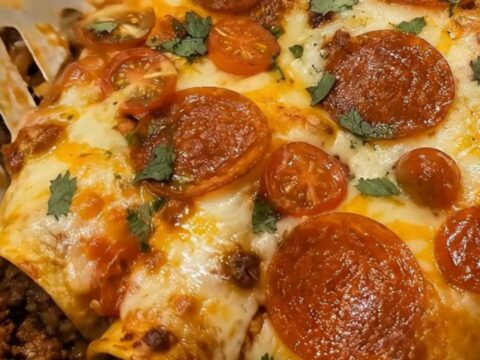
Cheesy Pepperoni Enchiladas with Seasoned Ground Beef
Total time: 45 min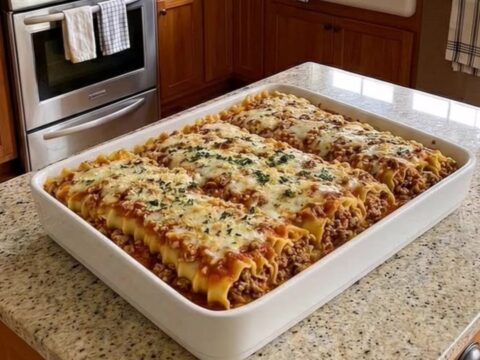
Classic Beef Lasagna Bake with Gooey Mozzarella
Total time: 1 h 15 min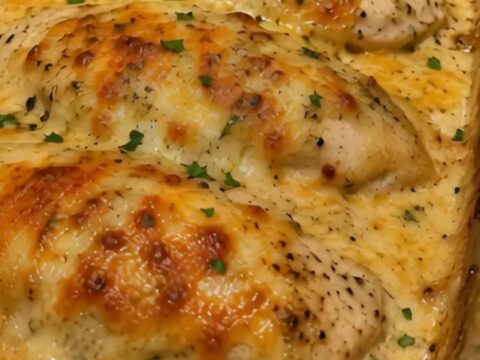
Creamy Cheesy Baked Chicken Breasts for a Quick Dinner
Total time: 45 min