Dinner · Part 1 of 3: Ingredients
Cheesy Pepperoni Enchiladas with Seasoned Ground Beef
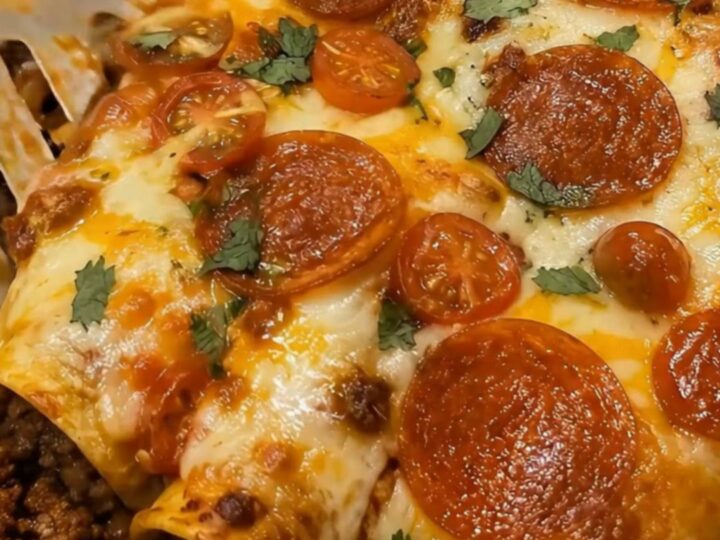
- Prep
- Cook
- Total
- Serves
- 4
Discover the ultimate comfort food fusion that brings together the bold, savory flavors of a classic pepperoni pizza with the satisfying, saucy texture of traditional enchiladas. This dish is designed to be the star of your dinner table, offering a hearty and crowd-pleasing meal that is surprisingly straightforward to prepare.
Perfect for busy weeknights when you want something special without spending hours in the kitchen, these enchiladas are guaranteed to satisfy every craving for something cheesy and delicious.
This recipe reimagines the classic enchilada by introducing the iconic flavor profile of pepperoni pizza, creating a unique dish that bridges two beloved cuisines. By using seasoned ground beef as the base, the enchiladas gain a robust, meaty texture that pairs perfectly with the tangy enchilada sauce.
Each serving is loaded with melted cheese, vibrant cherry tomatoes, and crispy pepperoni slices, resulting in a comforting meal that delivers a satisfying cheese pull in every single bite. It is a simple, effective way to elevate your standard dinner routine.
Ingredients
Filling
- 1 lb ground beef
- 20 oz enchilada sauce
- 2 cups shredded cheese
Topping
- 3 oz sliced pepperoni
- 1 cup sliced cherry tomatoes
Why this recipe works
The method focuses on creating a solid foundation of flavor by properly browning the ground beef before combining it with the sauce. This ensures that the meat remains moist and flavorful throughout the baking process, preventing the dish from becoming watery. The use of a snug baking dish helps the ingredients maintain their shape, ensuring that each portion remains intact when being served to guests or family members.
Baking at a consistent temperature allows the cheese to melt uniformly without drying out the dish. By adding the pepperoni and cherry tomatoes during the final assembly, the toppings are able to crisp up and release their juices just enough to complement the richness of the cheese. This layering technique balances the textures, providing a contrast between the soft, saucy center and the slightly charred, crispy elements on the surface of the dish.
Notes and substitutions
When selecting ingredients, choose a lean ground beef to minimize excess oil in the final dish. The choice of enchilada sauce is entirely up to personal preference; a mild red sauce works well for a classic flavor, while a spicy version adds a nice kick.
Ensure all ingredients are fresh, as quality components are essential for the best final texture. If you find the pepperoni is crisping too quickly, simply cover the dish with aluminum foil for the first fifteen minutes of baking, then uncover it to allow the top to brown and the cheese to bubble perfectly.
For the cheese, a blend of sharp cheddar and mozzarella provides the best balance of flavor and meltability. The specific equipment required is minimal, with a standard oval baking dish being ideal for accommodating the ingredients.
If you are preparing this for a larger group, you can easily scale the quantities, provided you have a larger vessel to hold the mixture. Always keep your workspace clean and organized to ensure a smooth transition from browning the meat to assembling the final dish for the oven.
- cheddar cheese: a blend of mozzarella and monterey jack for extra stretch
Equipment
- large skillet
- oval baking dish
- metal spatula
- knife
- cutting board
Up next · Part 2 of 3
3 steps · 25 min of cooking · what to look for at each stage
Step-by-step instructions (Part 2)