Desserts · Part 3 of 3: Tips & recipe card
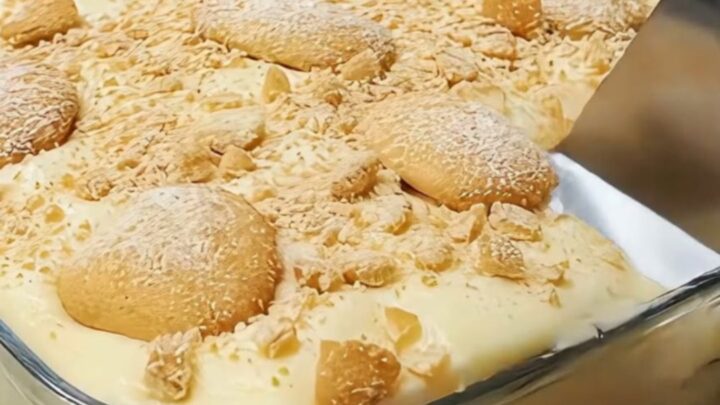
Creamy Homemade Banana Pudding with Vanilla Wafers Tips, FAQ & printable recipe
- Prep
- Cook
- Total
- Serves
- 8
Tips for success
To prevent the banana slices from browning, toss them lightly in a small amount of lemon juice before adding them to the dish.
This is optional but helpful if the pudding will be stored for more than a few hours. The acidity of the lemon juice does not significantly alter the flavor but preserves the color of the fruit.
For a cleaner scoop, run the serving spoon under hot water and wipe it dry before each portion is removed from the dish. This technique helps the spoon glide through the layers without dragging the wafers or custard, ensuring that each served portion maintains its beautiful, layered appearance on the plate.
Variations
- Chocolate Banana Pudding: Replace the vanilla custard with chocolate custard for a richer version. Layer with the same vanilla wafers and banana slices for a classic flavor contrast.
- Toasted Coconut Pudding: Sprinkle toasted coconut flakes between each layer of custard and banana. This adds a subtle nutty flavor and extra texture to the finished dessert.
Storage and make-ahead
- Fridge
- Store in the refrigerator for up to 48 hours. Keep tightly covered to prevent the custard from forming a skin and to maintain freshness.
Store the banana pudding in the refrigerator, covered tightly with plastic wrap or a lid. This keeps the dessert fresh and prevents it from absorbing other odors from the refrigerator.
Consume the pudding within two days for the best quality, as the bananas will eventually begin to soften further and the wafers will lose their texture.
This dessert is an ideal make-ahead dish because it requires a minimum of two hours in the refrigerator to reach the proper consistency. You can assemble the pudding up to 24 hours in advance. Keep it tightly covered in the refrigerator until ready to serve to maintain the best flavor and texture throughout the layers.
Serving ideas
Serve the banana pudding chilled directly from the refrigerator. Use a large serving spoon to cut through the layers, ensuring each portion includes a generous amount of custard, banana, and softened wafer.
The dessert should be transferred to small bowls or plates to maintain the presentation of the layers as they are served to guests.
For a touch of elegance, serve the pudding alongside a small side of fresh fruit or a simple cookie. The contrast between the cold, creamy pudding and a fresh garnish enhances the dining experience.
Avoid leaving the dish at room temperature for extended periods, as the dairy-based custard should be kept chilled for safety.
Frequently asked questions
Can this be made ahead?
How long does the pudding last?
Why do the bananas turn brown?
Creamy Homemade Banana Pudding with Vanilla Wafers
Ingredients
- 3 cups vanilla custard, store-bought or made ahead
- 1 package vanilla wafers
- 4 medium bananas, sliced into rounds
Instructions
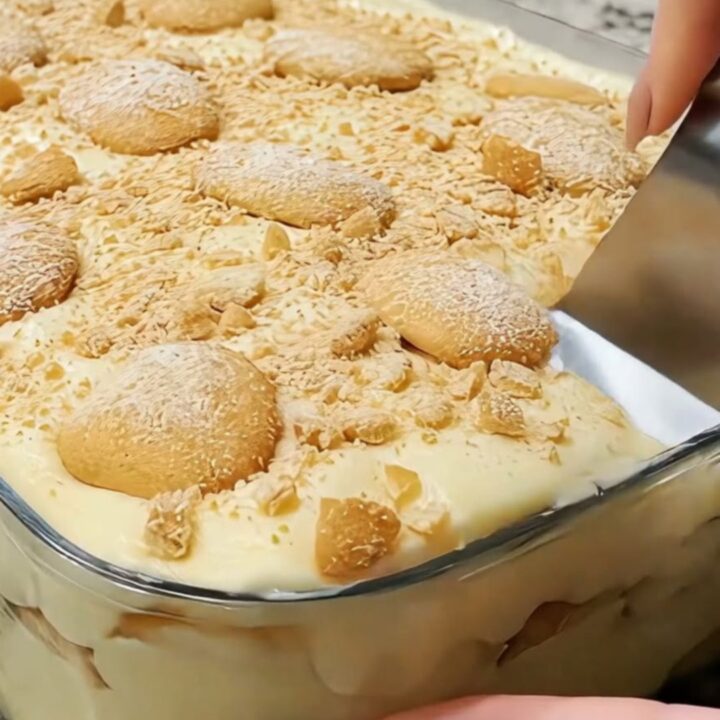
- Spread a thin layer of the vanilla custard across the bottom of the glass casserole dish. This creates a foundation that prevents the bottom layer of vanilla wafers from sliding while serving.
- Arrange a layer of vanilla wafers over the custard, followed by a layer of sliced bananas. Pour a generous amount of custard over the bananas, ensuring they are fully covered. Repeat the layering process until the dish is full, finishing with a final layer of custard on top.
- Cover the casserole dish with plastic wrap and refrigerate for at least two hours. This resting period allows the vanilla wafers to soften slightly by absorbing moisture from the custard, creating the signature pudding texture.
Estimated nutrition per serving
- Calories
- 350
- Protein
- 5 g
- Carbohydrates
- 55 g
- Fat
- 12 g
- Fiber
- 2 g
- Sugar
- 35 g
- Sodium
- 250 mg
Next recipe
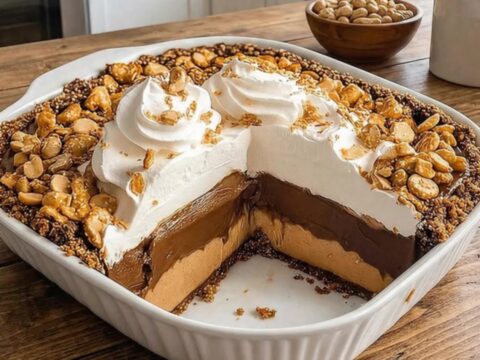
No-Bake Peanut Butter Chocolate Pretzel Pie
See the recipe → →This recipe is based on a short cooking video and is published under the pen name Clara Weller. It was checked before publication, but errors can slip through. Nutrition, when shown, is an estimate. Read more in our editorial policy and on our food safety page.
More recipes to try
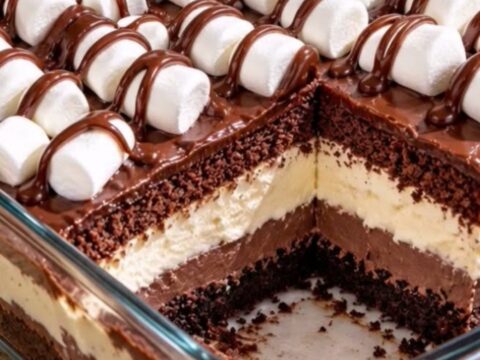
Rich Chocolate Marshmallow Layered Dessert
Total time: 1 h 35 min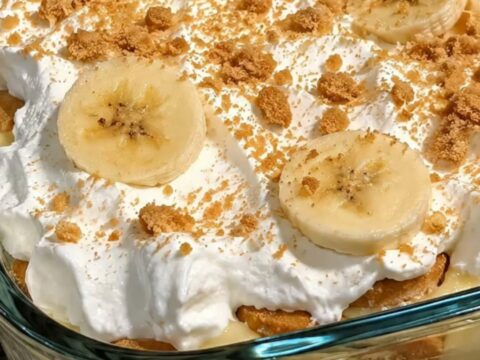
Classic Southern Banana Pudding
Total time: 2 h 30 min
Creamy Summer Fruit Salad
Total time: 25 min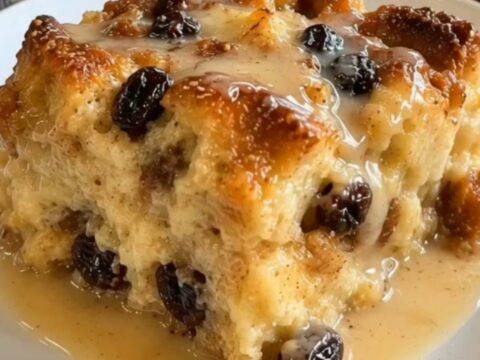
Warm New Orleans Bread Pudding with Bourbon Sauce
Total time: 1 h 10 min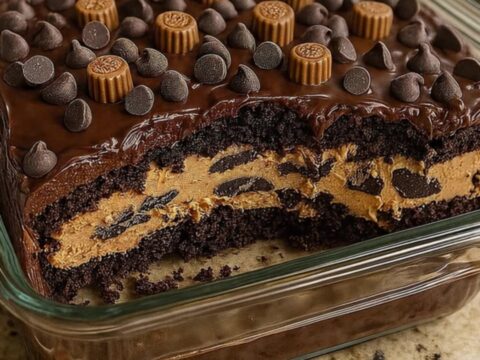
Reese's Peanut Butter Earthquake Cake
Total time: 1 h 20 min