Dinner · Part 3 of 3: Tips & recipe card
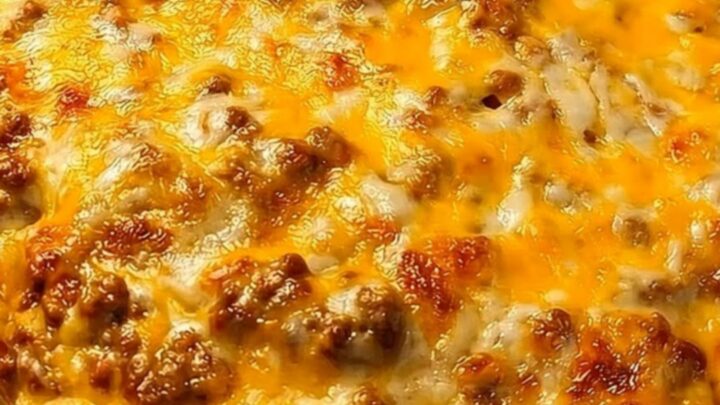
Creamy Baked Cheeseburger Casserole with a Golden Cheese Crust Tips, FAQ & printable recipe
- Prep
- Cook
- Total
- Serves
- 6
Tips for success
To elevate the flavor profile of this comforting dish, consider seasoning the ground beef generously during the browning stage. While garlic and onion powders provide an excellent savory base, adding a pinch of smoked paprika or mustard powder can enhance the classic cheeseburger flavor.
Additionally, letting the casserole rest for about five to ten minutes after removing it from the oven is crucial; this short resting period allows the cream sauce to cool slightly and thicken, ensuring clean, cohesive portions when scooped.
Another great tip for achieving the ultimate cheese crust is to use a glass or ceramic baking dish rather than a metal pan. Glass distributes heat more evenly and allows you to monitor the bubbling of the sauce along the sides and bottom of the casserole.
If the cheese is melted but not as browned as desired at the end of the baking time, turn on the oven broiler for the final one to two minutes, watching closely to prevent burning.
Variations
- Bacon Cheeseburger Casserole: Stir chopped cooked bacon into the ground beef and macaroni mixture before baking to add a smoky, salty crunch that perfectly complements the rich cheddar cheese.
- Spicy Jalapeno Burger Bake: Add diced pickled jalapeños to the beef mixture and use Pepper Jack cheese in place of the Monterey Jack to give the casserole a spicy kick.
Storage and make-ahead
- Fridge
- Keep leftovers in a sealed airtight container in the refrigerator for up to 3 to 4 days.
- Freezer
- Freeze the assembled, unbaked casserole or cooked portions in a freezer-safe container for up to 2 to 3 months.
- Reheat
- Reheat individual portions in the microwave, or cover the baking dish with foil and heat in a 350°F (175°C) oven for 15-20 minutes until hot.
Store any leftover cheeseburger casserole in an airtight container in the refrigerator for up to three to four days. To maintain the best texture and prevent the cheese crust from becoming soggy, allow the casserole to cool completely at room temperature for no more than two hours before sealing and refrigerating. This prevents condensation from forming inside the container, which can water down the rich cream sauce.
This casserole is an excellent candidate for make-ahead meals. Assemble the entire dish through the cheese-topping step, cover the baking dish tightly with plastic wrap or aluminum foil, and store it in the refrigerator for up to twenty-four hours before baking.
When ready to cook, remove the cover, let the dish sit at room temperature for about thirty minutes to take the chill off, and then bake as directed, adding five extra minutes to the baking time if needed.
Serving ideas
Serve this hearty cheeseburger casserole hot, straight from the baking dish, using a sturdy metal spatula to lift out generous, steaming portions that showcase the incredible cheese pull.
Because this dish is rich and savory, it pairs beautifully with light, crisp side dishes that cut through the richness of the cream and cheese. A simple green garden salad tossed with a tangy vinaigrette, or a side of steamed green beans, makes an excellent accompaniment.
For a fun twist that enhances the burger theme, set up a toppings bar alongside the casserole. Offer classic burger garnishes such as sliced dill pickles, diced raw onions, chopped fresh tomatoes, or a drizzle of yellow mustard and ketchup. This allows everyone to customize their portion to taste, bringing a playful, interactive element to the dinner table that replicates the experience of eating a fully loaded cheeseburger.
Frequently asked questions
Can milk be used instead of heavy cream?
Can gluten-free pasta be used in this recipe?
How is a greasy casserole avoided?
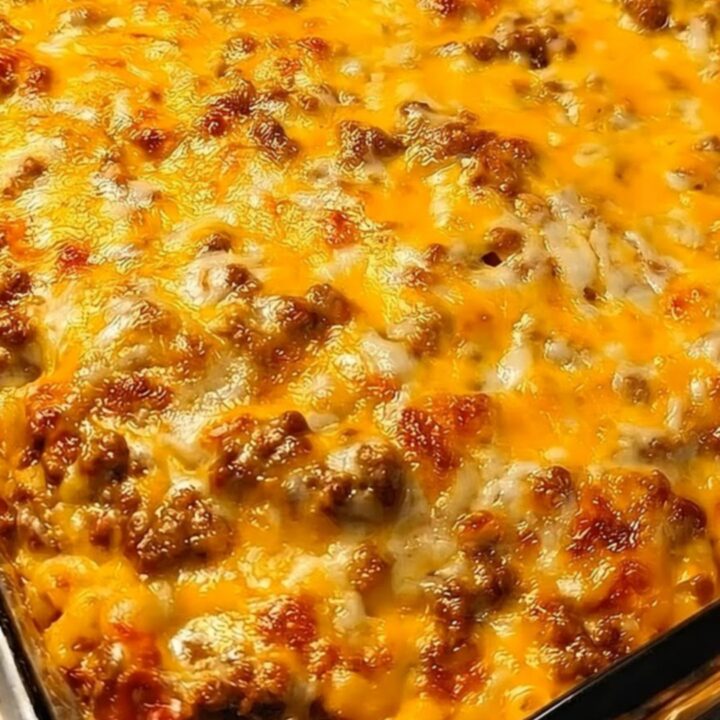
Creamy Baked Cheeseburger Casserole with a Golden Cheese Crust
Ingredients
- 8 oz elbow macaroni
- 1 1/2 lb ground beef
- 1 tsp kosher salt
- 1/2 tsp black pepper
- 1 tsp garlic powder
- 1 tsp onion powder
- 1 cup heavy cream
- 1 1/2 cups cheddar cheese, shredded
- 1 1/2 cups Monterey Jack cheese, shredded
Instructions
- Bring a large pot of salted water to a boil. Add the elbow macaroni and cook according to the package instructions until it is al dente, which keeps it firm enough to withstand baking. Drain the pasta thoroughly in a colander and set it aside.
- Heat a large skillet over medium-high heat. Add the ground beef and cook, breaking it up with a wooden spoon, until it is completely browned and no pink remains. Stir in the kosher salt, black pepper, garlic powder, and onion powder to coat the meat evenly. Drain any excess grease from the pan, and verify with a thermometer that the beef reaches a safe internal temperature of 160°F (71°C).
- In a large bowl or directly in the 9x13-inch glass baking dish, combine the cooked elbow macaroni and the seasoned browned ground beef. Pour the heavy cream evenly over the pasta and beef mixture, stirring gently to ensure all components are thoroughly coated and the cream settles into the bottom of the dish.
- Spread the macaroni and beef mixture into an even layer in the glass baking dish if you mixed it in a bowl. Scatter the shredded cheddar cheese and shredded Monterey Jack cheese evenly over the top of the casserole, ensuring complete coverage from edge to edge to create a uniform crust.
- Preheat the oven to 375°F (190°C). Place the assembled glass baking dish in the oven and bake for 20 minutes. The heavy cream should bubble actively around the edges, and the cheese top should transform into a beautifully melted, golden-brown crust. Remove the dish from the oven and let it rest for 5 minutes before serving.
Estimated nutrition per serving
- Calories
- 680
- Protein
- 39 g
- Carbohydrates
- 31 g
- Fat
- 44 g
- Fiber
- 1.5 g
- Sugar
- 2.1 g
- Sodium
- 650 mg
Next recipe
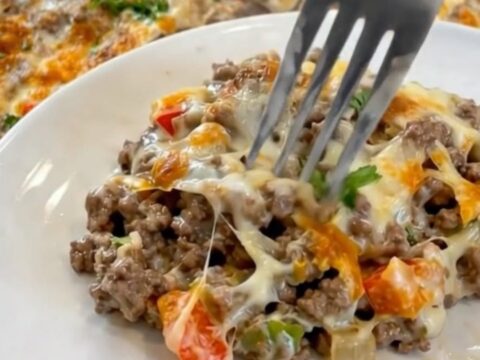
Easy Philly Cheesesteak Casserole with Melty Provolone
See the recipe → →This recipe is based on a short cooking video and is published under the pen name Clara Weller. It was checked before publication, but errors can slip through. Nutrition, when shown, is an estimate. Read more in our editorial policy and on our food safety page.
More recipes to try
Cheddar Biscuit Chicken Pot Pie Bake with Golden Garlic Butter Crust
Total time: 1 h 5 min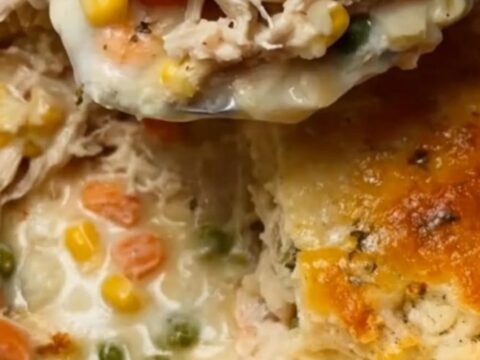
Cheddar Bay Chicken Cobbler with Cheesy Biscuit Crust
Total time: 1 h 15 min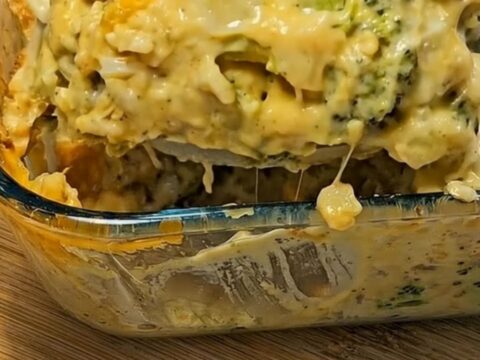
Creamy Broccoli Cheese Casserole
Total time: 45 min
Cheesy Hobo Casserole with Ground Beef and Potatoes
Total time: 1 h 30 min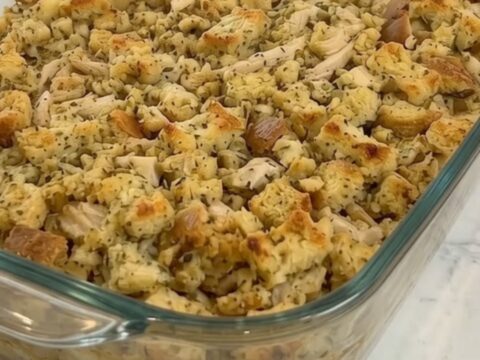
Crispy Chicken and Herb Stuffing Casserole
Total time: 1 h