Desserts · Part 3 of 3: Tips & recipe card
Decadent Chocolate Caramel Icebox Cake Tips, FAQ & printable recipe

- Prep
- Cook
- Total
- Serves
- 8
Tips for success
To achieve the cleanest slices, dip a sharp knife into hot water and wipe it dry before each cut. This technique melts the cream slightly, allowing the knife to glide through the layers without dragging or smearing.
After each slice, wipe the knife clean and repeat the dipping process. This ensures that every portion served has beautiful, distinct layers, enhancing the overall presentation of the dessert for guests.
Experiment with the flavor profile by incorporating different types of crushed biscuits or chocolate. For a deeper flavor, use dark chocolate squares, or substitute the biscuits with crushed cookies that have a hint of sea salt.
These small adjustments can personalize the dessert while maintaining the integrity of the original structure. Ensure that any additions are chopped or crushed to a similar consistency to maintain the balance of the cake's texture.
Variations
- Mocha Infusion: Fold two teaspoons of high-quality instant coffee powder into the whipped cream before layering. This adds a subtle, sophisticated coffee note that pairs beautifully with the rich chocolate and caramel.
- Nutty Crunch: Add a layer of finely chopped roasted hazelnuts or pecans between the caramel and cream layers. The added crunch provides a wonderful textural contrast to the soft cake.
Storage and make-ahead
- Fridge
- Keep refrigerated at all times when not serving. The dessert should be stored at or below 40°F (4°C) to ensure safety and quality.
Store the cake in the refrigerator, covered loosely with plastic wrap or in an airtight container to prevent it from absorbing other refrigerator odors. It is best consumed within three days to maintain the optimal texture of the cake and the freshness of the cream.
If the cake is stored for longer, the layers may become excessively soft or the cream may begin to lose its aeration, affecting the overall quality of the dessert.
This recipe is specifically designed to be made ahead, as the resting time is essential for the texture to develop. It can be prepared up to twenty-four hours in advance, which often improves the flavor and consistency.
Simply assemble the cake, cover it, and keep it refrigerated until ready to serve. This makes it an ideal choice for planning ahead for dinners or gatherings, as it removes the pressure of last-minute dessert preparation.
Serving ideas
When serving, place the dish in the center of the table and use a large, flat spatula to lift each slice carefully. The first slice is often the most difficult to remove, so consider removing a small corner piece first to create space. Serve each portion on a chilled plate to keep the cream stable for as long as possible. The dessert is rich, so smaller portions are often sufficient to satisfy a sweet tooth.
Consider serving each slice with an additional drizzle of caramel or a small dollop of fresh whipped cream if desired. The contrast between the cold, dense layers and the fresh, light garnish can elevate the experience. Ensure that the serving environment is cool, as the whipped cream and caramel filling are sensitive to temperature and will soften quickly in a warm room.
Frequently asked questions
Can this dessert be made in a different size dish?
How long does the cake need to rest in the refrigerator?
What is the best way to slice the cake?
Decadent Chocolate Caramel Icebox Cake
Ingredients
- 1 package chocolate cake, store-bought or made ahead
- 1 cup caramel sauce
- 2 cups heavy whipped cream
- 4 ounces chocolate squares, chopped
- 1/2 cup crushed biscuits
Instructions
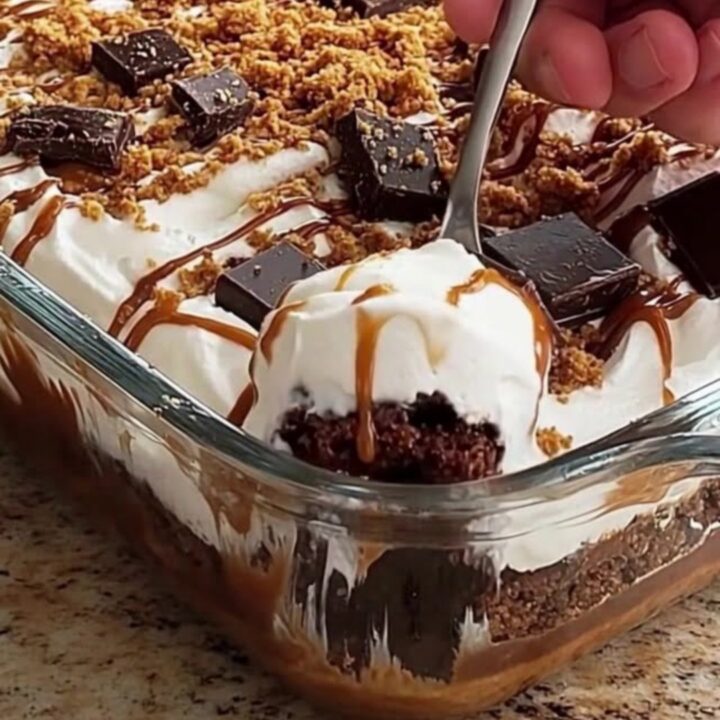
- Place a layer of chocolate cake at the bottom of the glass baking dish. Ensure the pieces cover the bottom evenly to create a solid foundation for the subsequent layers.
- Spread a generous layer of caramel sauce over the cake. Follow with a thick, even layer of whipped cream. Repeat these steps to create multiple alternating layers until the dish is nearly full.
- Top the final layer of whipped cream with chopped chocolate squares and a generous sprinkle of crushed biscuits. If using a custard base, heat in a saucepan until it reaches 160°F (71°C) to ensure the eggs are cooked through. Place the dish in the refrigerator for at least four hours to allow the cake to soften and the flavors to meld.
Estimated nutrition per serving
- Calories
- 450
- Protein
- 5.2 g
- Carbohydrates
- 55 g
- Fat
- 24 g
Next recipe
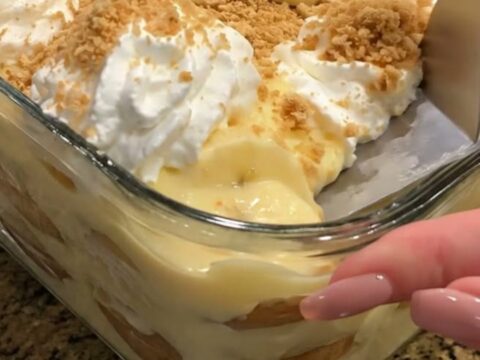
Classic Homemade Banana Pudding with Vanilla Wafers
See the recipe → →This recipe is based on a short cooking video and is published under the pen name Clara Weller. It was checked before publication, but errors can slip through. Nutrition, when shown, is an estimate. Read more in our editorial policy and on our food safety page.
More recipes to try
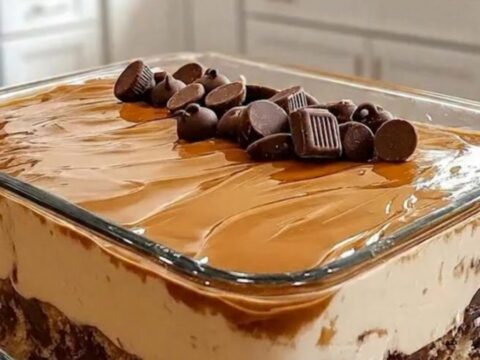
No-Bake Layered Peanut Butter Chocolate Dessert
Total time: 2 h 20 min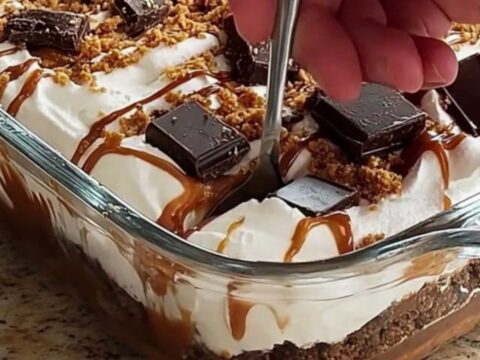
Creamy Chocolate Caramel Layered Dessert
Total time: 2 h 20 min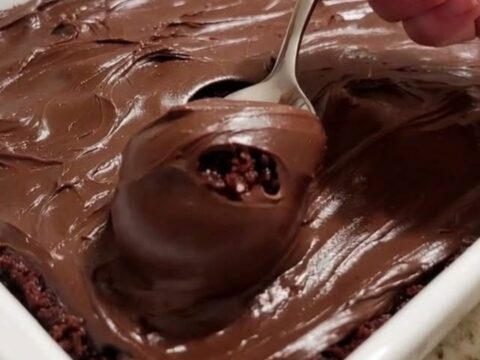
Grandma's Secret Moist Chocolate Sauerkraut Cake
Total time: 1 h 20 min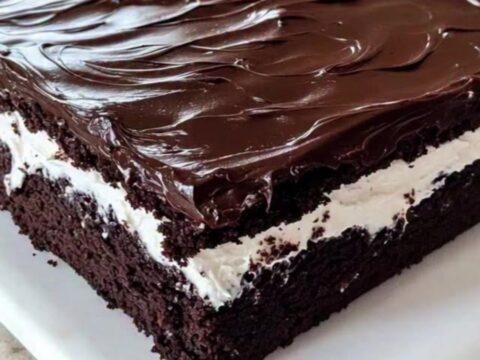
Classic Ding Dong Sheet Cake with Creamy Filling
Total time: 2 h 5 min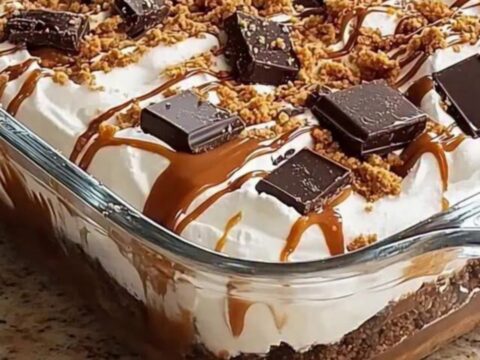
Creamy Chocolate and Caramel Layered Dessert
Total time: 2 h 20 min