Dinner · Part 3 of 3: Tips & recipe card
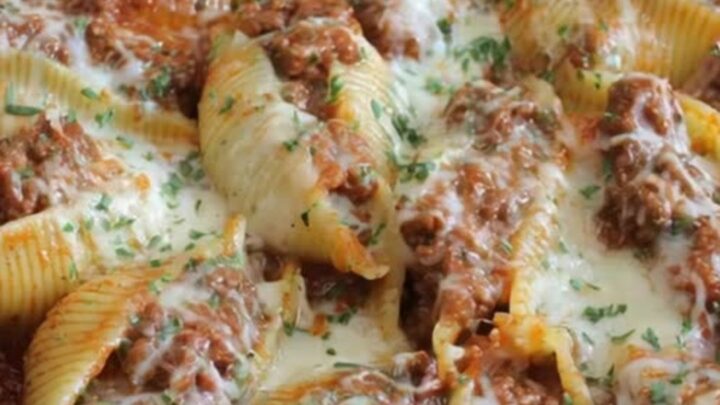
Cheesy Stuffed Shells in Cast Iron Tips, FAQ & printable recipe
- Prep
- Cook
- Total
- Serves
- 4
Tips for success
To add an extra layer of flavor, consider mixing a small amount of grated parmesan cheese into the mozzarella before topping the shells. This adds a salty, nutty complexity that pairs perfectly with the meat sauce.
You can also sprinkle a little extra fresh parsley over the top just before serving to add a bright, fresh note that cuts through the richness of the melted cheese and meat sauce.
If you prefer a crispy texture on the cheese, you can turn on the broiler for the final minute of baking, but be sure to watch it constantly to prevent burning.
The intense heat of the broiler will quickly brown the cheese, creating a beautiful contrast with the soft, tender shells underneath. This technique is especially effective if you enjoy a slightly charred flavor profile in your baked pasta dishes.
Variations
- Vegetarian Spinach and Ricotta: Replace the meat sauce with a mixture of ricotta cheese, chopped fresh spinach, and a pinch of nutmeg. This creates a lighter, creamy filling that pairs wonderfully with a classic marinara sauce and the same melted mozzarella topping.
- Spicy Sausage and Pepper: Substitute the meat sauce with a spicy sausage-based sauce and add finely diced bell peppers. This variation adds a pleasant kick and a bit of extra crunch, making the dish even more dynamic and flavorful.
Storage and make-ahead
- Fridge
- Store in an airtight container for up to 3 days.
- Freezer
- Freeze in a freezer-safe container for up to 2 months.
- Reheat
- Reheat in a 350°F oven until warmed through or in the microwave in short intervals.
If you have leftovers, allow the dish to cool for no more than two hours before transferring it to an airtight container. Keep the container in the refrigerator to maintain the quality of the pasta and sauce.
The flavors often meld and improve after a day in the fridge, making this an excellent option for a quick meal the next day. Ensure the container is sealed tightly to prevent the pasta from drying out.
You can assemble the shells in the skillet up to 24 hours in advance. Cover the skillet tightly with foil and store it in the refrigerator. When you are ready to eat, let the skillet sit on the counter for about 20 minutes to lose the chill before baking. You may need to add an extra 5 to 10 minutes to the total baking time to ensure the center is heated through completely.
Serving ideas
Serve these stuffed shells directly from the cast iron skillet for a rustic, inviting presentation. Place the skillet on a heat-proof trivet in the center of the table and provide a large serving spoon so guests can easily scoop out the shells.
Because the shells are individually portioned, it is easy to serve exactly the amount each person wants, making this a very practical dish for casual gatherings or family meals.
Accompany this dish with a crisp green salad tossed in a light vinaigrette to balance the richness of the cheese and meat sauce. A side of toasted garlic bread is also an excellent choice for soaking up any remaining sauce in the skillet. The combination of the hearty pasta and the light, fresh sides creates a well-rounded meal that feels substantial without being overly heavy.
Frequently asked questions
Can this be made ahead of time?
What is the best way to prevent the shells from breaking?
Is it possible to use a different type of cheese?
Cheesy Stuffed Shells in Cast Iron
Ingredients
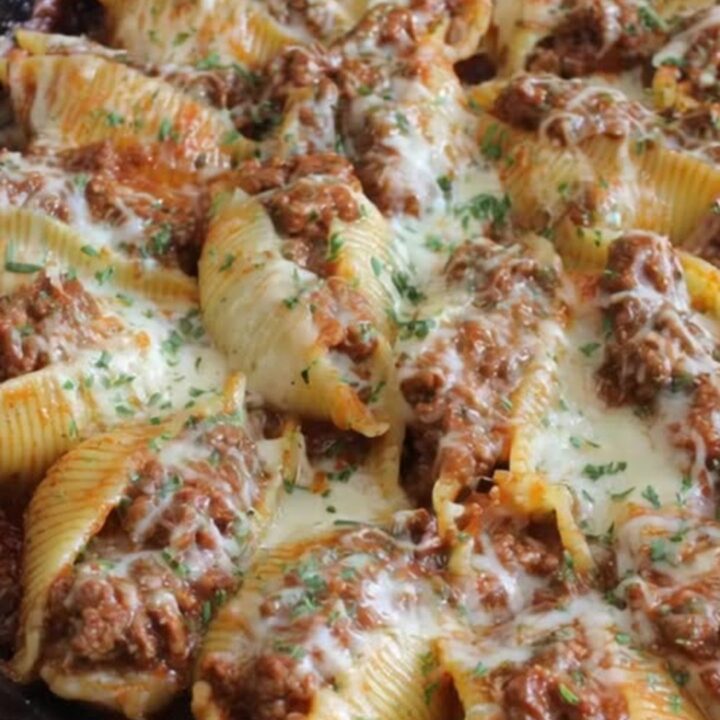
- 12 oz jumbo pasta shells
- 24 oz meat sauce
- 2 cups mozzarella cheese
- fresh parsley for serving
Instructions
- Bring a large pot of salted water to a boil. Cook the jumbo pasta shells until they are al dente. Drain the pasta using a colander and set them aside to cool slightly.
- Spoon the meat sauce into each jumbo pasta shell. Arrange the filled shells closely together in the cast iron skillet. Ensure the meat sauce is heated to at least 160°F (71°C) to ensure it is thoroughly cooked.
- Top the stuffed shells with mozzarella cheese. Bake in a preheated oven until the cheese is melted and bubbling. Remove from the oven, garnish with fresh parsley, and let the dish rest for five minutes before serving.
Estimated nutrition per serving
- Calories
- 520
- Protein
- 22 g
- Carbohydrates
- 48 g
- Fat
- 24 g
- Fiber
- 3 g
- Sugar
- 5 g
- Sodium
- 780 mg
Next recipe
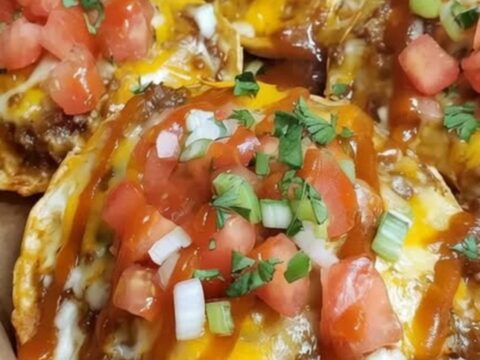
Crispy Mexican Beef Pizza with Melted Cheese
See the recipe → →This recipe is based on a short cooking video and is published under the pen name Clara Weller. It was checked before publication, but errors can slip through. Nutrition, when shown, is an estimate. Read more in our editorial policy and on our food safety page.
More recipes to try
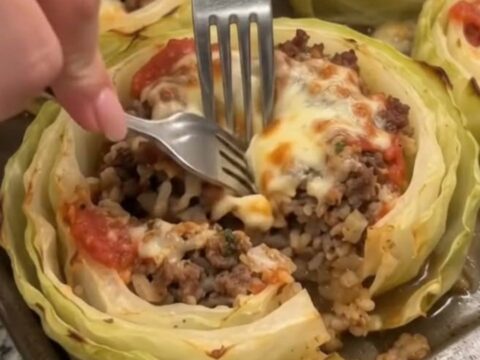
Savory Beef-Stuffed Cabbage Rings for a Hearty Dinner
Total time: 1 h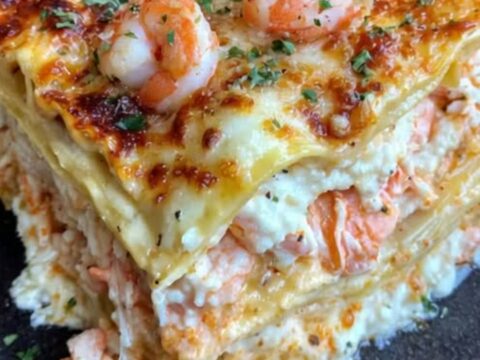
Creamy Seafood Lasagna with Shrimp and Crab
Total time: 1 h 25 min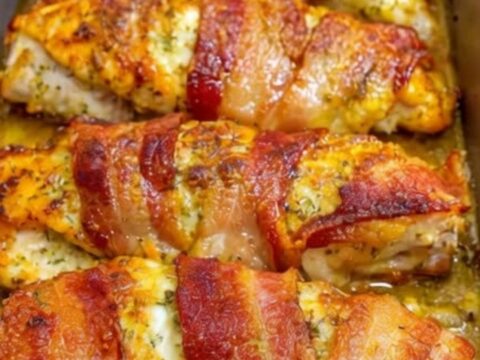
Crispy Bacon-Wrapped Garlic Parmesan Chicken
Total time: 50 min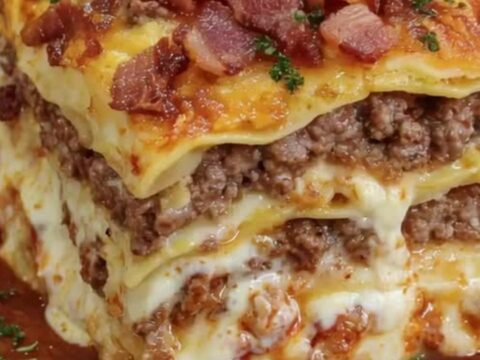
Parmesan Garlic Bacon Cheeseburger Lasagna
Total time: 1 h 15 min
Creamy Chicken Fajita Casserole with Stretchy Cheese
Total time: 55 min