Dinner · Part 1 of 3: Ingredients
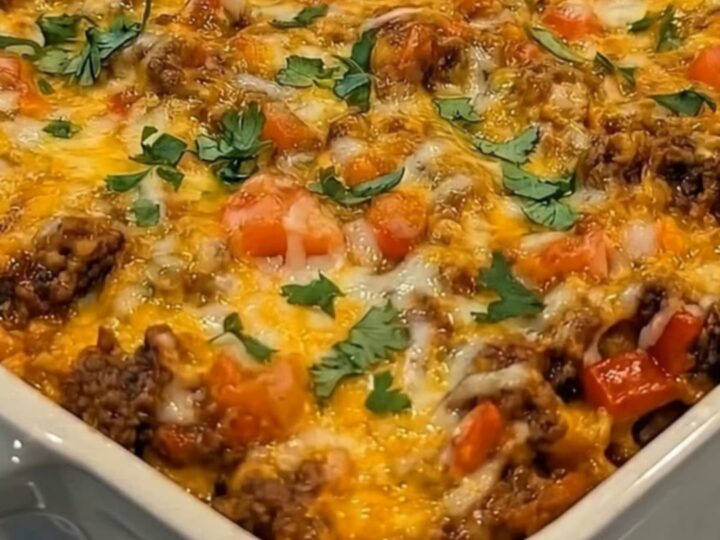
Beefy Fiesta Tortilla Casserole for Easy Weeknight Dinners
- Prep
- Cook
- Total
- Serves
- 6
Transform humble pantry staples into a restaurant-worthy feast with this beefy fiesta tortilla casserole. This dish combines the bold flavors of seasoned ground beef with zesty enchilada sauce and a decadent layer of melted cheese.
Perfect for busy weeknights, it delivers massive flavor with minimal effort. Whether you are feeding a hungry family or planning a casual weekend meal, this casserole provides a hearty, satisfying experience that highlights the best of Tex-Mex comfort food in every single forkful.
The beefy fiesta tortilla casserole is a vibrant, easy-to-make dinner that brings excitement to the table. By layering soft tortillas with savory, spiced ground beef and a rich, tangy red enchilada sauce, you create a complex flavor profile that feels like it took hours to develop.
Finished with a blanket of gooey, golden cheese and fresh toppings, it is visually stunning and incredibly delicious. This recipe is designed for maximum efficiency, allowing home cooks to get a high-quality meal on the table without spending the entire evening in the kitchen.
Ingredients
Main Ingredients
- 1 1/2 lb ground beef
- 20 oz red enchilada sauce
- 8 flour tortillas
- 3 cups shredded cheddar cheese
Garnish
- 1 cup diced tomatoes
- fresh cilantro, for serving
Why this recipe works
The layering method is essential for success, as it allows the tortillas to absorb the savory juices from the ground beef and the acidity of the enchilada sauce. This ensures that every bite is perfectly seasoned and cohesive, rather than just a collection of separate ingredients. As the casserole bakes, the starch from the tortillas interacts with the sauce to create a rich, thickened texture that holds the structure together perfectly.
Using a high-heat browning process for the beef before assembly builds deep, caramelized flavors that define the base of the dish. This initial step is critical for developing a robust foundation that can stand up to the bold spices of the enchilada sauce. By concentrating the flavor in the skillet first, you ensure that even the bottom layers of the casserole are packed with savory goodness, resulting in a balanced and professional-tasting final result.
Notes and substitutions
When selecting ingredients, choose a high-quality enchilada sauce to ensure the best flavor, as it acts as the primary seasoning for the entire dish.
For the cheese, a freshly shredded cheddar or a blend like Mexican-style mix melts significantly better than pre-shredded varieties, which often contain anti-caking agents that hinder a smooth, stretchy melt. If the beef seems particularly lean, a small splash of water or broth can be added to the skillet to keep it moist during the baking process.
The baking dish size is important for the structural integrity of the casserole. Using a standard 9x13 inch glass or ceramic dish ensures that the heat distributes evenly throughout the layers.
If a smaller dish is used, the layers will be thicker, which may require an additional 5 to 10 minutes of baking time to ensure the center is heated through. Always ensure the tortillas are room temperature before layering to allow for easier handling and better absorption of the sauce.
- flour tortillas: corn tortillas for a traditional flavor and gluten-free option
- cheddar cheese: a blend of Monterey Jack and cheddar for better melting
Equipment
- large skillet
- 9x13 inch baking dish
- spatula
- chef knife
Up next · Part 2 of 3
3 steps · 30 min of cooking · what to look for at each stage
Step-by-step instructions (Part 2)