Dinner · Part 1 of 3: Ingredients
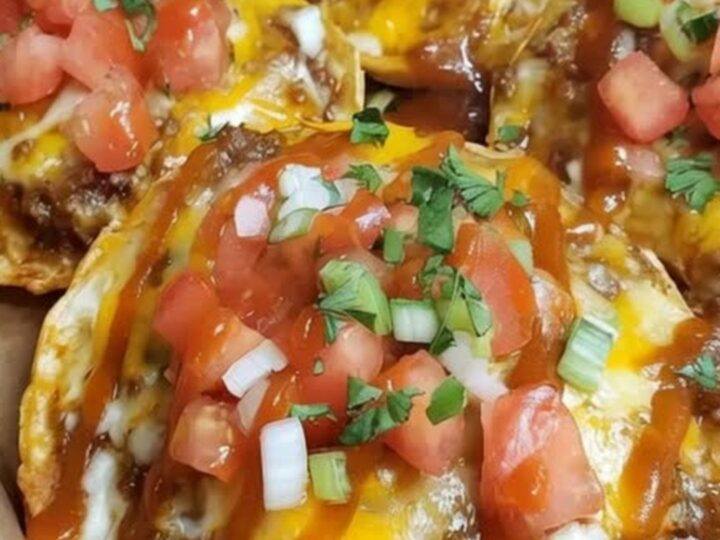
Crispy Mexican Beef Pizza with Melted Cheese
- Prep
- Cook
- Total
- Serves
- 4
Elevate your weeknight dinner with these crispy Mexican-style pizzas that bring bold, savory flavors to your table in less than thirty minutes. This recipe is designed for maximum crunch and melty cheese satisfaction, using simple ingredients that come together quickly for a fuss-free meal.
Whether you are feeding a hungry family or looking for a fun weekend snack, these pizzas are guaranteed to disappear fast. Experience the perfect combination of seasoned beef, tangy sauce, and fresh toppings in every bite.
Mexican-style pizzas offer a delightful twist on traditional flatbreads by using thin, crispy tortillas as the foundation for a mountain of delicious toppings. The process involves browning savory ground beef, layering it onto a crisp base, and finishing it with a blend of melted cheddar and vibrant fresh vegetables.
This dish provides a satisfying textural contrast between the crunchy tortilla and the soft, flavor-packed topping, making it an excellent choice for a quick lunch or a casual evening dinner that everyone will enjoy.
Ingredients
Base
- 4 pieces flour tortillas
Topping
- 1 lb ground beef
- 2 cups cheddar cheese, shredded
- 1/2 cup red enchilada sauce
Garnish
- 1/2 cup fresh tomatoes, diced
- 2 tbsp green onions, sliced
Why this recipe works
The method of using flour tortillas as a base ensures the pizza remains thin and exceptionally crispy compared to traditional dough-based crusts. By browning the beef separately before assembling, the meat develops a deep, caramelized flavor that pairs perfectly with the acidity of the red enchilada sauce. This layering technique allows the cheese to melt directly into the beef and sauce, creating a cohesive and flavorful topping that stays firmly in place during the baking process.
Baking the assembled pizzas at a high temperature facilitates rapid moisture evaporation from the tortilla, resulting in a firm, audible crunch that balances the richness of the melted cheddar.
Adding the fresh tomatoes and green onions after the baking step preserves their vibrant color and crisp texture, providing a cooling contrast to the hot, savory beef. This strategic timing ensures that every element of the pizza contributes its best quality to the final dish, resulting in a professional-grade result at home.
Notes and substitutions
The choice of ground beef is essential for the classic flavor profile, but you can easily substitute it with ground turkey or a plant-based crumble if preferred. Ensure that the meat is drained well after cooking to avoid excess moisture, which can soften the tortilla. For the cheese, a sharp cheddar is recommended for its bold flavor, though a blend of Monterey Jack can be used for a smoother, creamier melt that pairs beautifully with the tangy red enchilada sauce.
Equipment-wise, a standard heavy-duty baking sheet is sufficient to achieve an even bake across all four pizzas. If you prefer an even crispier bottom, consider using a preheated pizza stone or a perforated baking pan.
For toppings, ensure the tomatoes are diced into small, uniform pieces to distribute the juice evenly without overwhelming the crust. If you find the tortillas are browning too quickly, you can rotate the baking sheet halfway through the cooking time to promote uniform heat exposure.
- Ground beef: Ground turkey or crumbled soy protein
- Red enchilada sauce: Mild salsa or taco sauce
Equipment
- Large skillet
- Baking sheet
- Chef knife
- Cutting board
- Spatula
Up next · Part 2 of 3
3 steps · 15 min of cooking · what to look for at each stage
Step-by-step instructions (Part 2)