Dinner · Part 3 of 3: Tips & recipe card
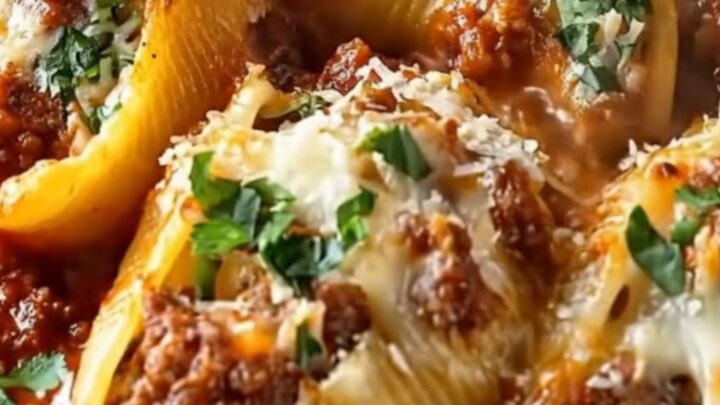
Cheesy Beef Stuffed Shells in a Cast-Iron Skillet Tips, FAQ & printable recipe
- Prep
- Cook
- Total
- Serves
- 4
Tips for success
For an extra touch of flavor, sprinkle some fresh herbs like basil or parsley over the top of the shells once they come out of the oven.
This adds a vibrant color contrast and a fresh aromatic note that balances the richness of the melted cheese and the savory beef.
If the cheese is browning too quickly before the sauce is bubbling, you can loosely cover the skillet with aluminum foil for the first half of the baking time.
This allows the heat to penetrate the shells thoroughly without risking the integrity of the cheese topping.
Variations
- Vegetarian Option: Replace the ground beef with a mixture of ricotta cheese, spinach, and finely chopped mushrooms. This provides a rich, earthy flavor that complements the marinara and mozzarella perfectly while keeping the dish entirely meat-free.
- Spicy Kick: Add a teaspoon of red pepper flakes to the beef mixture during the browning phase. For even more heat, garnish the finished dish with thinly sliced fresh jalapeños or a drizzle of spicy chili oil before serving.
Storage and make-ahead
- Fridge
- Keep in an airtight container for up to 3 days.
- Freezer
- Freeze in a freezer-safe container for up to 2 months.
- Reheat
- Reheat in the oven at 350°F until warmed through, or use a microwave for smaller portions.
Store any leftover stuffed shells in an airtight container in the refrigerator for up to three days.
Cool the leftovers at room temperature for no more than 2 hours before transferring them to the refrigerator to ensure food safety and maintain the best quality.
You can assemble the shells in the skillet up to 24 hours in advance. Keep the skillet covered in the refrigerator and add the final layer of cheese just before baking. Remember to increase the baking time slightly if the dish is going into the oven while cold.
Serving ideas
Serve the stuffed shells directly from the cast-iron skillet for a rustic, family-style presentation.
Use a large spoon to lift the shells carefully onto plates, ensuring each serving includes a good amount of the sauce and melted cheese from the bottom of the pan.
Pair this meal with a crisp green salad or some crusty garlic bread to round out the dining experience. The acidity of a fresh salad helps to cut through the savory, cheesy profile of the pasta, providing a refreshing balance to every bite of this hearty dinner.
Frequently asked questions
Can these stuffed shells be made ahead of time?
What is the best way to prevent the shells from breaking?
Is it necessary to use a cast-iron skillet?
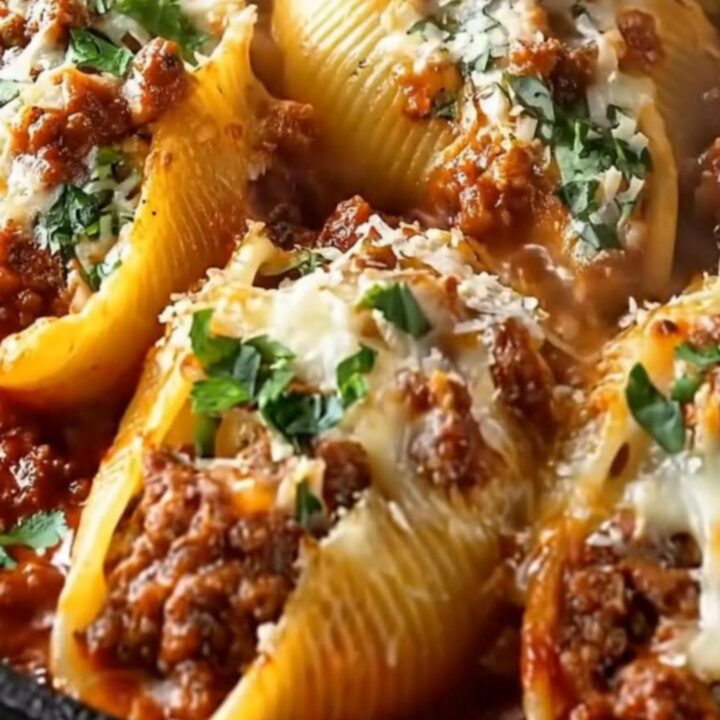
Cheesy Beef Stuffed Shells in a Cast-Iron Skillet
Ingredients
- 12 oz jumbo pasta shells
- 1 lb ground beef
- 24 oz marinara sauce
- 2 cups shredded mozzarella cheese
Instructions
- Boil the jumbo pasta shells in a large pot of salted water until al dente. While the pasta cooks, brown the ground beef in a skillet over medium-high heat until fully cooked. Ensure the beef reaches an internal temperature of 160°F (71°C). Drain the excess fat thoroughly from the meat before proceeding to the next step.
- Combine the cooked ground beef with a portion of the marinara sauce in a bowl. Stuff each cooked shell generously with the beef mixture. Arrange the filled shells carefully inside the cast-iron skillet, ensuring they are packed closely together for even heating.
- Pour the remaining marinara sauce over the shells and top with the shredded mozzarella cheese. Place the cast-iron skillet into a preheated 375°F (190°C) oven. Bake until the sauce is bubbling and the cheese is melted and golden brown on top. Let the dish rest for 5 minutes before serving.
Estimated nutrition per serving
- Calories
- 450
- Protein
- 22 g
- Carbohydrates
- 48 g
- Fat
- 18 g
- Fiber
- 3 g
- Sugar
- 6 g
- Sodium
- 750 mg
Next recipe
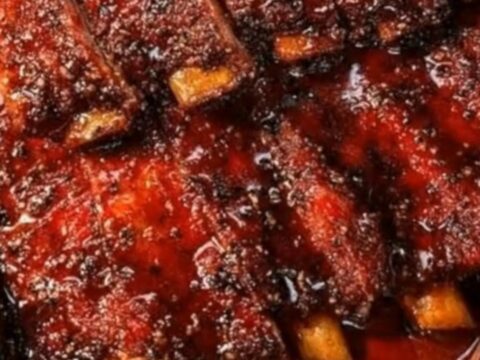
Sticky Oven-Baked BBQ Ribs for Tender Results
See the recipe → →This recipe is based on a short cooking video and is published under the pen name Clara Weller. It was checked before publication, but errors can slip through. Nutrition, when shown, is an estimate. Read more in our editorial policy and on our food safety page.
More recipes to try

Sticky BBQ Meatloaf with Roasted Potatoes
Total time: 1 h 25 min
Creamy Garlic Mushroom Chicken
Total time: 35 min
Simple One-Pan Roasted Sausage and Potato Tray Bake
Total time: 55 min
Creamy Garlic Chicken Penne with Spinach
Total time: 30 min
Crispy Garlic Herb Chicken and Roasted Potatoes
Total time: 1 h