Dinner · Part 1 of 3: Ingredients
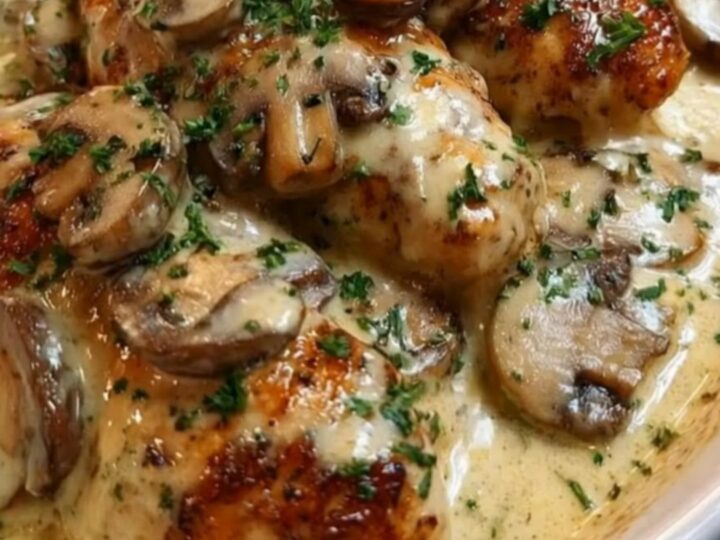
Creamy Garlic Mushroom Chicken
- Prep
- Cook
- Total
- Serves
- 4
Discover the secret to restaurant-quality chicken at home with this simple yet luxurious creamy mushroom chicken recipe. Featuring golden seared tenders and a velvety garlic sauce, it delivers deep, savory flavors in every bite.
This dish is designed for those who appreciate a quick, elegant meal that looks and tastes like a special occasion without the hours of preparation. Elevate the dinner rotation with this timeless, comforting classic that is sure to become a favorite in any kitchen.
This creamy mushroom chicken is the definition of comfort food, combining perfectly seared poultry with a rich, aromatic garlic and mushroom cream sauce. By using a single pan for both the chicken and the sauce, the flavors meld beautifully, creating a depth that is hard to beat.
It is a versatile recipe that works perfectly for busy weeknights or a relaxed weekend dinner. The process is straightforward, focusing on achieving a golden crust on the chicken and a smooth, thick consistency for the sauce. With minimal cleanup and maximum flavor, this dish is a reliable choice for anyone looking to bring a bit of elegance to their table.
Ingredients
Main
- 1.5 lb chicken tenders
Sauce
- 8 oz mushrooms, sliced
- 3 cloves garlic, minced
- 1 cup creamy sauce
Garnish
- 1 tbsp fresh parsley, chopped
Why this recipe works
The method of searing the chicken first creates a flavorful crust, which provides the base for the sauce. As the mushrooms and garlic are sautéed in the same pan, they absorb the residual juices from the chicken, resulting in a more complex, savory flavor profile. The creamy sauce then deglazes the pan, lifting those delicious browned bits, known as fond, into the sauce, which adds a professional depth of flavor that simple simmering cannot replicate.
By cooking the chicken tenders until they reach 165°F (74°C) and then simmering them briefly in the sauce, the meat stays incredibly juicy. The cream-based sauce is reduced just enough to coat the chicken, ensuring each piece is fully flavored without becoming soggy.
This technique ensures that the chicken remains tender and the sauce achieves a velvety, restaurant-style consistency that clings perfectly to every bite, making the dish both visually appealing and texturally satisfying.
Notes and substitutions
For the best results, use fresh, firm mushrooms like cremini or white button mushrooms, as they hold their texture well during the sautéing process. Ensure the garlic is minced finely so it distributes evenly throughout the sauce without creating large, bitter chunks.
The creamy sauce base is essential for this recipe to achieve the desired richness and thickness; using lower-fat alternatives may result in a thinner sauce that does not coat the chicken as effectively as the traditional version.
A large, heavy-bottomed skillet is the best tool for this recipe, as it provides even heat distribution for searing the chicken. If the sauce seems too thick after adding the cream, a splash of chicken broth can be used to adjust the consistency to your preference. While fresh parsley is recommended for a bright pop of color and freshness, other fresh herbs like thyme can also be used to add a different aromatic dimension to the final dish.
- creamy sauce: half-and-half for a lighter sauce consistency
- chicken tenders: boneless skinless chicken breasts cut into strips
Equipment
- Large skillet
- Oval baking dish
- Serving spoon
- Tongs
- Knife
Up next · Part 2 of 3
3 steps · 20 min of cooking · what to look for at each stage
Step-by-step instructions (Part 2)